Have you ever wondered why some compost piles smell terrible while others produce rich, dark soil? It might come down to one simple thing – aeration. When you’re working with organic waste, proper air circulation becomes crucial for healthy decomposition. The right compost aerator tool isn’t just a fancy gadget – it’s essentially your compost pile’s lungs.
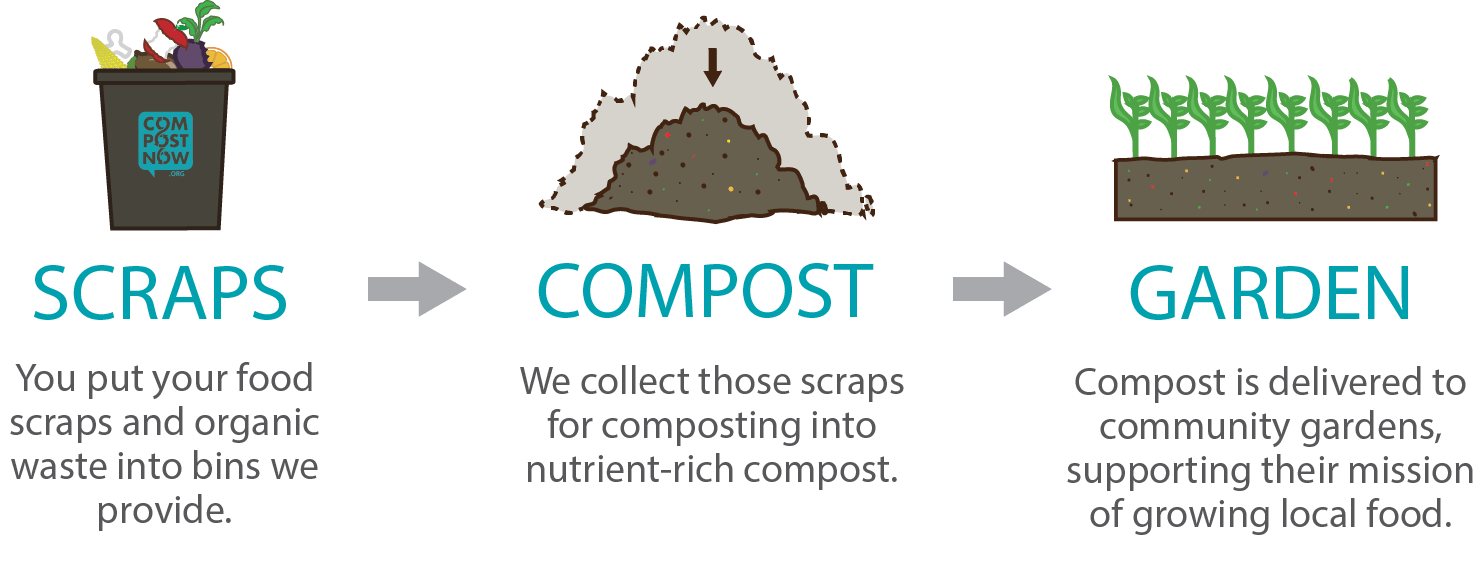
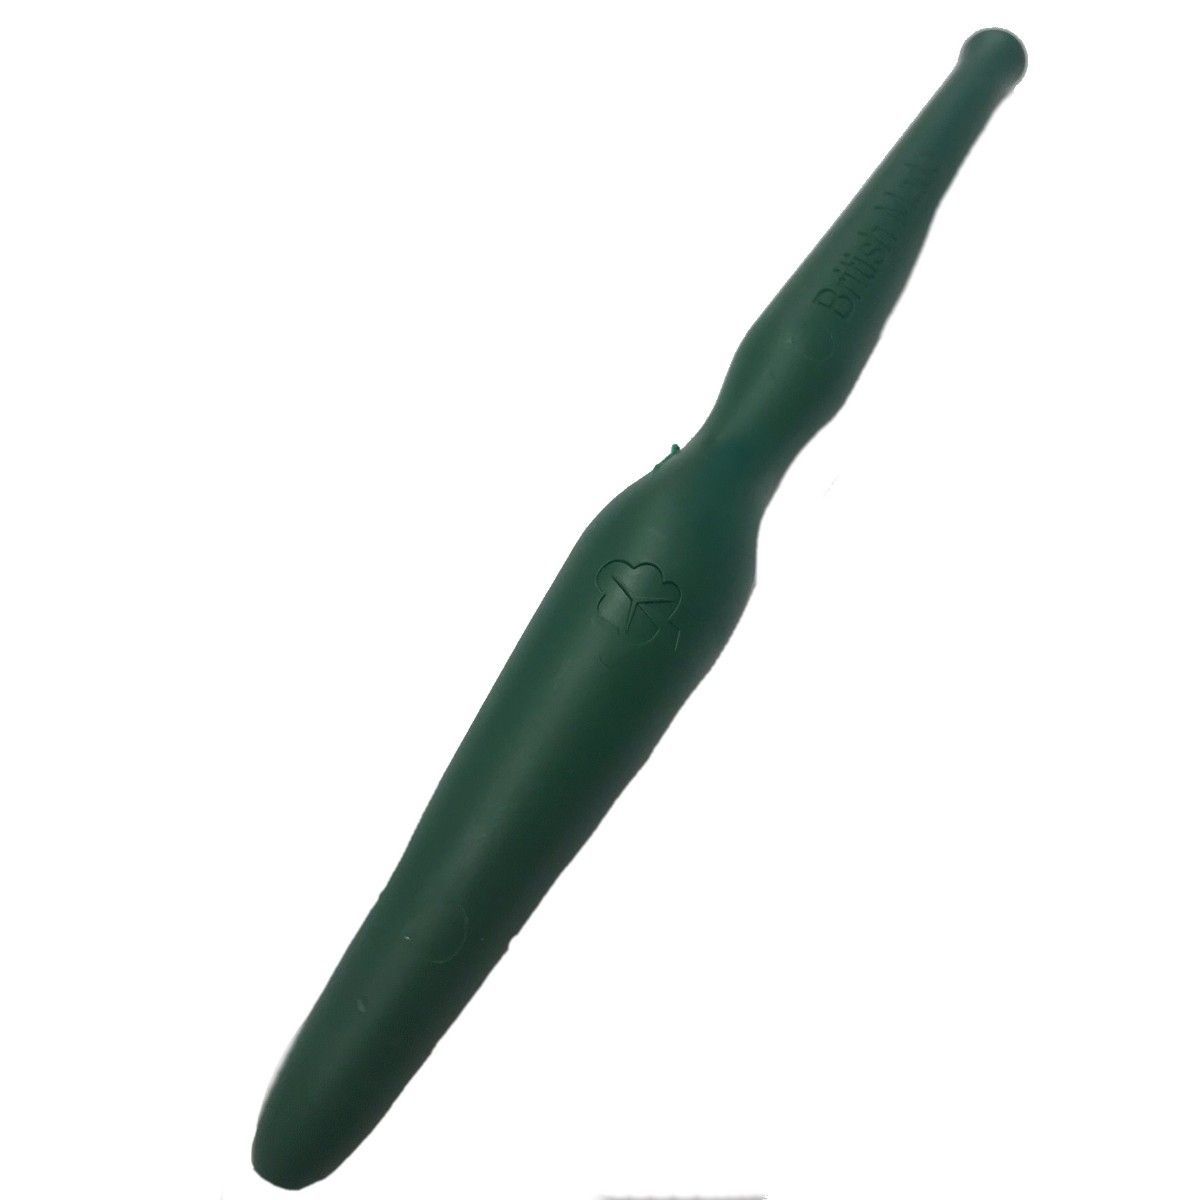
Composting is one of those wonderful processes that transforms kitchen scraps and yard waste into garden gold. But let’s be honest, it takes more than just throwing stuff in a pile. You need to think like a gardener who understands that decomposition is a breathing process. Just like we need oxygen to survive, your compost needs air to thrive. This is where the green compost aerator tool comes into play. Whether you’re a seasoned composter or someone who’s just starting out, understanding how to properly use this essential tool can make all the difference between a failed pile and a thriving one.
Understanding Compost Aeration Basics
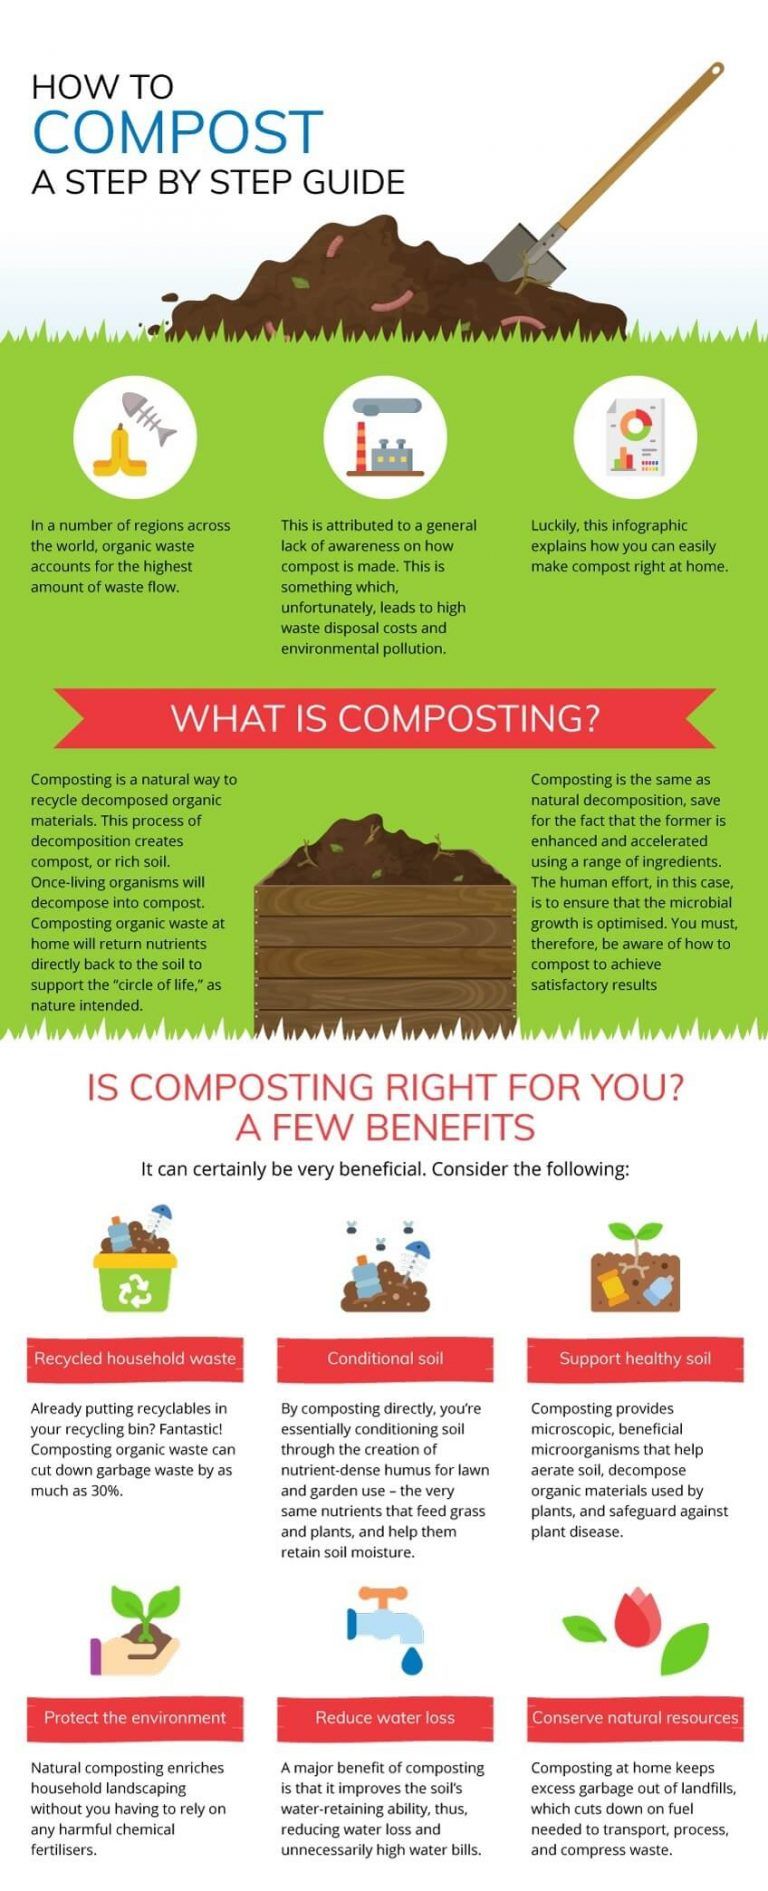
Composting is basically a controlled breakdown of organic matter. This process happens when microorganisms consume your organic waste and release heat as a byproduct. These tiny organisms require oxygen to do their job effectively. Without enough air, they can’t function properly, leading to anaerobic conditions that cause bad smells and slow decomposition. Think of it like trying to run a marathon without enough oxygen – you’ll get tired quickly and your performance suffers. Aerator tools work by creating pathways for fresh air to reach deep into your compost pile. They break up compacted layers and allow gases to circulate freely. The green color often associated with these tools isn’t just aesthetic – it typically indicates they’re made from environmentally friendly materials that won’t contaminate your compost.
Choosing the Right Aerator Tool
Not all aerator tools are created equal. The green compost aerator tool you choose depends on several factors. First, consider the size of your compost pile. If you have a small backyard bin, a simple hand-held tool works fine. For larger piles, you might want something with a longer handle or even a powered version. The material matters too. Stainless steel tools last longer but can rust if left in wet conditions. Plastic versions are lighter but may not withstand heavy use. Some tools feature multiple prongs or blades designed to penetrate deeper into compost. Others have a more gentle approach with fewer spikes. Look for features like ergonomic handles that reduce strain during extended use. Also, check if the tool is specifically designed for compost applications rather than general gardening. Many garden tools aren’t suited for the unique challenges of composting.
Timing Your Aeration Process
When you aerate matters almost as much as how you do it. The best time to aerate your compost pile is when it’s actively decomposing. You’ll know this is happening when the pile feels warm to the touch and has a rich, earthy smell. Aerate every two to three weeks for most situations. However, if your pile is generating excessive heat or smells strongly, you might need to aerate more frequently. Avoid aerating when the pile is very dry or extremely wet. Dry conditions can cause dust and debris to become airborne, while wet piles might cause the aerator to stick or become ineffective. It’s also smart to aerate before adding new materials to your pile. This helps distribute fresh ingredients evenly throughout the existing compost. Remember, consistency beats intensity when it comes to aeration schedules.
Proper Technique and Methodology
The way you use your green compost aerator tool makes a huge difference. Start by inserting the tool straight down into the pile rather than at an angle. This creates clean holes that allow air to move through more effectively. Move the tool in a twisting motion to create channels for airflow. Don’t just poke holes – really work the tool to create good pathways. Aim for holes about 8 inches apart and 6 inches deep. This spacing ensures good coverage without overworking the pile. Pay special attention to the center of the pile where air tends to get trapped. Work systematically from the outside toward the middle, ensuring even distribution. You might find some areas are more compacted than others. These spots often need extra attention. Don’t forget to rotate your pile as well – this gives you a chance to aerate different sections.
What to Do After Aerating
Aeration isn’t a one-time fix – it’s part of an ongoing process. After you’ve worked your aerator tool through the pile, take a moment to assess the results. Look for improved airflow and reduced odors. If you notice any remaining compacted areas, you might need to repeat the process. Water the pile lightly after aeration if it feels dry. This helps maintain moisture levels while allowing the newly introduced air to work effectively. Add new organic matter to the pile, mixing it in gently with the aerator itself. This helps distribute nutrients and maintains the balance of carbon and nitrogen in your compost. Keep an eye on temperature changes – a properly aerated pile will maintain steady heat levels. Consider taking notes about when you aerate and how the pile responds. This helps develop your composting intuition over time.
Troubleshooting Common Issues
Even with the best intentions, composting problems can arise. If your pile smells bad after aeration, it might be too wet or lack sufficient carbon materials. Check the moisture level – it should feel like a damp sponge, not waterlogged. If the pile seems too dry, add water and aerate again. Sometimes the problem isn’t just lack of air but improper balance of materials. Too much nitrogen-rich green waste without enough brown materials can cause issues. If you’re having trouble penetrating the pile, it might be too compacted or too dry. Try soaking the pile lightly first. Another common issue is that the aerator tool gets stuck in dense materials. In these cases, try working it gently rather than forcing it. Sometimes the solution is simply to wait until the pile is less dense or drier. Don’t get discouraged if things don’t work perfectly the first few times. Composting is an art that improves with practice.
Using a green compost aerator tool effectively is one of the simplest ways to transform your composting game. It’s not rocket science, but it does require attention to timing, technique, and regular maintenance. The key is understanding that aeration isn’t just about poking holes – it’s about creating an environment where beneficial microorganisms can thrive. As you practice with your tool, pay attention to how your pile responds. Notice the differences in smell, temperature, and texture. Over time, you’ll develop an intuitive sense of when and how to use your aerator. Remember, good composting is about patience and consistency. Your green aerator tool is your ally in creating nutrient-rich soil for your garden. With practice, you’ll find yourself looking forward to those aeration sessions as they help bring your compost closer to that rich, dark, crumbly perfection that gardeners dream about. The investment in learning proper aeration techniques pays off in better plant growth, healthier soil, and less waste going to landfills.