Have you noticed water seeping around your bathtub? That pesky little gap between your tub and wall might be the culprit. The seal that keeps water contained is often overlooked until it starts failing. But don’t worry – replacing a tub seal isn’t rocket science. With the right knowledge and approach, anyone can master this essential bathroom maintenance task.
The humble bathtub seal might seem like just another small part of your bathroom, but it plays a crucial role in keeping your space dry and preventing costly water damage. This thin strip of material sits between your tub and the surrounding wall, creating a watertight barrier that prevents moisture from seeping behind the tiles. When it starts to crack, deteriorate, or simply wear out, the consequences can be significant. Water damage, mold growth, and even structural issues can follow if left unaddressed. Understanding how to properly identify when a seal needs replacement and how to do it correctly can save you both time and money while protecting your home’s integrity.
Recognizing When Your Tub Seal Needs Attention
Spotting a failing seal isn’t always easy, especially since the problems often develop gradually. Here are the warning signs to watch for:
• Water pooling around the base of your tub after use
• Visible cracks or gaps in the seal material
• Peeling or lifting edges of the seal
• Mold or mildew growing in corners
• A musty smell coming from the area
• Discoloration or warping of surrounding materials
These symptoms usually indicate that your seal has degraded enough to compromise its effectiveness. The good news? Early detection means easier repairs and less damage overall. Many homeowners find they can address these issues themselves before they become major problems. Pay attention during your regular bathroom cleaning routine – it’s often during these moments that you notice something off about your tub’s performance.
Types of Tub Seals You Might Encounter
Not all tub seals are created equal, and understanding what you’re dealing with makes the replacement process much smoother. The most common types include:
• Silicone seals – These are the most popular choice because they’re flexible, waterproof, and relatively inexpensive. They work well in areas with moderate moisture.
• Vinyl or rubber seals – Often found in older installations, these are durable but can become brittle over time.
• Caulk seals – Usually applied in a continuous bead along the tub edge, these require careful application for proper sealing.
• Pre-formed gaskets – These are factory-made pieces that fit precisely between the tub and wall, offering excellent protection when installed correctly.
Each type has its pros and cons, and the right choice depends on factors like your tub’s age, the level of moisture exposure, and your budget. If you’re unsure what you have, take a photo and consult with a local hardware store or plumber for guidance. Sometimes, a simple visual inspection can reveal everything you need to know about your existing seal.
Essential Tools and Materials for the Job
Before diving into your tub seal replacement project, gather these essentials:
• Utility knife or scraper – For removing old seal material
• Clean rags or paper towels – To clean surfaces thoroughly
• Degreaser or alcohol – For sanitizing the area
• Measuring tape – To determine the exact length needed
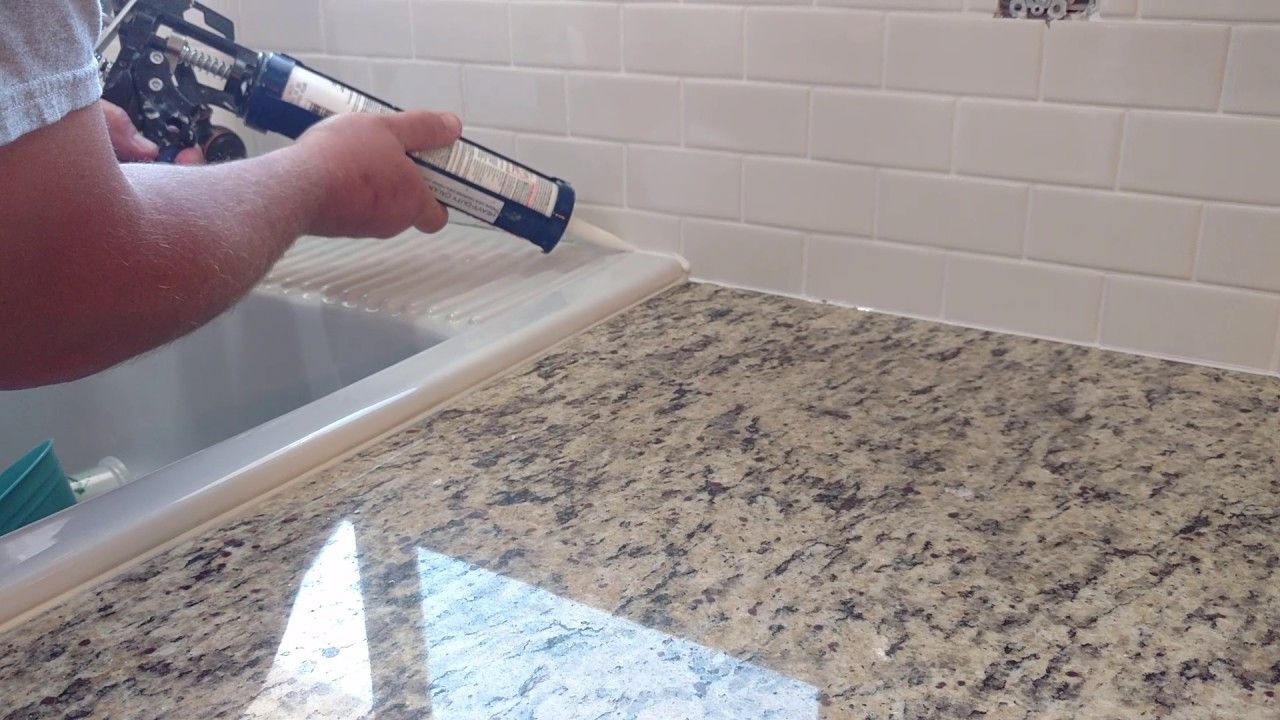
• Caulk gun – For applying new sealant evenly
• Sandpaper or steel wool – For smoothing rough edges
• New sealant or gasket – Matching your existing type
• Safety gear – Gloves and eye protection
Having everything ready beforehand will make the process flow more smoothly. Quality tools pay dividends in the long run, especially when dealing with stubborn old sealants that require extra effort to remove. Don’t forget to check that your chosen replacement material matches the specifications of your original seal. Some products are specifically designed for wet environments, which matters significantly for bathroom applications.
Step-by-Step Replacement Process
Here’s how to tackle the job systematically:
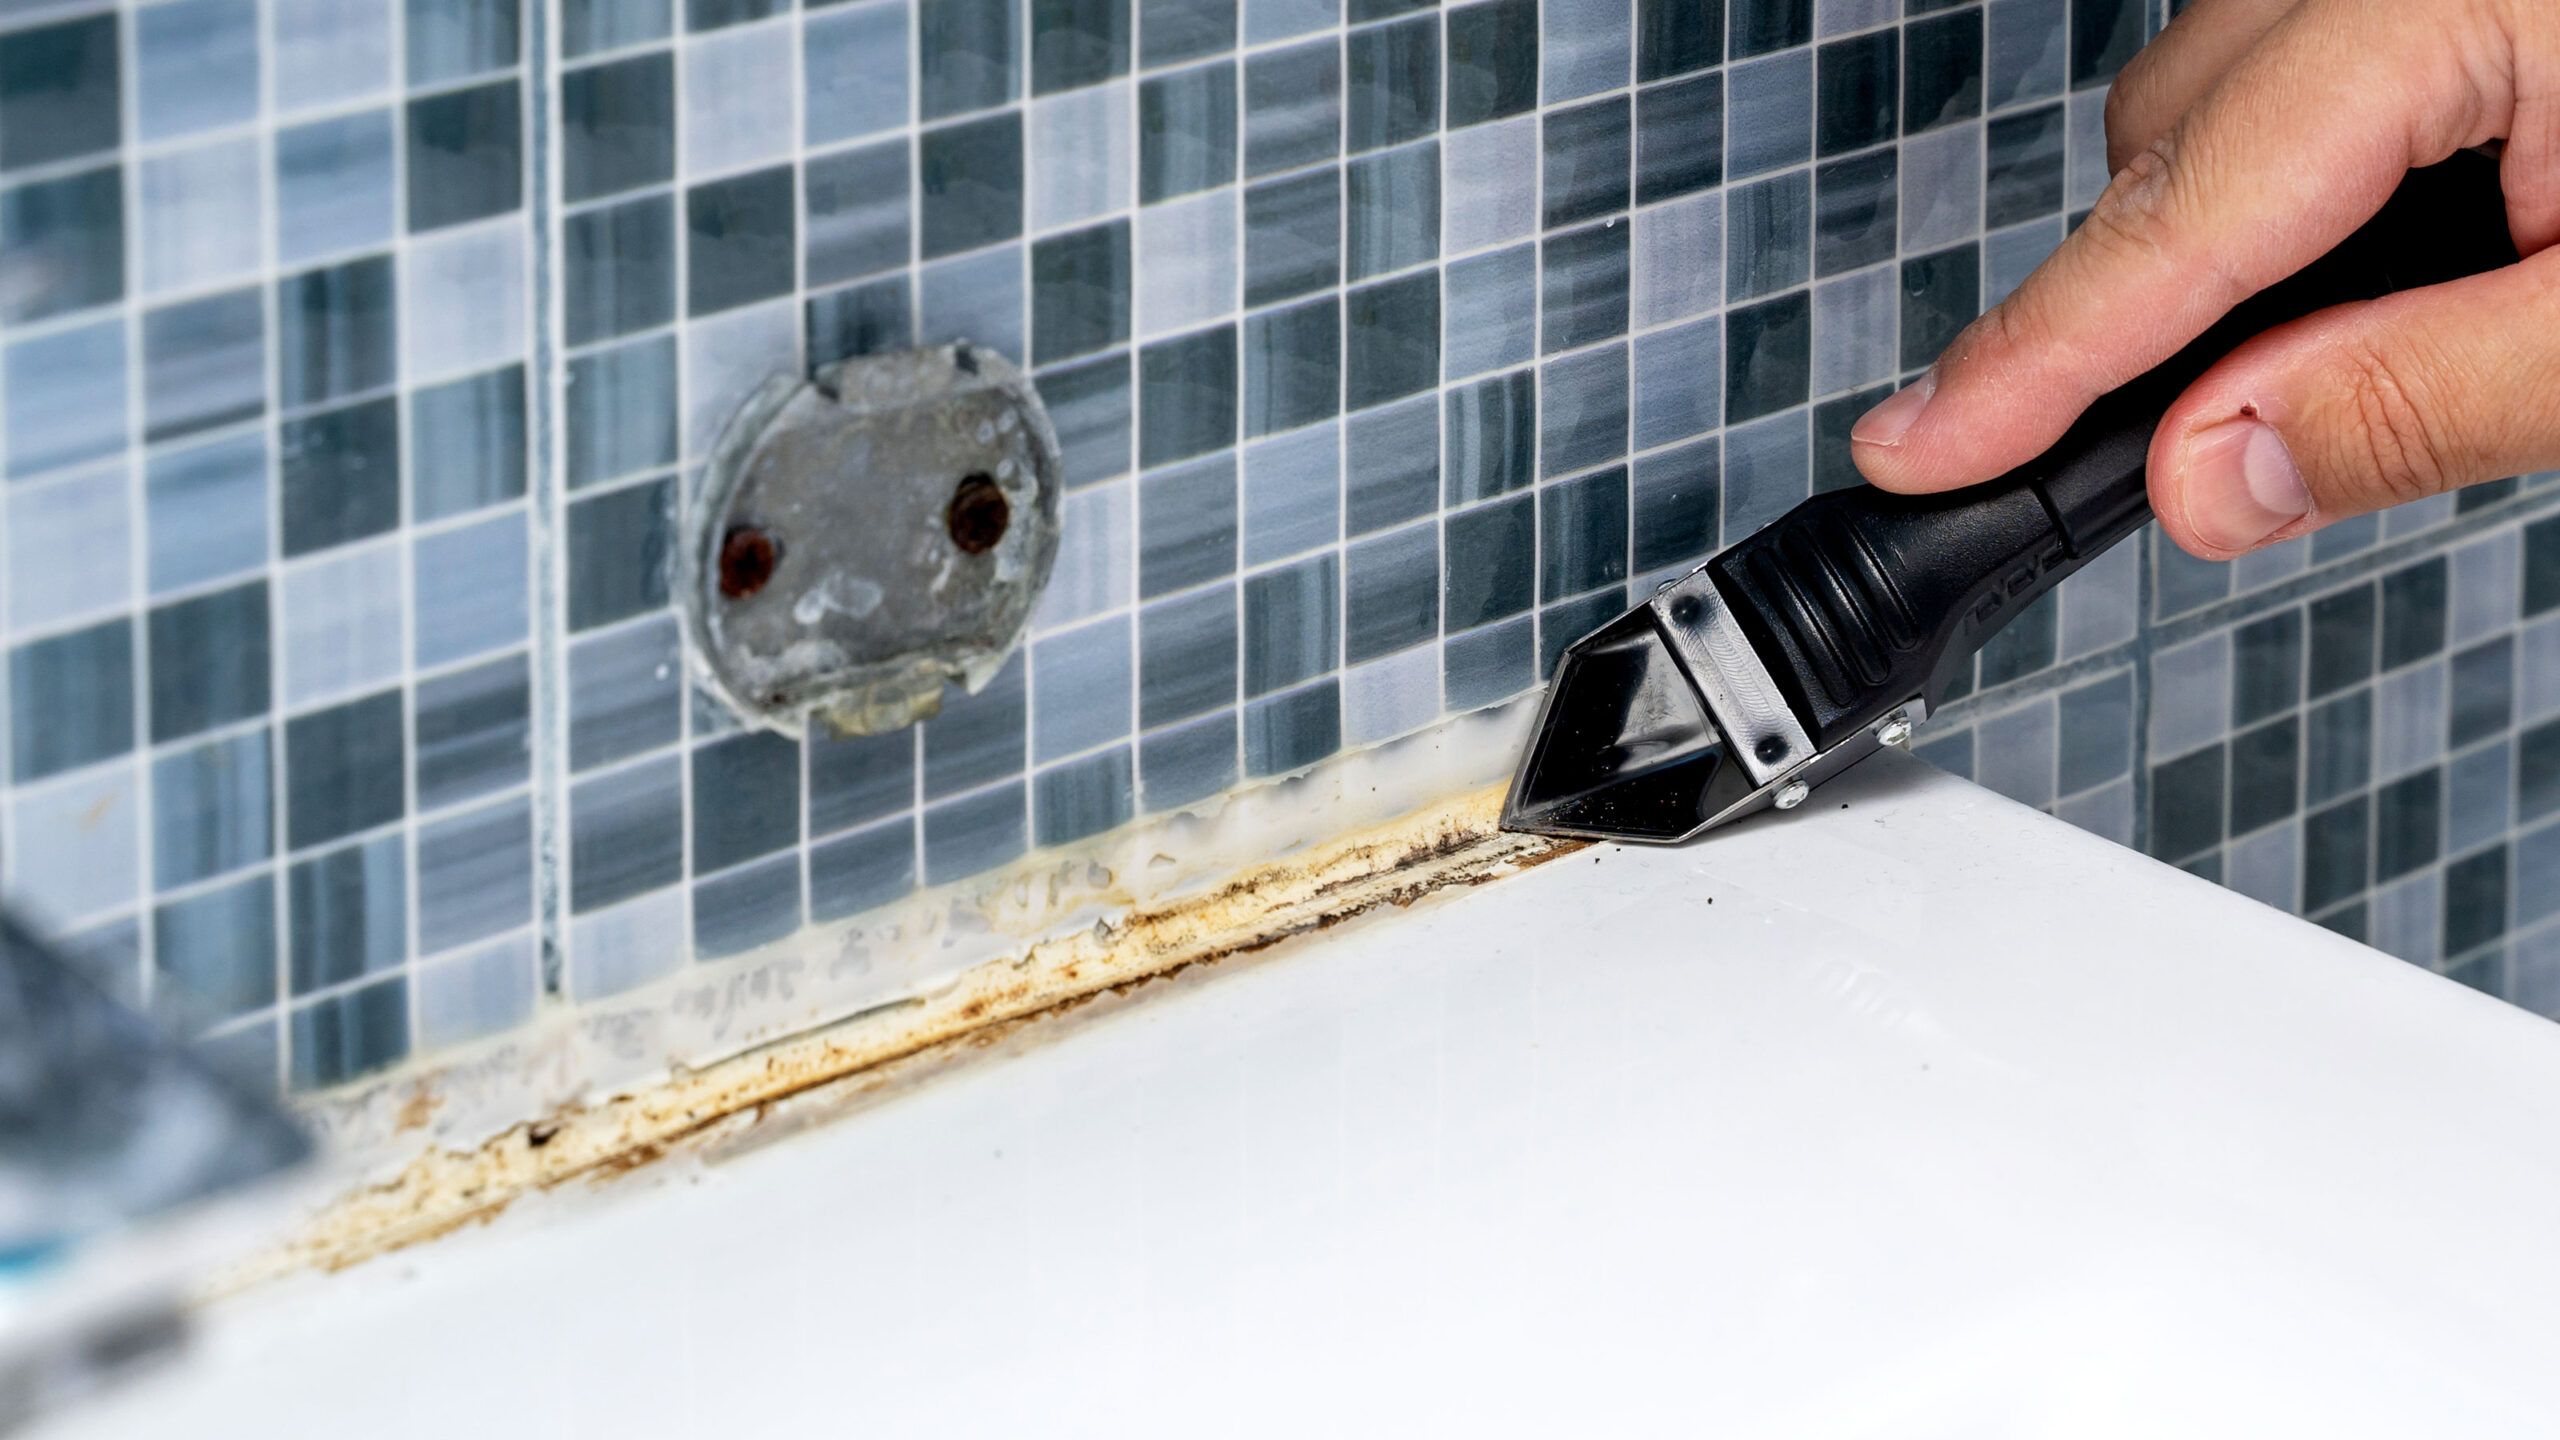
- Remove the old seal carefully – Use a utility knife to cut away the existing material, working slowly to avoid damaging the tub surface
- Clean the area thoroughly – Remove all residue and ensure the surface is completely dry and free of oils
- Measure and prepare – Take precise measurements to get the right amount of new sealant
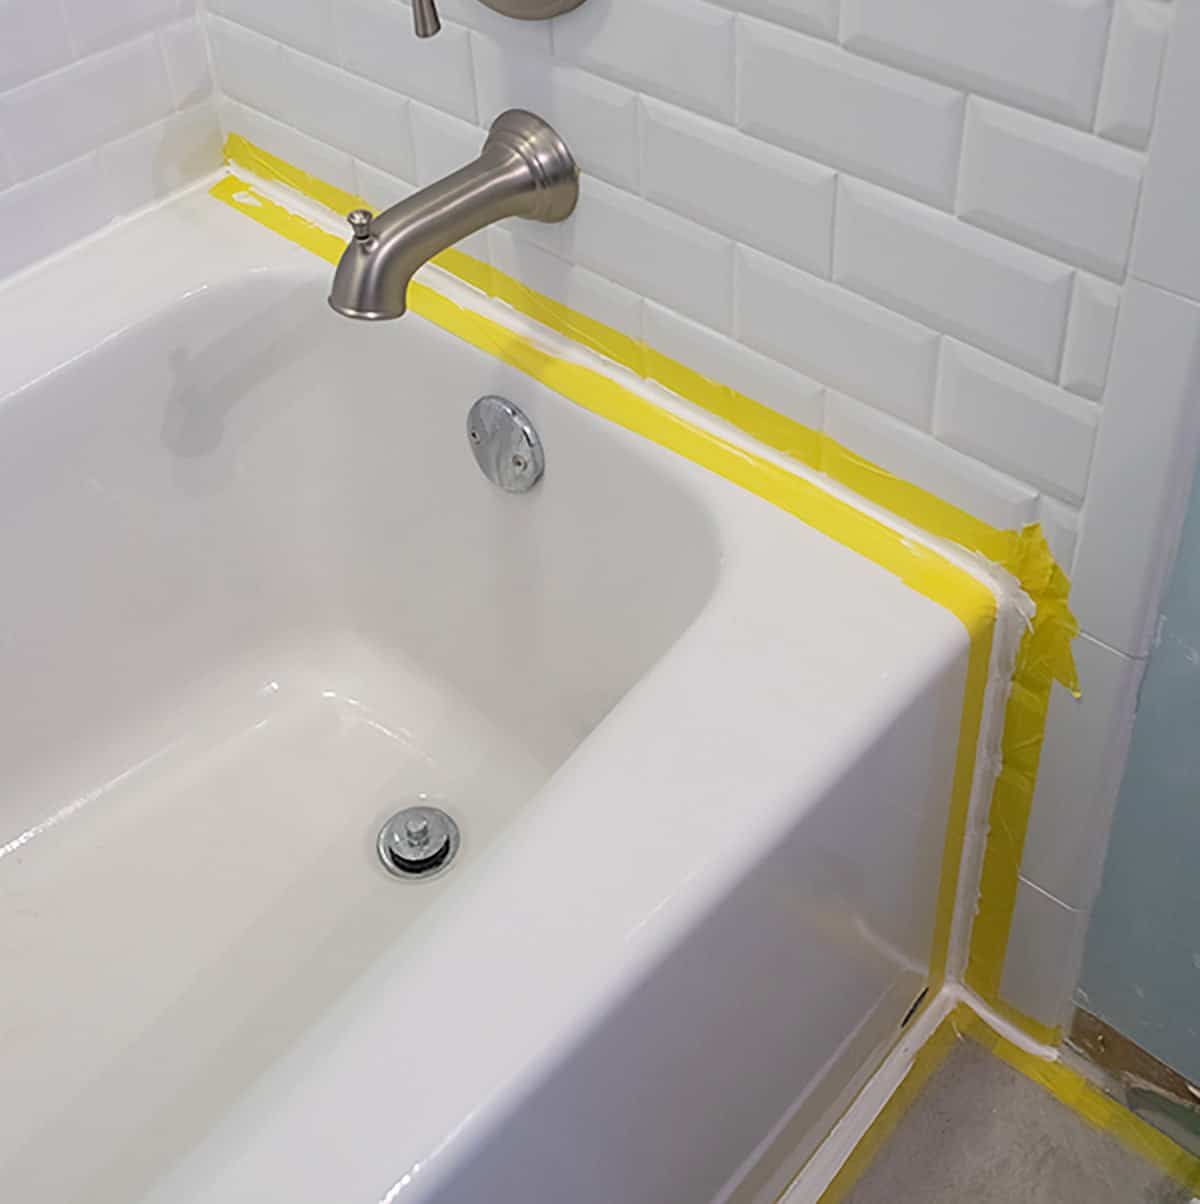
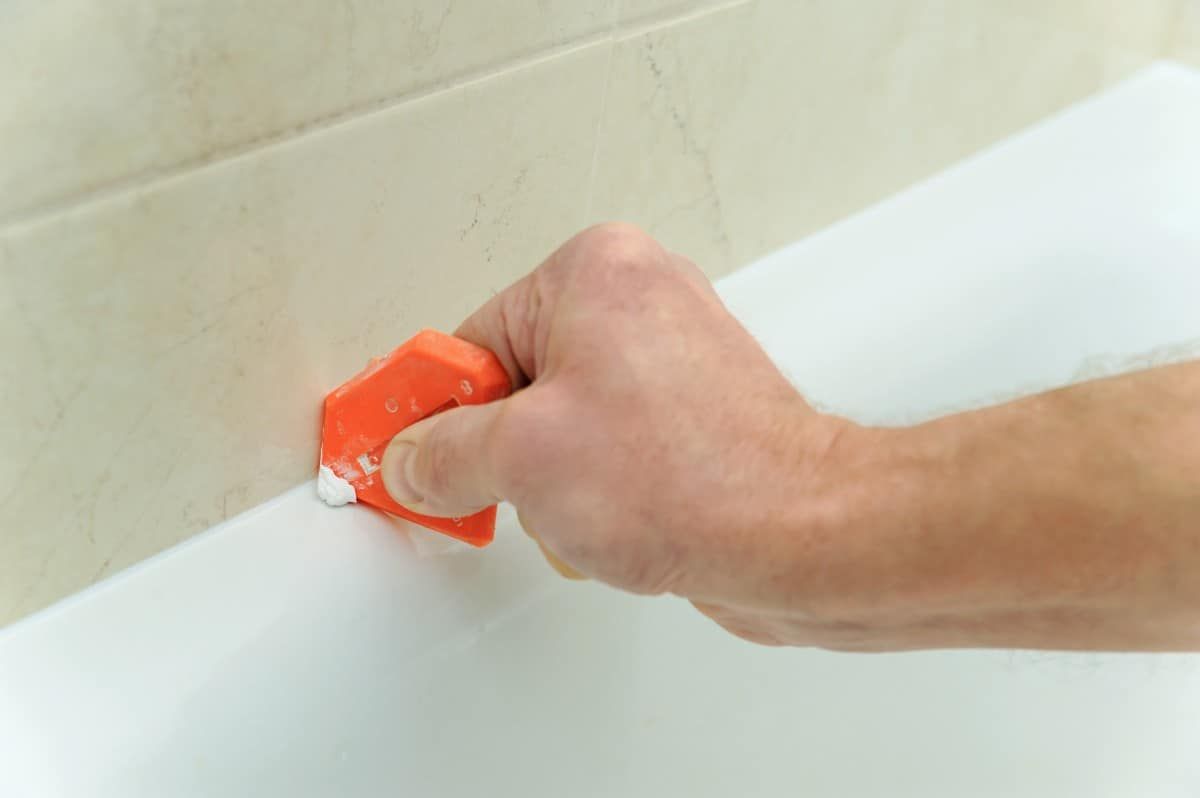
- Apply the new seal – Follow manufacturer instructions for application thickness and technique
- Smooth and finish – Use a damp finger or tool to create a neat, uniform appearance
- Allow curing time – Most sealants need 24 hours before exposing them to water
The key to success lies in patience and attention to detail. Rushing through steps often leads to poor results that may require rework. Some people prefer to do this project at night when they have fewer interruptions, allowing them to focus entirely on getting each step right. Taking your time pays off in the form of a professional-looking result that lasts longer.
Common Mistakes to Avoid During Installation
Even experienced DIYers can make errors that compromise their seal’s effectiveness. Here are the biggest pitfalls to steer clear of:
• Applying too thick or too thin a layer of sealant
• Skipping the cleaning step, which leads to poor adhesion
• Not allowing adequate drying time before using the tub
• Choosing the wrong type of sealant for the environment
• Pressing the seal too hard during application
• Forgetting to account for expansion and contraction
These mistakes might seem small, but they can cause big problems down the road. A poorly installed seal can start leaking within weeks, defeating the purpose of the entire project. Remember that some sealants need to cure fully before they can withstand water exposure, so plan accordingly. It’s better to wait a day than risk having to redo the entire job due to premature use.
When to Call in Professional Help
While many tub seal replacements are manageable for homeowners, there are situations where professional assistance makes sense:
• If you’re dealing with a complex tub design or unusual materials
• When multiple seals need replacement simultaneously
• If you suspect underlying structural issues
• If previous attempts at repair have failed
• When working with older homes that may have unique plumbing concerns
• If you’re uncomfortable with the process or lack confidence in your skills
Professional plumbers bring specialized tools and experience that can make the job faster and more reliable. They’re particularly valuable when dealing with intricate tub configurations or when you want to ensure the work meets building codes. Sometimes, the cost of hiring someone is less than the potential damage from a DIY mistake. Consider consulting with a professional if you’re unsure about any aspect of the process or if the job seems beyond your comfort level.
Maintenance Tips to Extend Seal Life
Replacing your seal is just the beginning – proper care ensures it continues working effectively for years:
• Regularly inspect the seal for signs of wear
• Clean the area gently with mild soap and water
• Address small issues immediately rather than waiting for bigger problems
• Keep humidity levels reasonable in the bathroom
• Avoid using harsh chemicals that could damage the seal
• Check the seal after any major plumbing work
Simple maintenance practices go a long way toward extending your seal’s lifespan. Many homeowners find that routine checks every few months catch problems early enough to prevent serious damage. Think of your tub seal like a car tire – it needs regular attention to perform optimally. Creating a simple maintenance schedule helps ensure you never overlook this important component.
Replacing a tub seal might seem like a small task, but it’s actually one of those essential home maintenance jobs that pays huge dividends in the long run. When done correctly, it protects your investment in your home, prevents expensive water damage, and maintains a healthy living environment. The key is knowing when to act, choosing the right materials, and taking your time to do the job properly. Whether you’re tackling this project yourself or bringing in a professional, understanding the basics gives you the confidence to handle whatever comes next. Remember, a well-maintained seal doesn’t just keep water out – it helps preserve your peace of mind too. Your future self will thank you for taking care of this important detail now.