We’ve all been there – you’re trying to update your bathroom or kitchen, only to discover that old caulk is sticking like glue to your sink edges. It’s frustrating, messy, and often leaves you wondering if you’ll ever get it right. But here’s the truth: removing caulk from sink edges doesn’t have to be a nightmare. With the right approach and some simple techniques, you can strip away that stubborn sealant without damaging your sink or wasting hours of your time.
Let’s face it – caulk around sinks and tubs gets old. It yellows, cracks, and becomes a breeding ground for mold and mildew. When it’s time to refresh your space, the last thing you want is to spend hours wrestling with dried caulk that seems to defy every tool you throw at it. But what if we told you there are several straightforward methods that can make this job almost effortless? We’re talking about practical solutions that work whether you’re dealing with silicone, latex, or acrylic caulk. The key is understanding what you’re working with and choosing the right technique. These aren’t just random tips – they’re tried-and-true approaches that have helped countless homeowners tackle this common problem.
Understanding Different Types of Caulk
Before diving into removal techniques, it’s crucial to know what kind of caulk you’re dealing with. The most common types found around sinks include silicone, latex, and acrylic varieties. Silicone caulk is usually more durable and water-resistant, making it ideal for bathrooms. Latex caulk tends to be softer and easier to work with, while acrylic caulk often provides a good balance between durability and ease of application. Understanding the type matters because each responds differently to removal methods. For instance, silicone requires more aggressive treatment than latex, and certain solvents work better on specific materials. If you’re unsure, look at the product label or check the texture – silicone feels more rubbery, while latex is typically smoother and more flexible.
Preparation and Safety First
Safety should always come before speed when tackling caulk removal. Put on gloves to protect your hands from chemicals and sharp edges. Wear safety glasses if using solvents or power tools. Clear the area around your sink of any items that might get in the way or be damaged by the process. Turn off the water supply if necessary and ensure good ventilation, especially if using chemical solvents. You’ll also want to have a few essential supplies ready: a utility knife or scraper, a heat gun or hair dryer, rubbing alcohol or acetone, and some clean rags or paper towels. Having these tools within reach makes the job much smoother and prevents unnecessary delays.
Using Heat to Soften the Caulk
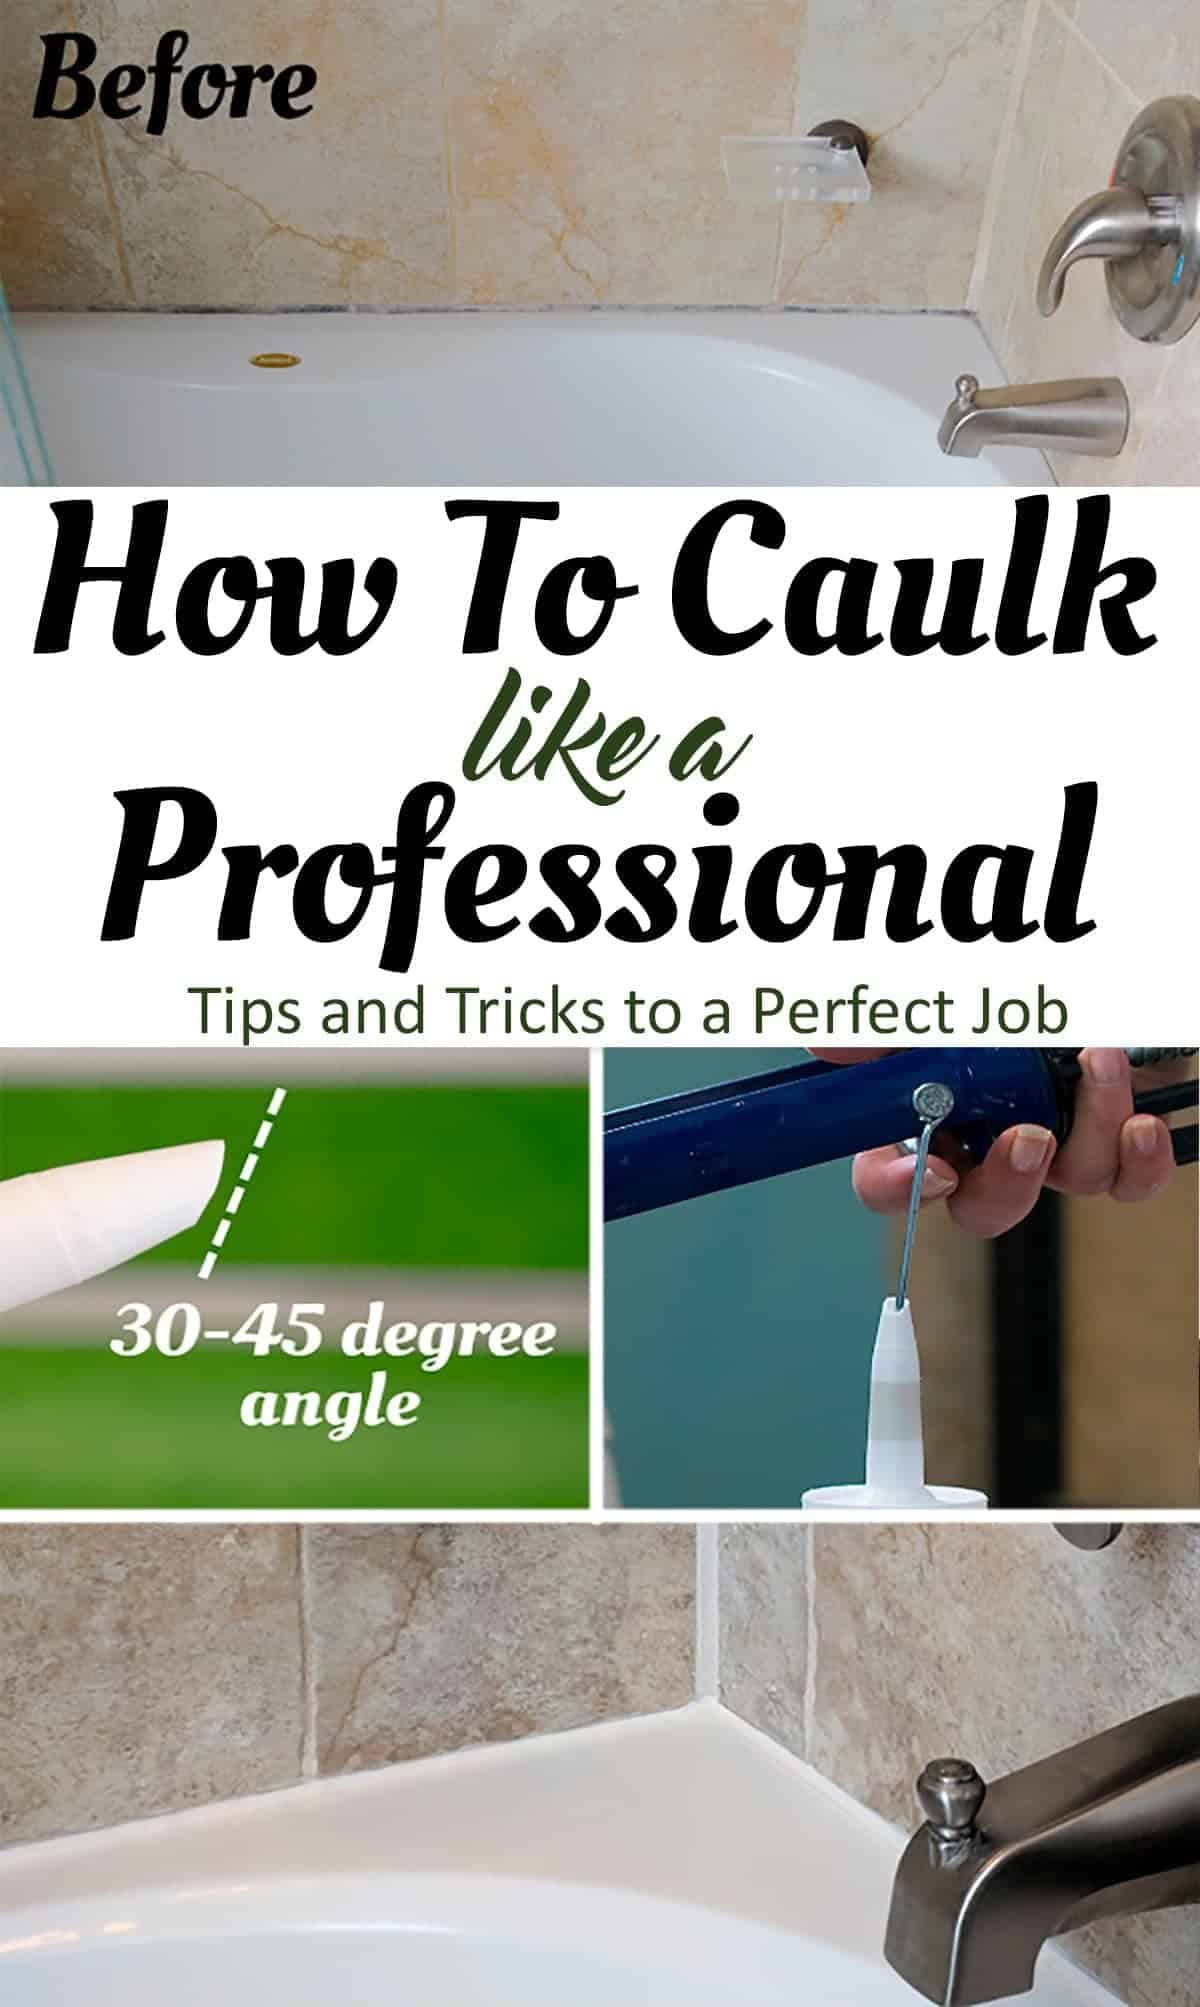
One of the most effective methods for removing caulk is applying heat to soften it. This works particularly well for silicone caulk, which can become pliable when warmed. A hair dryer or heat gun set to low to medium heat works best. Move the heat source slowly along the caulk line, keeping it about six inches away from the surface. The heat helps break down the adhesive properties of the caulk, making it easier to scrape away. Be patient with this method – rushing can cause the caulk to bubble or even damage your sink. You might notice the caulk start to lift and peel once properly heated. Once softened, you can use a plastic putty knife or scraper to gently remove the loosened material. This technique is especially helpful for large areas or stubborn spots.
Chemical Solvents for Quick Removal
When heat alone isn’t enough, chemical solvents can provide the extra boost needed. Acetone-based nail polish remover works exceptionally well for many types of caulk, particularly silicone. Apply it generously to the caulk line and let it sit for a few minutes to penetrate the sealant. The solvent breaks down the molecular bonds holding the caulk in place. After the waiting period, use a plastic scraper to gently work the caulk away. Always test a small, hidden area first to ensure the solvent won’t damage your sink material. Some solvents may cause discoloration or etching on certain surfaces. For sensitive materials, consider using specialized caulk removers designed specifically for your sink type. These products are formulated to be effective while being gentle on surfaces.
Manual Scraping Techniques
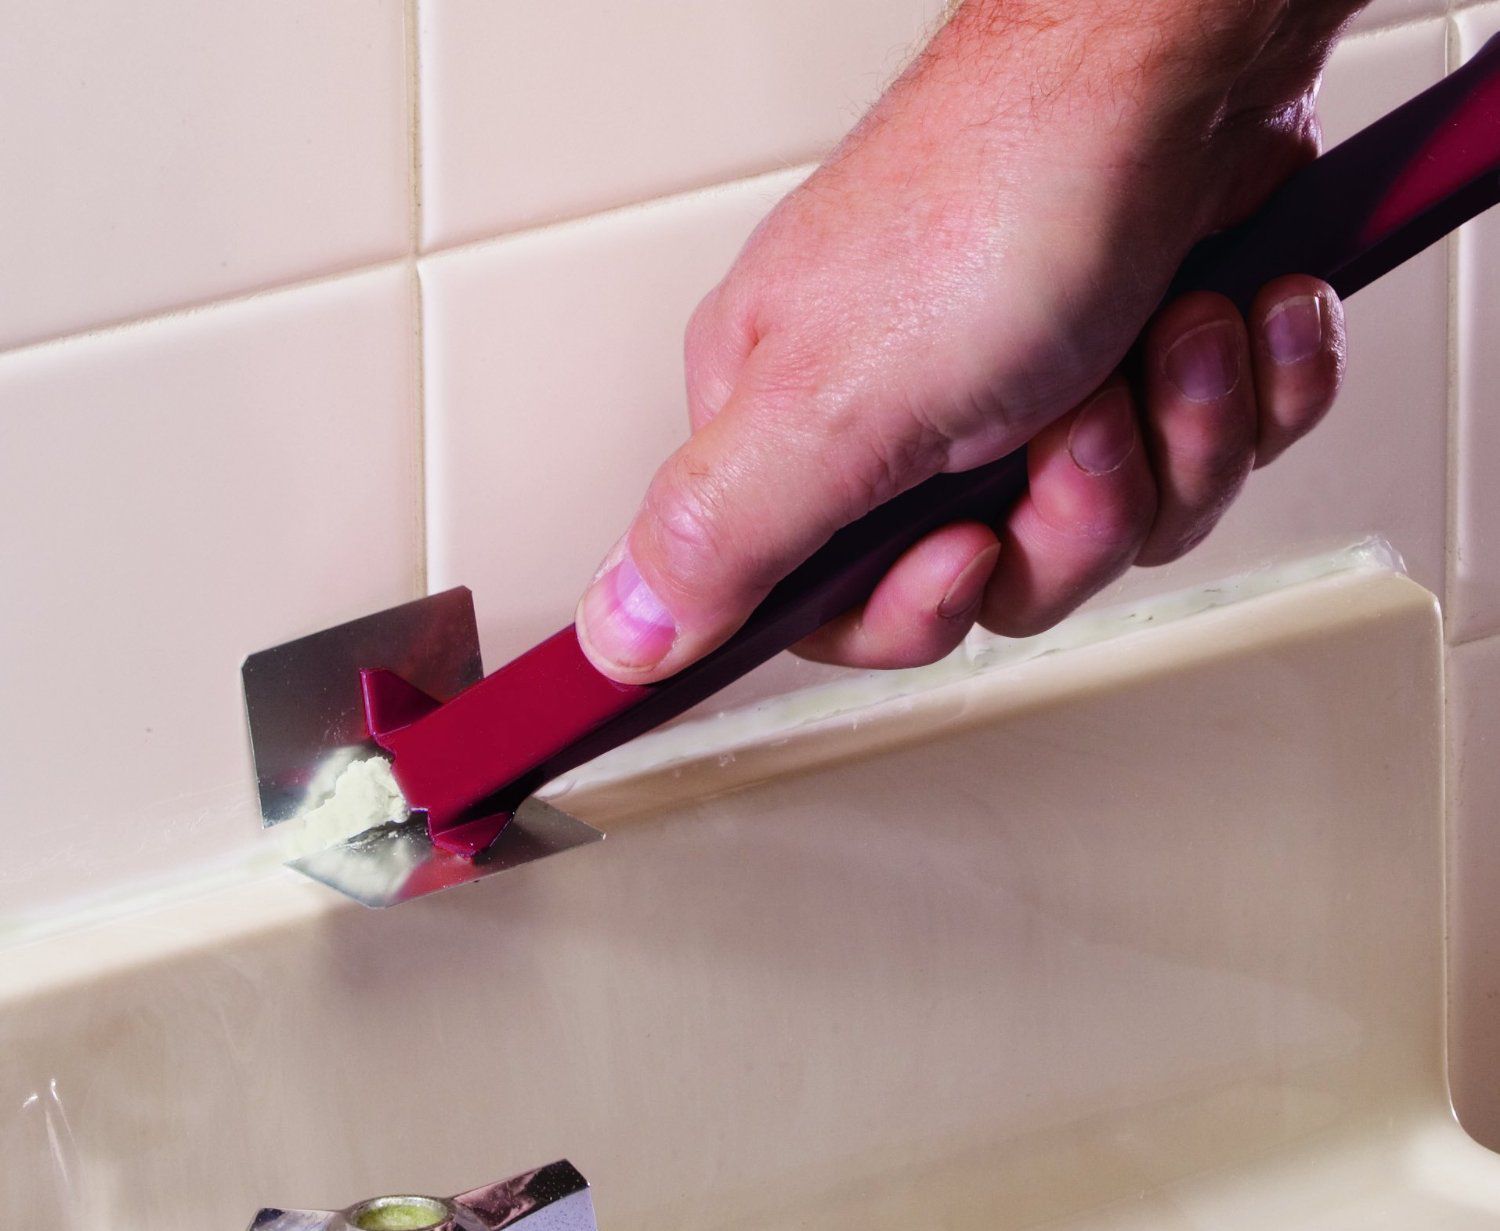
Sometimes the simplest approach works best. Manual scraping with the right tools can be remarkably effective, especially when combined with heat or solvent treatments. Start with a plastic putty knife or a specialized caulk removal tool. Hold it at a shallow angle against the caulk and apply steady pressure while scraping in one direction. Work slowly and methodically, taking care not to gouge or scratch the sink surface. For particularly stubborn areas, you might need to repeat the heat or solvent treatment before scraping again. Some people prefer using a utility knife for precision work, but be extremely careful – a single slip could damage your sink. Consider using a scraper with a curved edge designed specifically for tight spaces around fixtures.
Tips for Preventing Future Caulk Problems
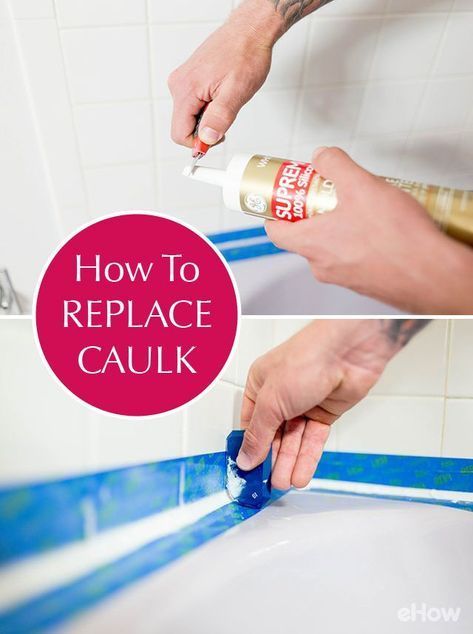
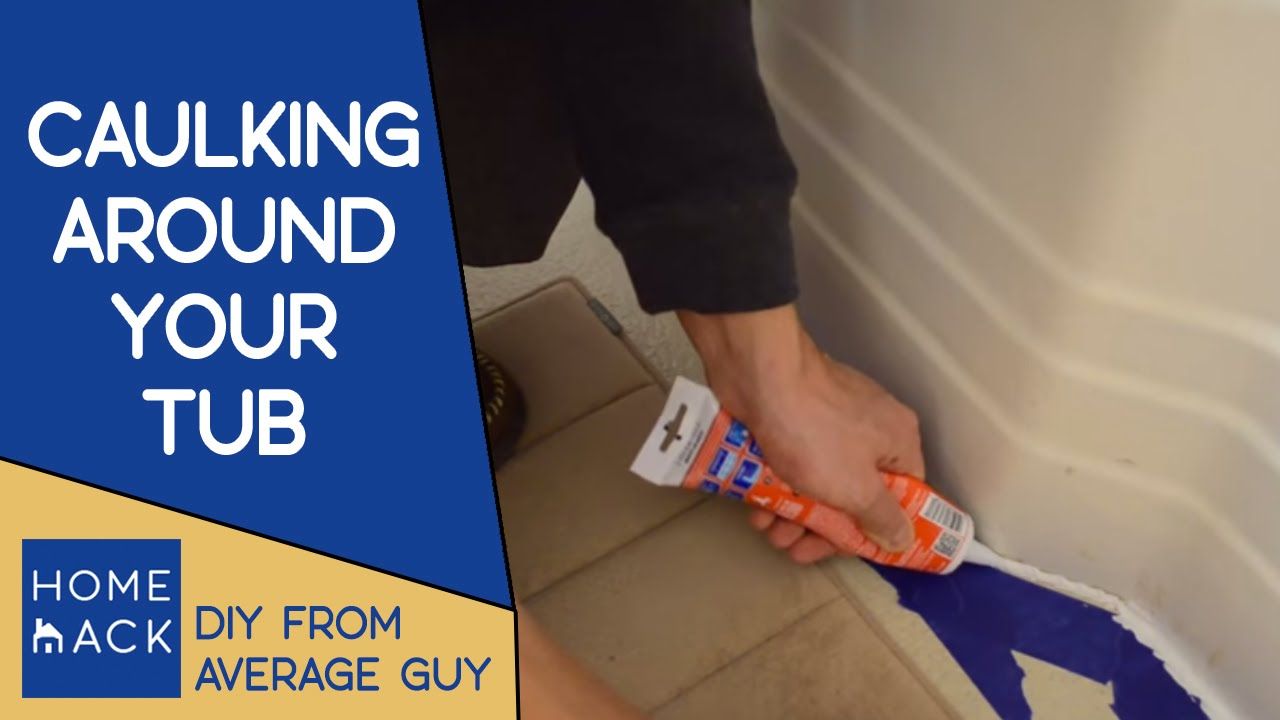
Once you’ve successfully removed old caulk, it’s worth thinking about preventing future issues. Proper preparation of the surface before reapplication is crucial. Clean the area thoroughly with soap and water, then dry completely. Apply a high-quality, mildew-resistant caulk designed for bathroom environments. Quality caulk will last longer and resist peeling or cracking. Consider reapplying caulk every five to seven years, depending on usage and conditions. Regular cleaning and maintenance also help extend the life of new caulk. Keep the area dry when possible and address any water damage promptly. Using a squeegee after showers can reduce moisture buildup that leads to mold growth and caulk deterioration. Finally, choose caulk colors that complement your fixtures rather than trying to match perfectly, since slight variations often go unnoticed.
Removing caulk from sink edges doesn’t have to be a stressful experience. With the right combination of heat, solvents, and manual techniques, you can tackle this task efficiently and effectively. Remember that patience is your best friend – rushing through the process often leads to damage or incomplete removal. Whether you’re working with silicone, latex, or acrylic caulk, there’s a method that will work for your specific situation. The key is preparation, proper tools, and understanding how different materials respond to various treatments. Don’t forget that prevention plays a big role too – proper maintenance and quality caulk applications can save you from future headaches. Now that you know these techniques, you’re equipped to handle whatever caulk challenges come your way. Your sink edges will thank you for the attention, and you’ll feel confident about tackling similar projects in the future. The next time you see that stubborn caulk, you’ll know exactly how to deal with it.