When I first started tackling bathroom remodels, I thought replacing shower diverter valves would be straightforward. I’d done dozens of them before, so I figured I could breeze through 12 in a weekend. Boy, was I wrong. One simple oversight cost me $150 and taught me a lesson that still makes me cringe when I see those little brass fittings.
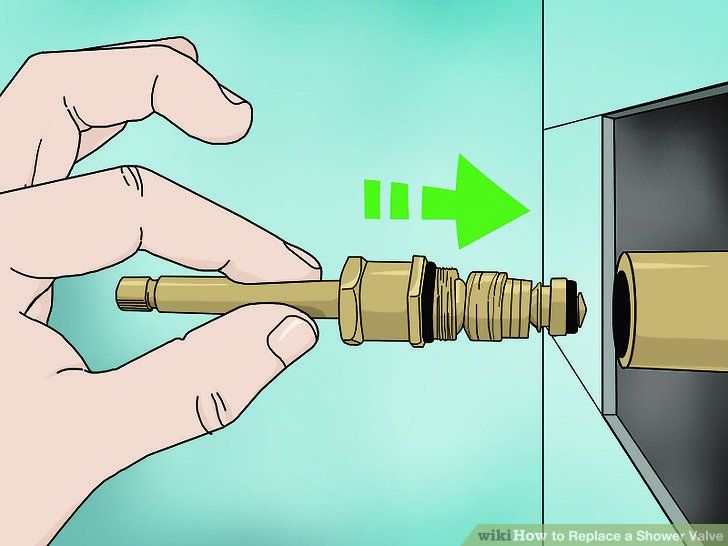
If you’ve ever had to replace a shower diverter valve, you know they’re those small brass mechanisms that redirect water flow between your tub spout and showerhead. They’re small, often overlooked, but critical for proper function. Over the past three years, I’ve replaced more than a dozen of these little guys, but one mistake stands out as the most expensive learning curve. Let me walk you through what happened and how you can avoid the same fate.
Why Shower Diverter Valves Matter
These aren’t just little plastic parts you throw away when they wear out. A faulty diverter valve means water spraying all over the place, inconsistent temperature control, or worse – water backing up into your tub. In my experience, the right diverter valve can make or break a bathroom renovation. When you’re dealing with older homes, you often find these valves are the weakest link in the system. They’re usually the first thing to go, especially in homes over 20 years old. I’ve seen customers come back after a few months because the new valve started leaking again, and it turned out they’d picked the wrong size or type.
How I Approach Shower Diverter Valve Replacement
Here’s how I approach any diverter valve replacement:
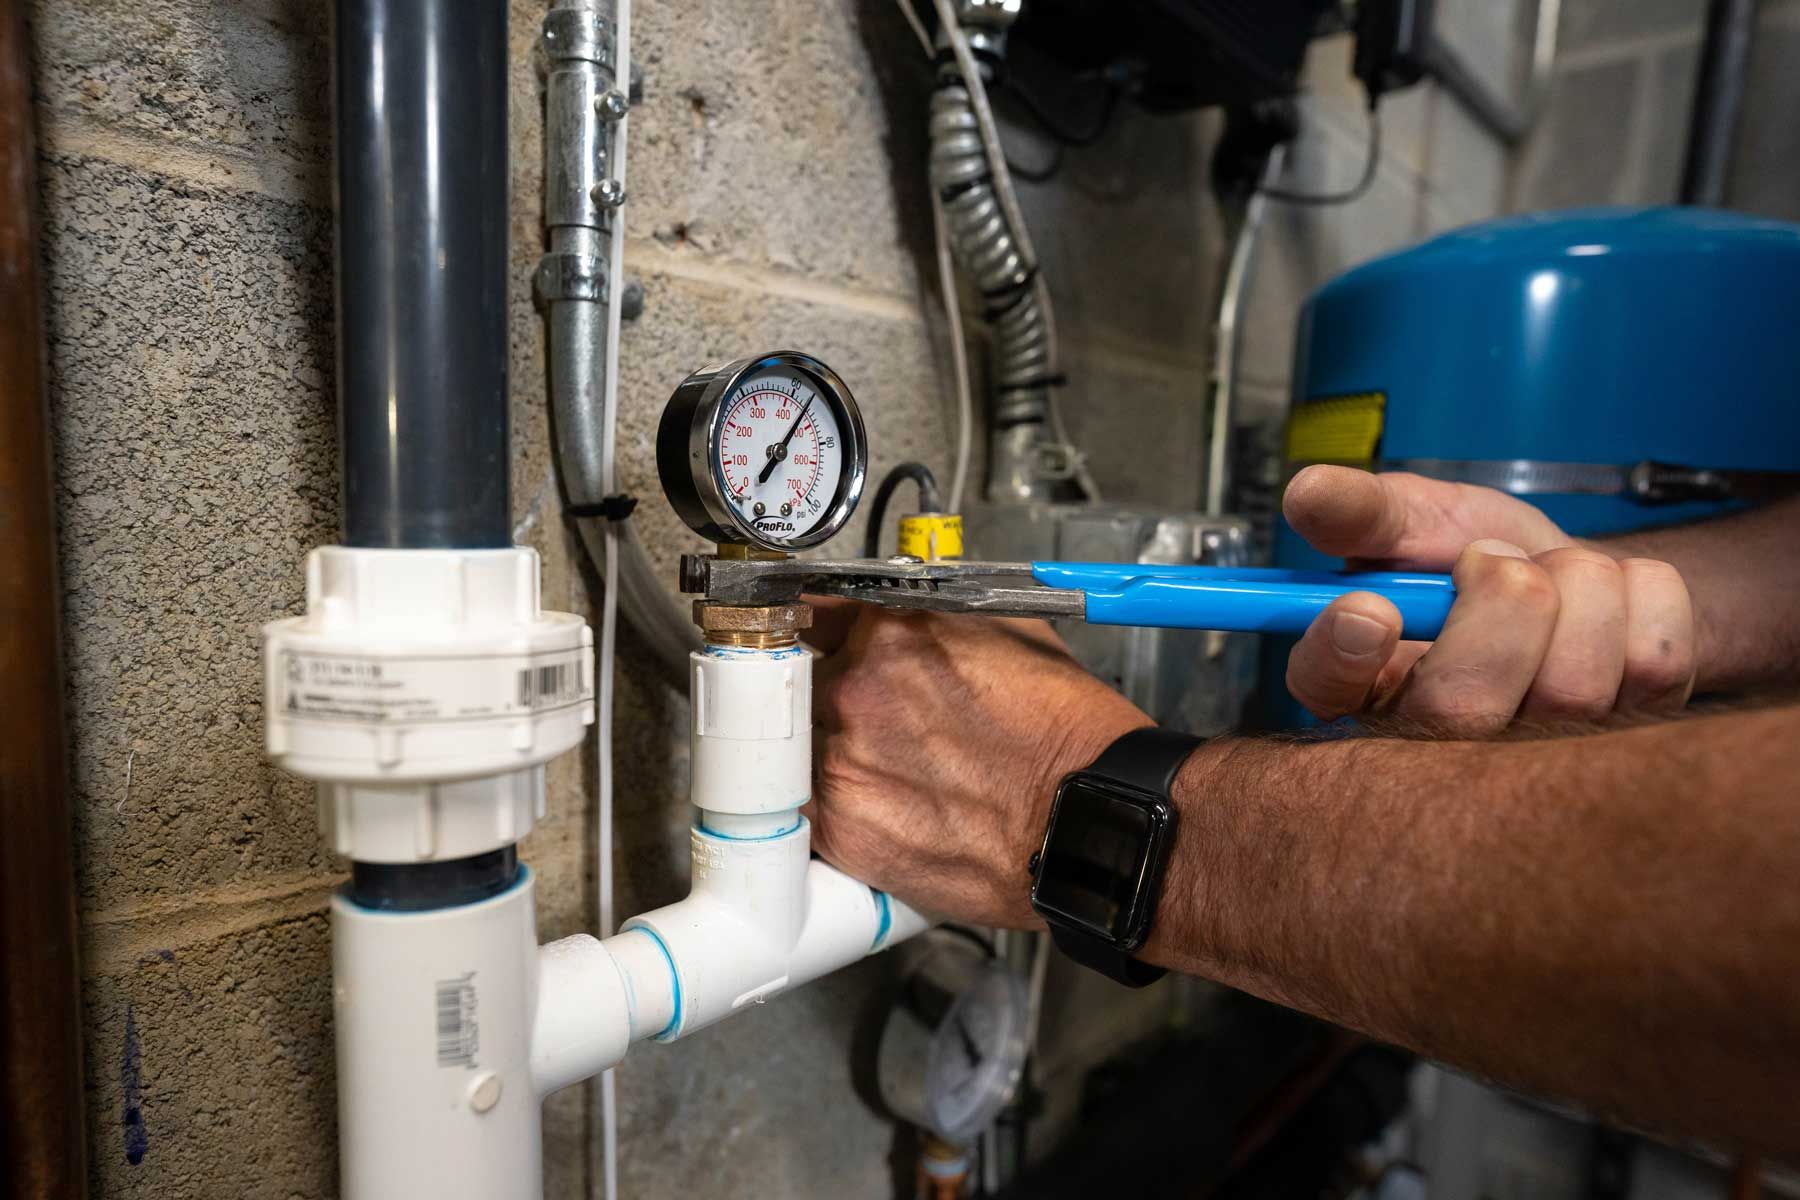
• First, I always shut off the water supply at the main shutoff valve
• Then I remove the handle and trim assembly carefully
• I photograph the internal components before disassembly
• I measure the valve body dimensions carefully
• I check if there are any specific threads or connections that need matching
• I always test fit the new valve before fully installing it
I’ve learned that taking your time during the measurement phase is crucial. Rushing through this part is where most people get into trouble. The last thing you want is to buy a new valve only to realize it doesn’t fit properly.
The Mistakes I Made with Shower Diverter Valves
The big mistake that cost me $150? I completely overlooked checking the valve’s connection threads. I was working on a customer’s home and assumed that since the old valve was the same brand name, the new one would work perfectly. What I didn’t realize was that even though both were labeled ‘Delta,’ the thread pitch was slightly different. When I tightened the new valve, it stripped the threads in the valve body. I had to call a plumber friend who came out and fixed it for $150.
This isn’t just about brand names either. Even if you’re using the same manufacturer, there are different versions with varying thread specifications. I should have checked the threading pattern before installation. My experience teaches me that assumptions can be expensive.
What Most People Get Wrong About Shower Diverter Valves
Here’s what I’ve observed that trips up most DIYers and even some professionals:
• They assume all valves from the same brand are interchangeable
• They skip checking the thread specifications
• They don’t account for different valve types (compression vs. ball vs. cartridge)
• They forget to check if the existing valve body is compatible
Most guides tell you to match the brand, but what they don’t emphasize enough is that even identical-looking valves can have different thread sizes or connection methods. In my experience, this is the single biggest reason why people end up spending more money than expected.
Choosing the Right Shower Diverter Valve
When selecting a new diverter valve, here’s what I recommend:
• Take a photo of the old valve and its mounting hardware
• Measure the distance between the mounting holes
• Check the thread size (usually 1/2" NPT)
• Confirm the valve type (ball, cartridge, compression)
• Verify the finish matches your existing fixtures
Don’t just buy based on brand alone. If you’re unsure, take the old valve to a hardware store and have them verify compatibility. I’ve seen people spend hours trying to install a valve that doesn’t match their plumbing setup. It’s much cheaper to double-check than to pay for emergency repairs afterward.
Frequently Asked Questions About Shower Diverter Valves
• How do I know what type of diverter valve I need?
Look at the old valve’s design – ball valves typically have a round stem, cartridge valves have a rectangular stem, and compression valves have a threaded fitting.
• Can I replace a diverter valve myself?
Yes, but you need to be precise with measurements and threading. If you’re not confident, consider hiring a professional.
• How long do diverter valves last?
With proper maintenance, 10-15 years is normal. Older homes often need replacements every 5-7 years.
• What tools do I need?
Basic plumbing wrenches, a screwdriver set, and possibly a pipe wrench for stubborn connections.
• What happens if I install the wrong valve?
You risk damaging the valve body, causing leaks, or having the valve not seat properly.
Looking back, that $150 repair bill was worth every penny. It taught me that even small plumbing parts require attention to detail. My advice? Always double-check thread specifications, even if it seems redundant. Take photos of the old valve, measure everything, and when in doubt, ask a professional. I’ve had customers come back to thank me for the extra caution I took with these small parts. You’d be surprised how many people think they’re "just little valves," but they’re actually critical components. Next time you tackle a diverter valve replacement, take the time to verify compatibility – it’ll save you both time and money. And if you’re ever unsure, don’t hesitate to call a local plumber for a quick consultation. Sometimes the best investment is the one that prevents a bigger problem down the road.