Hey everyone, it’s your pal here, ready to dive headfirst into the wonderful world of graphite outdoor ovens. I’ve been playing with fire – in the best way possible – for years now, and I can’t wait to share everything I’ve learned. From the first hesitant spark to crafting pizza masterpieces, this is your guide to becoming a graphite oven pro. Forget boring barbecues; we’re talking about real, delicious food, cooked outdoors, with a touch of magic. Let’s get started, shall we?
So, you’ve got a graphite outdoor oven. Awesome. Maybe you’re a complete newbie, wondering where to begin, or perhaps you’ve dabbled a bit, but want to really level up your skills. Whatever your starting point, this article is for you. We’re going to break down everything you need to know, from choosing the right fuel to achieving that perfect, crispy crust on your homemade pizza. It’s about more than just cooking; it’s about the experience. The smell of wood smoke, the warmth on your face, the joy of sharing a meal cooked with love and fire. That’s what we’re aiming for.
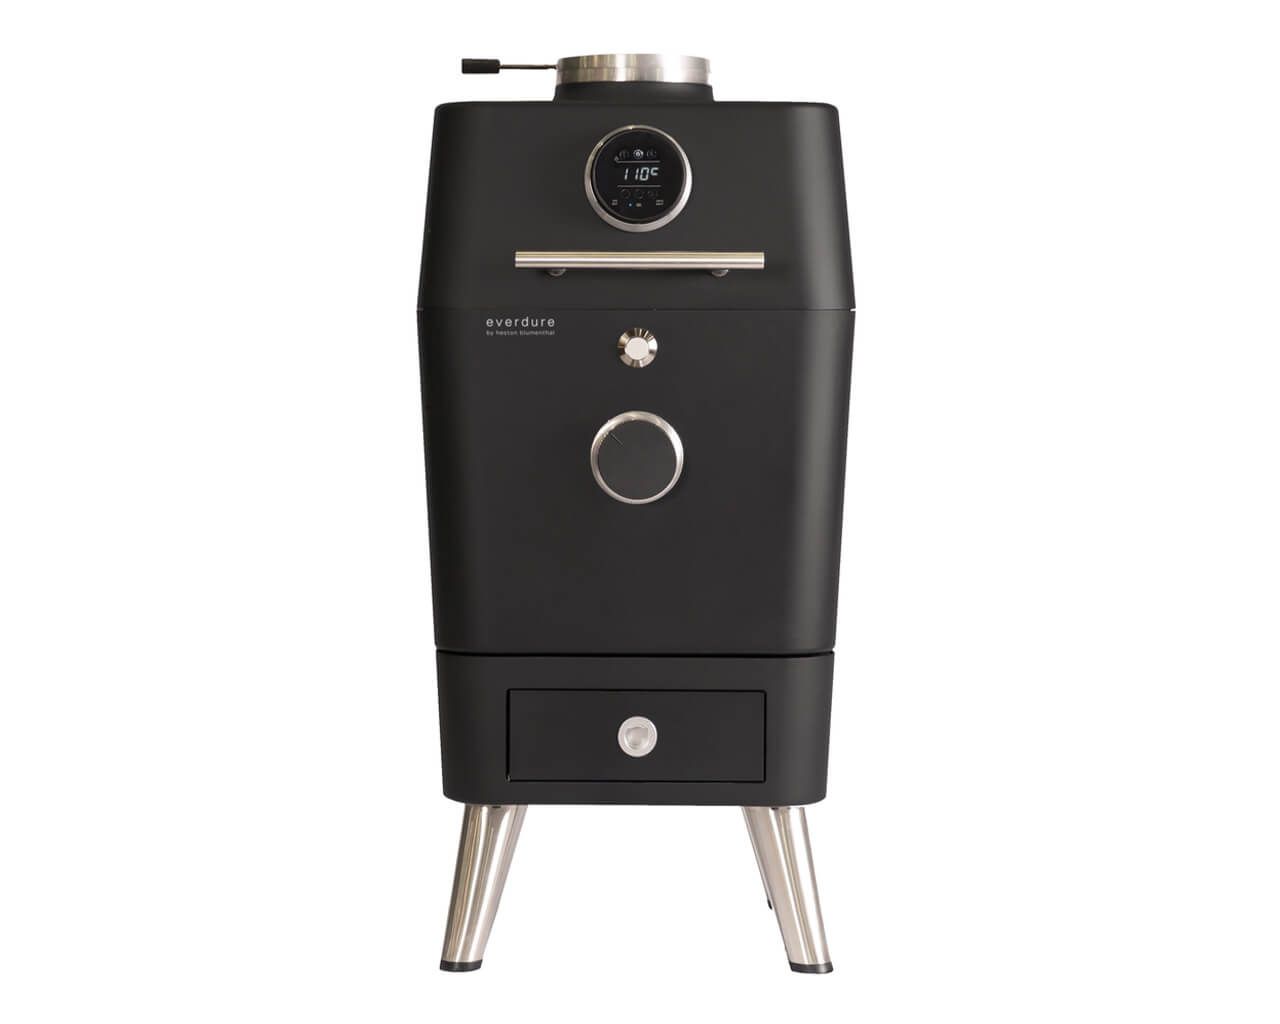
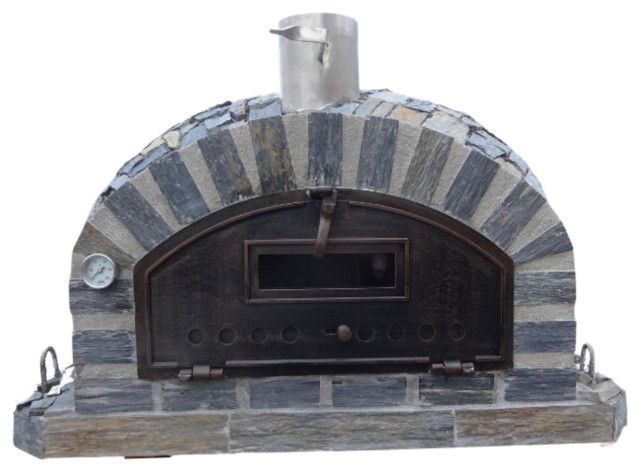
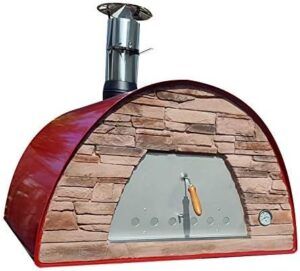
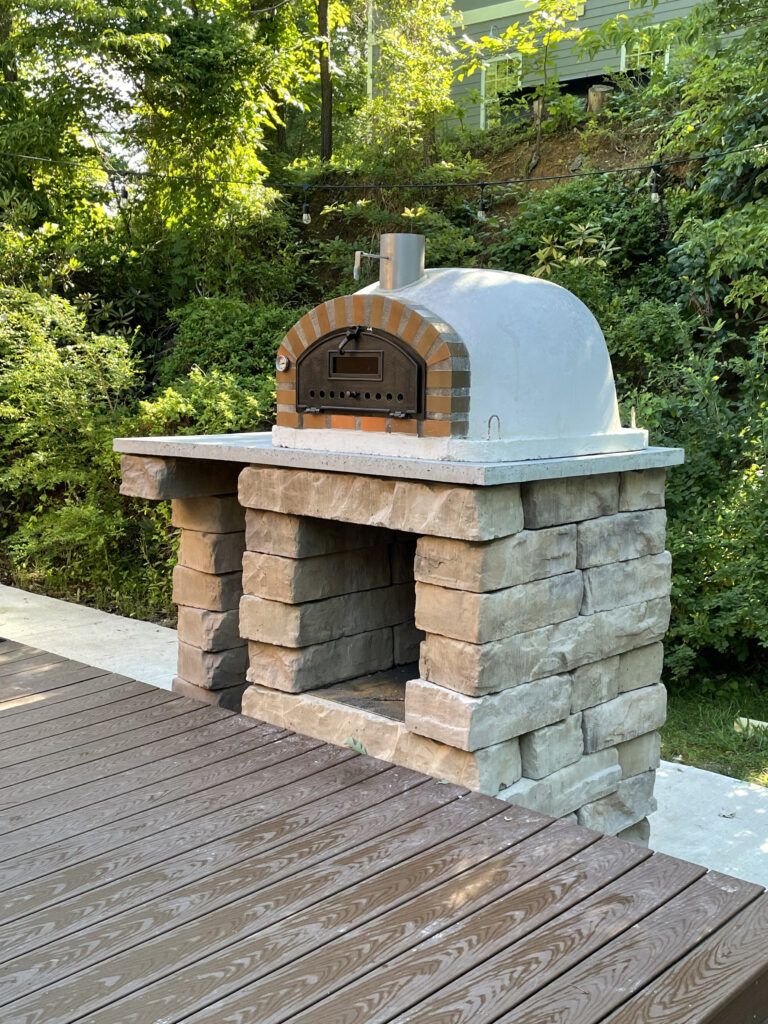
Getting to Know Your Graphite Oven: The Basics
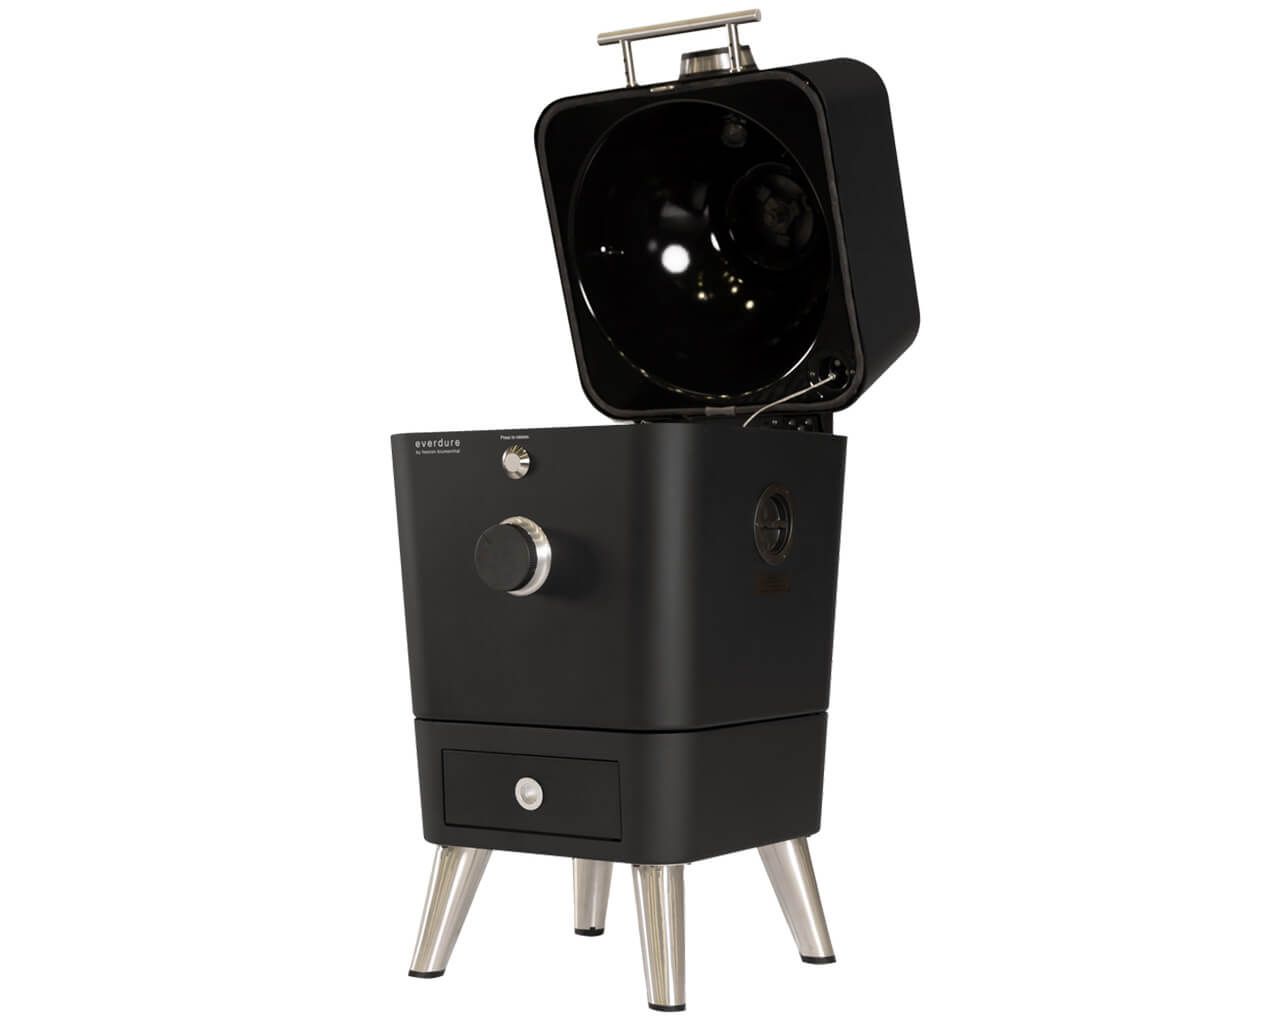
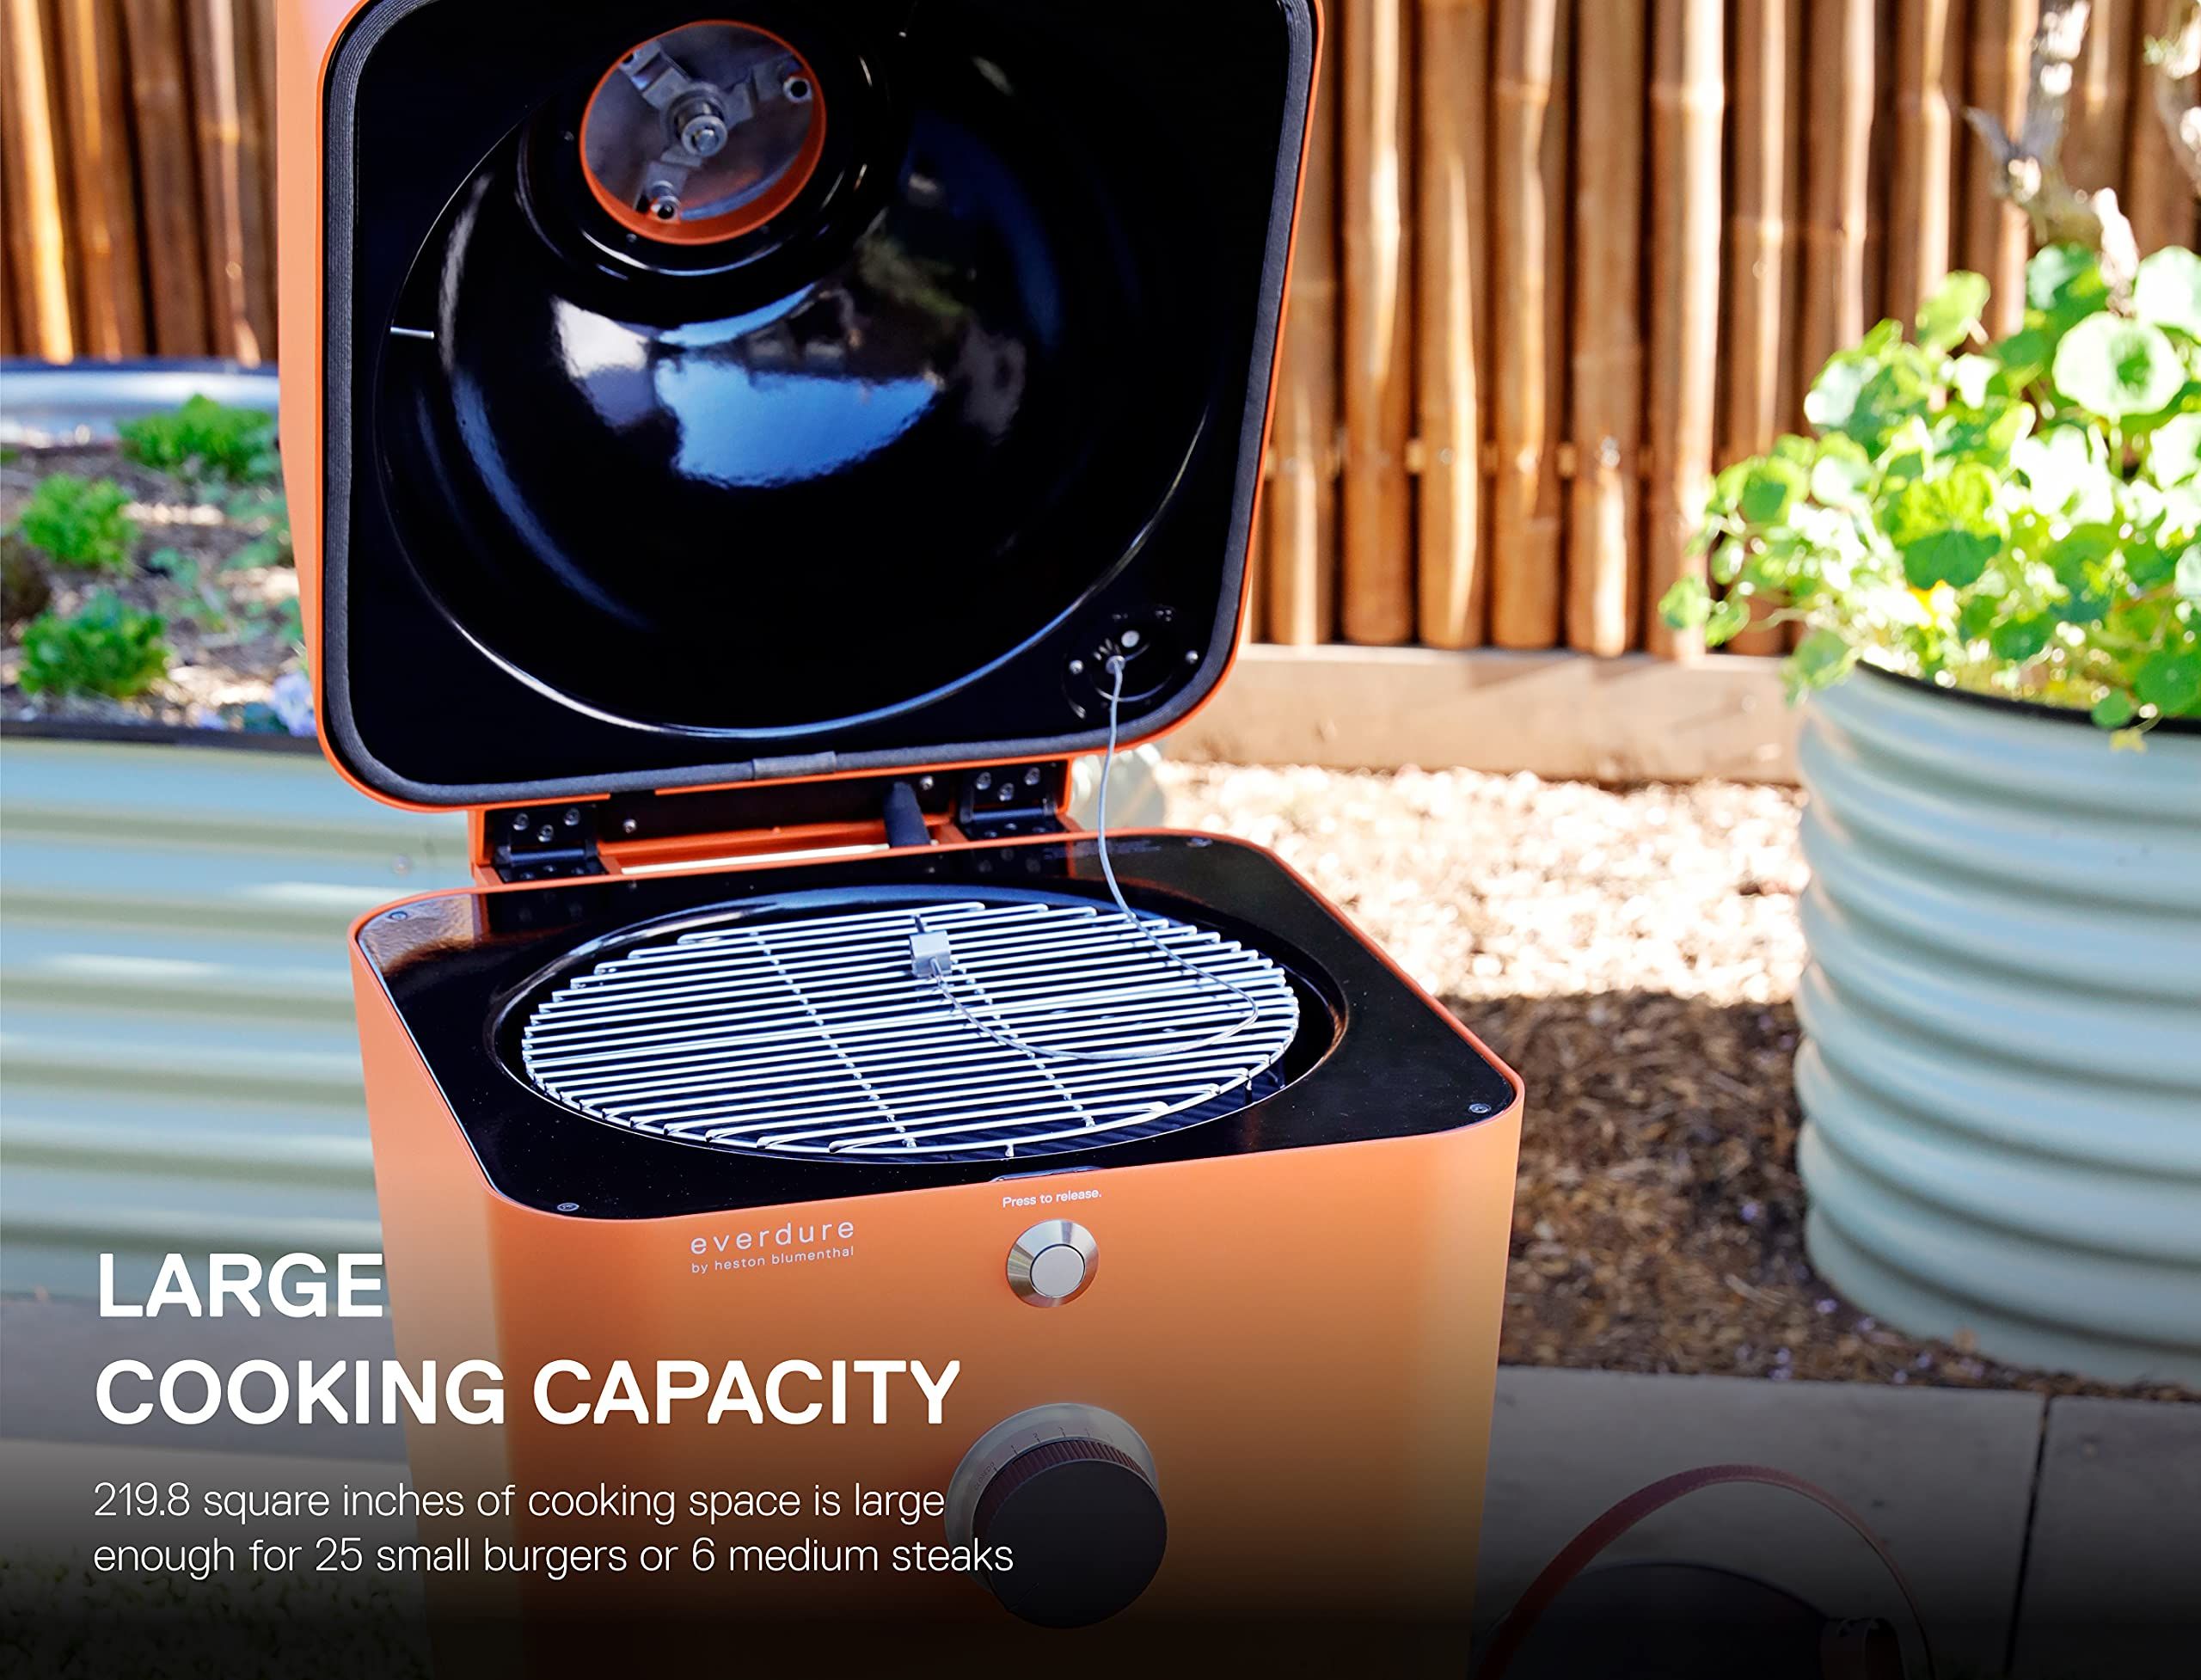
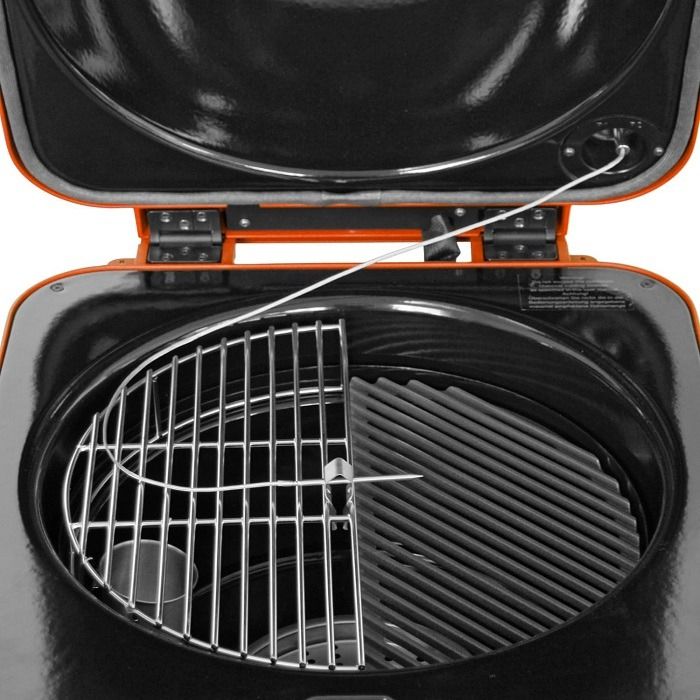
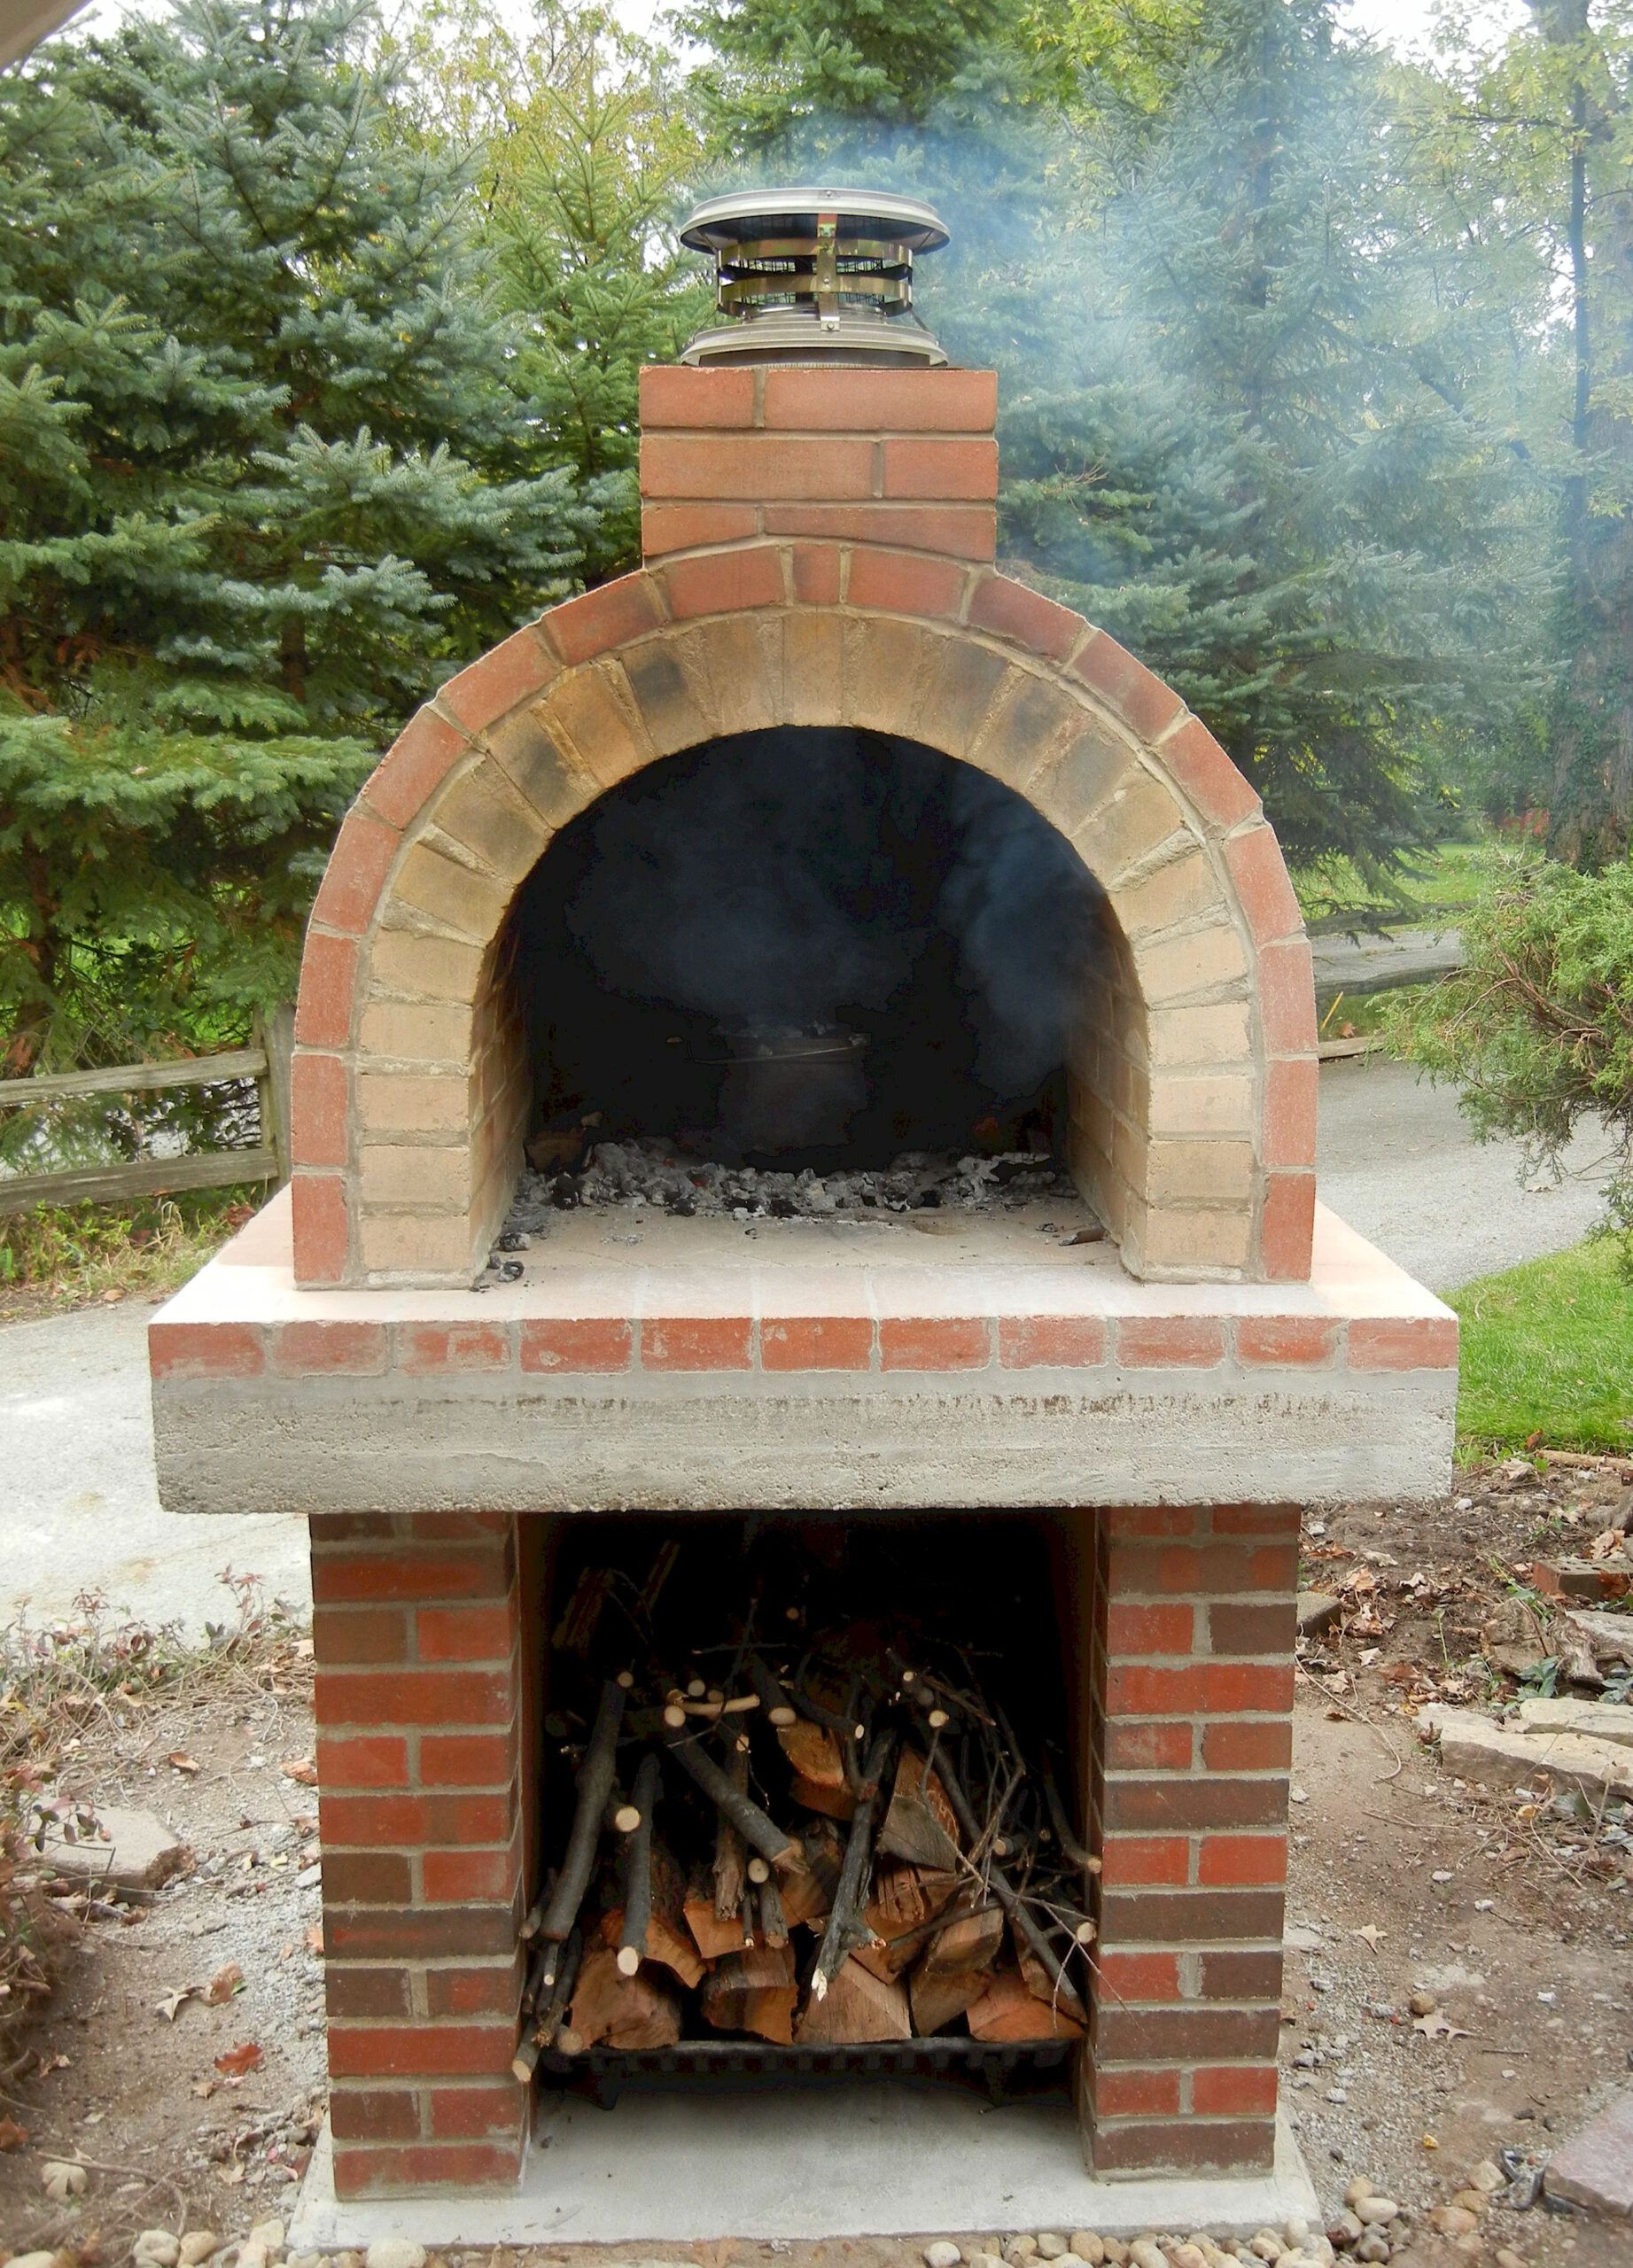
First things first: understanding your oven. Graphite ovens, unlike some other outdoor cooking appliances, get seriously hot – think searing temperatures. This is great for pizza, bread, and anything you want to cook quickly and with a char.
- Fuel Types: Most graphite ovens use wood. The type of wood matters. Hardwoods like oak, maple, and birch burn hot and clean, perfect for pizza and roasting. Avoid softwoods like pine, which can produce a lot of smoke and creosote. Some ovens also accept charcoal or even gas, offering different levels of control and convenience.
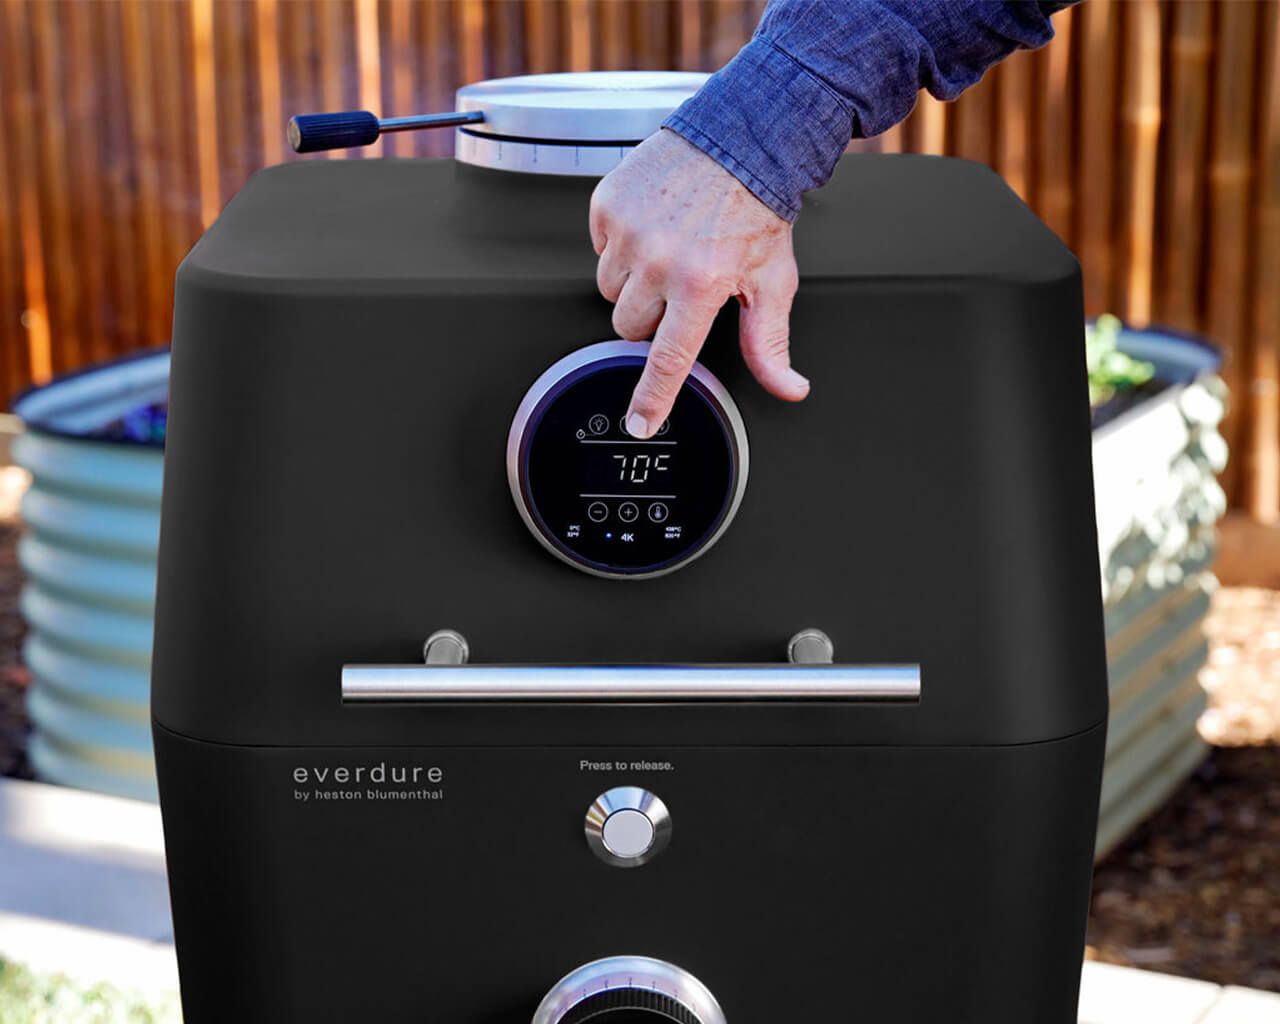
- Heat Management: This is key. Learn how to control the airflow. Most ovens have vents to regulate oxygen supply, which affects the heat. Practice making small adjustments and observing how they affect the temperature. A thermometer is your friend here!
- Safety First: Always operate your oven on a stable, fire-resistant surface. Keep a fire extinguisher or a bucket of sand nearby. Never leave a lit oven unattended.
Mastering the Art of Firing Up Your Oven
Lighting your graphite oven is a skill in itself. Don’t worry, it’s not rocket science, but it does take a little practice. Here’s a basic approach:
- Prep the Oven: Remove any ash from the previous cook. Make sure the oven floor is clean.
- Build Your Fire: Start with kindling (small pieces of wood) and tinder (easily flammable material like paper or wood shavings). Arrange them in a teepee or log cabin formation. You’ll put your larger pieces of wood on top of it.
- Light the Tinder: Use a long match or lighter. Be patient; it might take a few tries. Watch the fire build, adding more kindling as needed.
- Add Larger Wood: Once the kindling is burning well, gradually add larger pieces of wood. Don’t overload the oven at first. Let the fire build slowly and evenly.
- Reach Target Temperature: Keep adding wood until the oven reaches the desired temperature. This can take 30 minutes to an hour, depending on the oven and the wood. For pizza, you’ll want it screaming hot – 700-900°F (370-480°C).
Pizza Perfection: The Holy Grail of Graphite Oven Cooking
Ah, pizza. The reason many of us get into graphite ovens in the first place! It’s all about the high heat.
- The Dough: Use a high-quality pizza dough recipe. A sourdough starter is a fantastic way to go. Make sure your dough is properly proofed (risen) before using it.
- The Peel: A pizza peel (the flat paddle) is essential for getting your pizza in and out of the oven safely.
- The Build: Stretch your dough thin (but not too thin!), add your sauce, toppings (not too many!), and slide it onto the hot stone. Work quickly; the cooking time is very short.
- The Cook: Rotate the pizza frequently to ensure even cooking. Watch for the crust to puff up and the cheese to bubble and brown. A pizza should cook in 60-90 seconds.
Beyond Pizza: Exploring the Versatility of Graphite Ovens
Don’t limit yourself to pizza! Graphite ovens are incredibly versatile. Here are a few other things you can cook:
- Bread: The high heat is perfect for baking crusty loaves. Try sourdough, baguettes, or focaccia.
- Roast Vegetables: Toss vegetables with olive oil, herbs, and salt and roast them in a cast-iron skillet. The smoky flavor is amazing.
- Roasted Meats: While you might not be able to fit a whole turkey, you can roast chickens, pork loins, or even steaks. Use a cast-iron skillet or Dutch oven for best results.
- Desserts: Yes, even desserts! Think fruit cobblers, baked apples, or even s’mores.
Troubleshooting Common Graphite Oven Challenges
Even experienced cooks have their off days. Here are some common issues and how to address them:
- Oven Won’t Get Hot Enough: Check your fuel. Is it dry? Are you using the right type of wood? Make sure your vents are open.
- Pizza Sticking to the Stone: Make sure your peel is well-floured (or use cornmeal). Don’t overload the pizza with toppings. Ensure the stone is hot before you put the pizza in.
- Uneven Cooking: Rotate your food frequently. Adjust the position of the food relative to the heat source.
- Too Much Smoke: You might be using wet wood, or not enough air is getting to the fire. Ensure good airflow and use properly seasoned, dry wood.
- Burned Food: Keep a close eye on things! Graphite ovens cook fast, and it’s easy to overcook food. Have a plan for what you are going to cook before you light the fire, and watch it closely.
Tips and Tricks to Elevate Your Graphite Oven Game
Here are some pro tips to take your outdoor cooking to the next level:
- Invest in Good Tools: A pizza peel, a pizza cutter, a long-handled brush for cleaning the oven, a good quality thermometer, and heat-resistant gloves are essential.
- Experiment with Flavors: Try different types of wood for different flavor profiles. Add herbs to the fire for extra aroma.
- Preheat Your Cooking Vessels: Cast-iron skillets and Dutch ovens can handle the high heat and will give you a great sear. Preheat them in the oven before adding food.
- Practice, Practice, Practice: Don’t get discouraged if your first few attempts aren’t perfect. Keep experimenting, learning, and enjoying the process.
- Have Fun: Cooking should be enjoyable. Invite friends, grab a beverage, and make it a social experience. It’s all about the joy of the moment and the food that you create; don’t stress and have fun!
So, there you have it – a starting point for your graphite outdoor oven adventure. Remember that the journey from beginner to pro is about embracing the challenge, learning from your mistakes, and celebrating the delicious successes along the way. Don’t be afraid to experiment, to try new things, and to share your creations with the people you care about. The world of outdoor cooking is waiting. Go out there, light that fire, and start creating some amazing food. Happy cooking, everyone! And, as always, feel free to ask any questions below. I’m always happy to help. Oh, and there is a minor speling mistake, did you find it?