Hey pizza lovers. Are you ready to take your wood-fired pizza game to the next level? I’ve spent years, and I mean years, experimenting and perfecting the art of pizza dough with my Solé Gourmet Italia oven. It’s a journey filled with floury hands, delicious smells, and of course, a lot of trial and error. But trust me, the effort is SO worth it. In this guide, I’ll share the knowledge I’ve gained, breaking down the secrets to creating pizza dough that’s light, airy, and perfectly charred in your wood-fired oven. Let’s get started, shall we?
Making pizza dough from scratch can seem intimidating, I get it. But the truth is, with the right ingredients, techniques, and a little bit of practice, anyone can make amazing pizza dough. I remember my first attempts. Let’s just say, they weren’t pretty. But I didn’t give up. I was determined to create that perfect crust – the one that’s crispy on the outside, with a soft, chewy interior, and a slight char from the wood-fired heat. And using a Solé Gourmet Italia oven? It really changed everything. The even heat distribution and the way it crisps the base… pure pizza magic. In this article, we’ll explore all aspects of making delicious pizza dough, from ingredient selection to the all-important proofing process, plus some fun tips and tricks I’ve collected along the way.
Choosing Your Ingredients: Quality Matters
The foundation of any great pizza dough is, of course, the ingredients. Let’s talk about what you need. First, the flour. You want a high-protein flour, like bread flour or ’00’ flour. This gives the dough its strength and helps it develop that wonderful chewiness. I love using ’00’ flour, it’s finely milled and creates a super-light crust. Next, water. Use cold water, it helps control the fermentation. Then, yeast. You can use active dry yeast or instant yeast. Active dry yeast needs to be activated in warm water first, while instant yeast can be added directly to the dry ingredients. A touch of salt is essential for flavor, and it also helps control the yeast’s activity. Finally, a little olive oil adds richness and helps with browning. Using great ingredients makes a big difference. Believe me.
The Mixing Process: Hand vs. Machine
Alright, now that we have our ingredients, it’s time to get mixing. You can do this by hand or with a stand mixer. Both methods work perfectly. If you’re mixing by hand, it’s a bit more work, but it’s a great way to feel the dough and get a sense of its texture. Start by combining the flour, yeast, and salt in a large bowl. Add the water and olive oil, and mix until a shaggy dough forms. Then, turn the dough out onto a lightly floured surface and knead for about 8-10 minutes, until it becomes smooth and elastic. If you’re using a stand mixer, use the dough hook and mix on low speed for about 8-10 minutes. The goal is to develop the gluten, which gives the dough its structure. Don’t over-knead, or the dough can become tough. This process is very important.
Proofing: Giving Your Dough Time to Rise
Proofing, or the first rise, is where the magic truly happens. Place your dough in a lightly oiled bowl, turning it to coat all sides. Cover the bowl with plastic wrap or a damp towel. Let it rise in a warm place for about an hour to an hour and a half, or until it has doubled in size. The warmer the environment, the faster the rise. You can also proof your dough in the refrigerator for a longer, slower rise. This can develop more complex flavors and is a great option if you want to make your dough a day or two in advance. Just make sure to bring it back to room temperature before shaping it. This is very important, and it’s where a lot of people make mistakes.
Shaping and Stretching: The Art of the Pizza
Once your dough has proofed, it’s time to shape it. Gently punch down the dough to release the air. Turn it out onto a lightly floured surface. Now, here’s where the fun begins. You can use your hands or a rolling pin to shape the dough into a circle or whatever shape you desire. If using your hands, start by gently pressing the dough out from the center, working your way outwards. Be careful not to tear the dough. As you stretch it, the gluten will relax, making it easier to work with. Aim for a thickness of about 1/4 inch. A thicker crust will be chewier, and a thinner crust will be crispier. Experiment and see what you like best, it’s all part of the fun. And don’t worry about making it perfect; rustic is beautiful, and really, that’s the fun part!
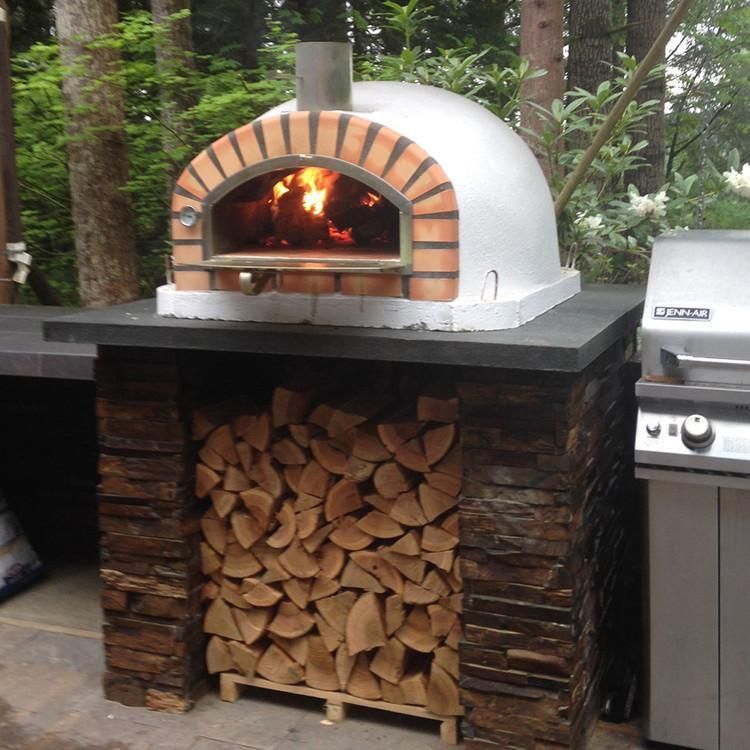
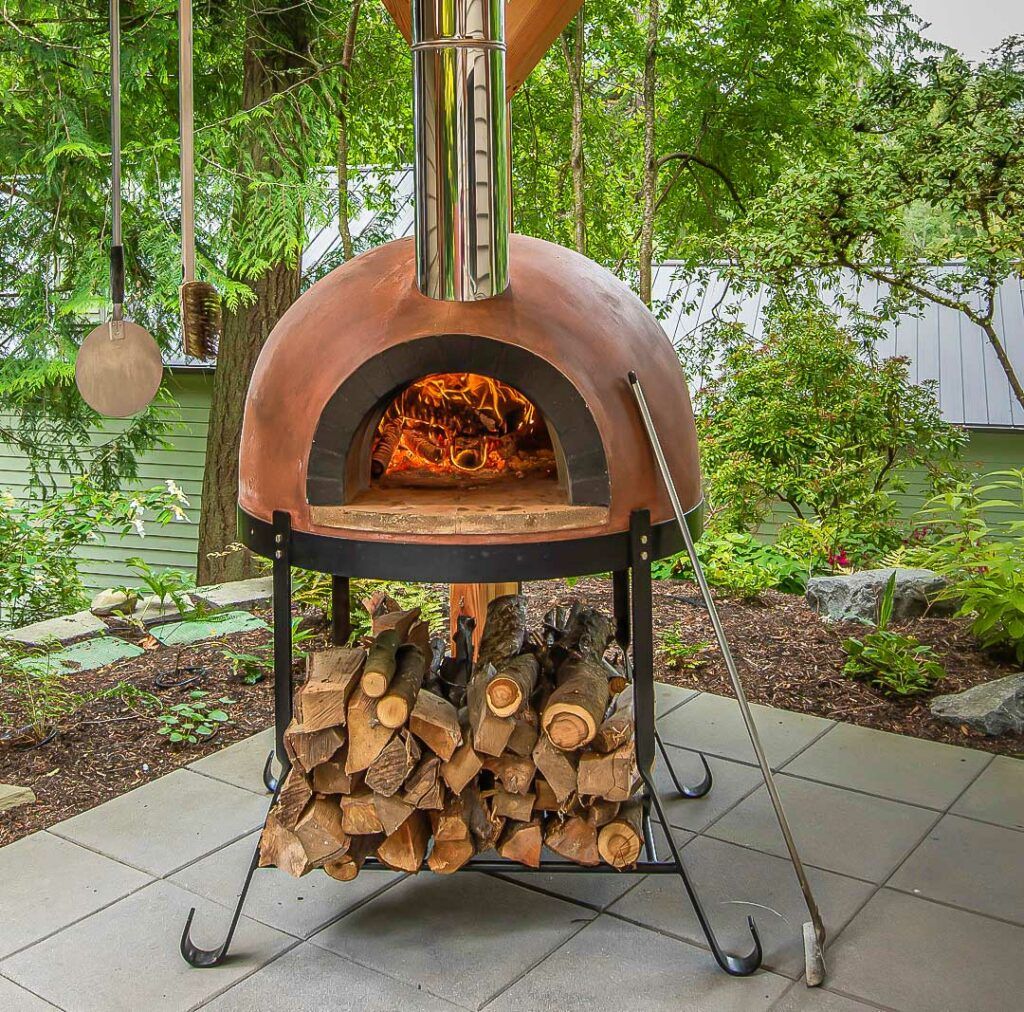
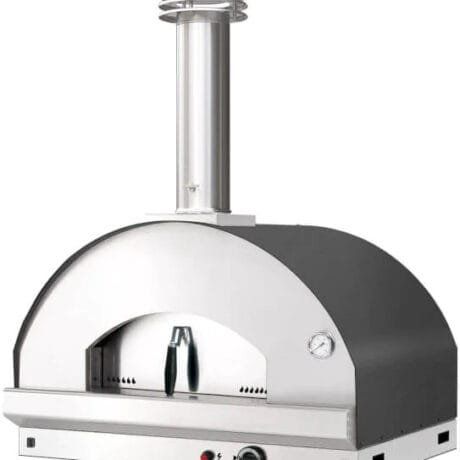
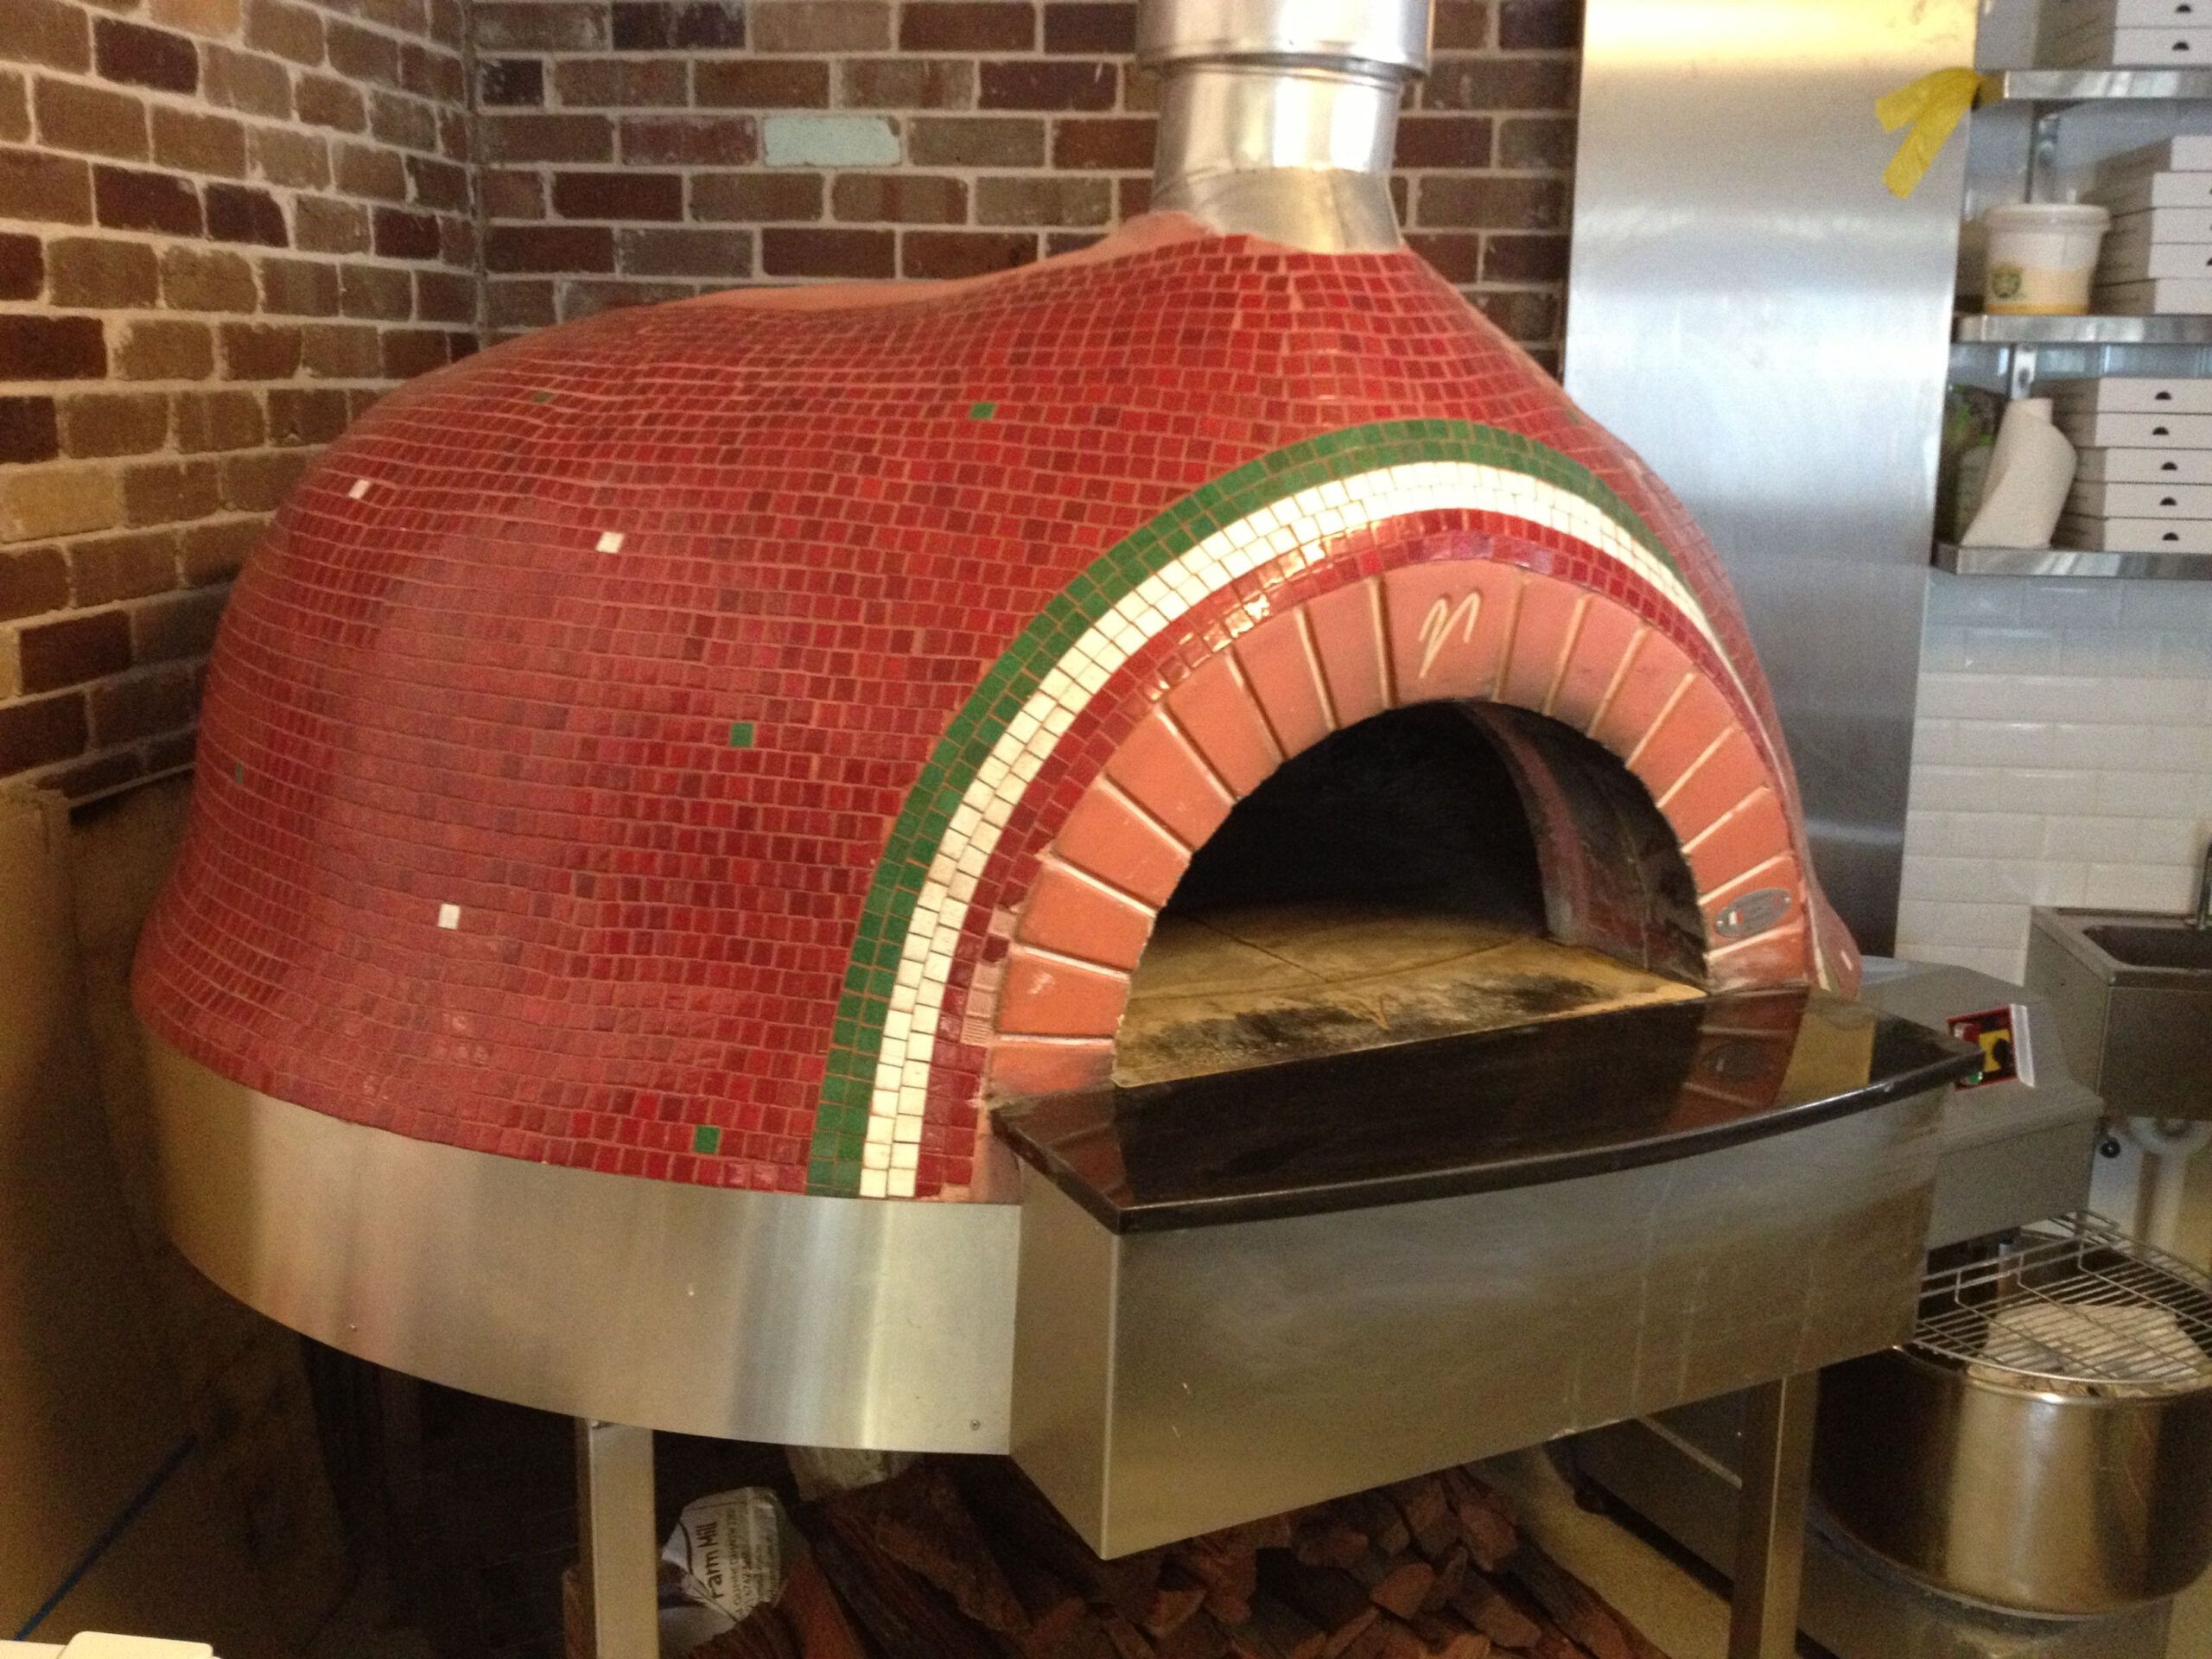
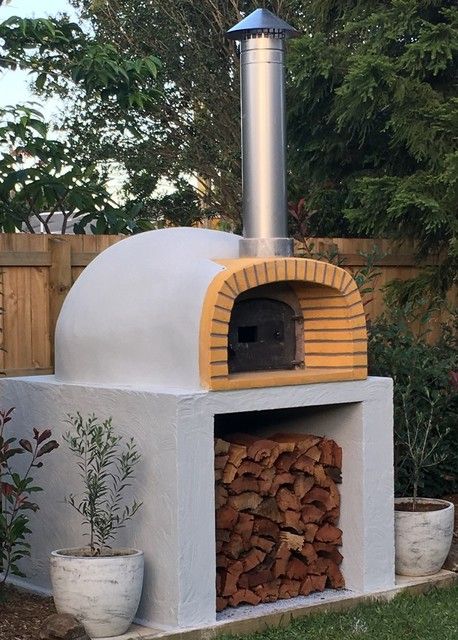
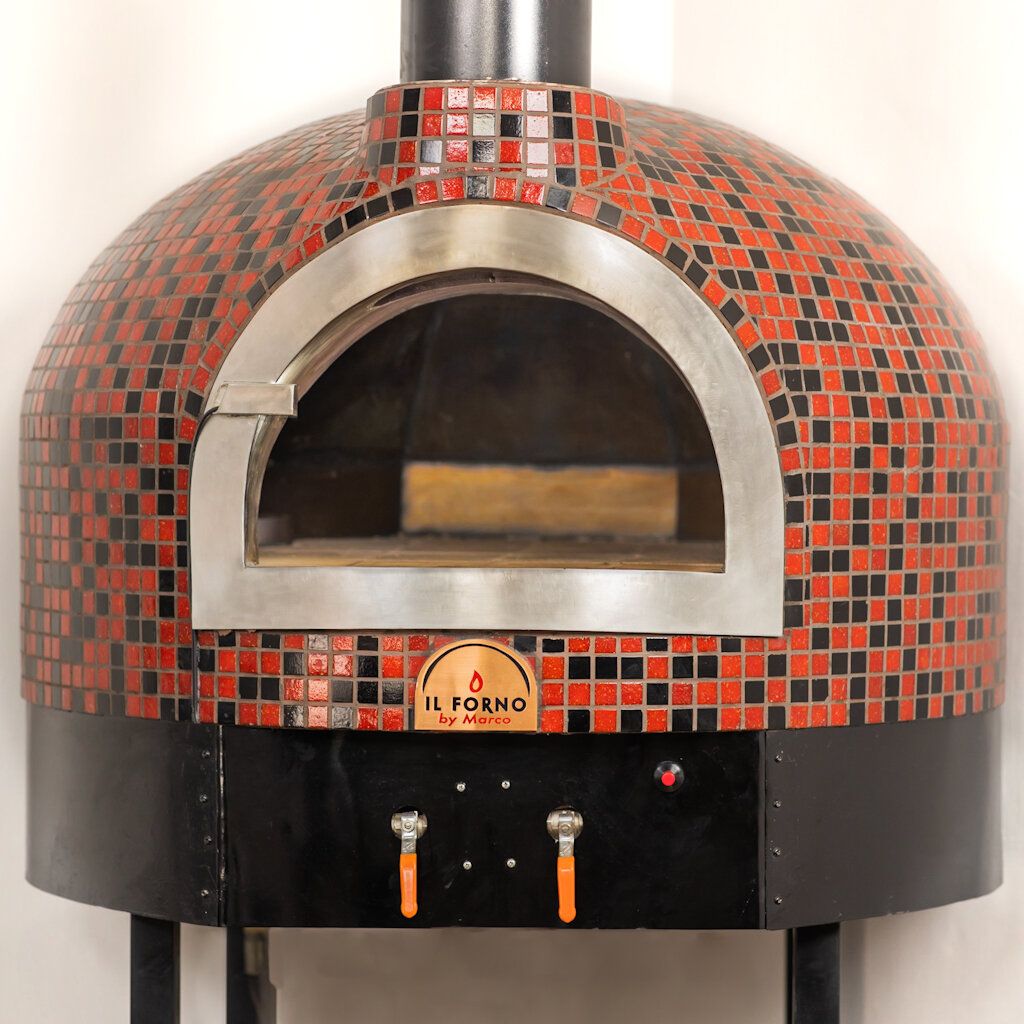
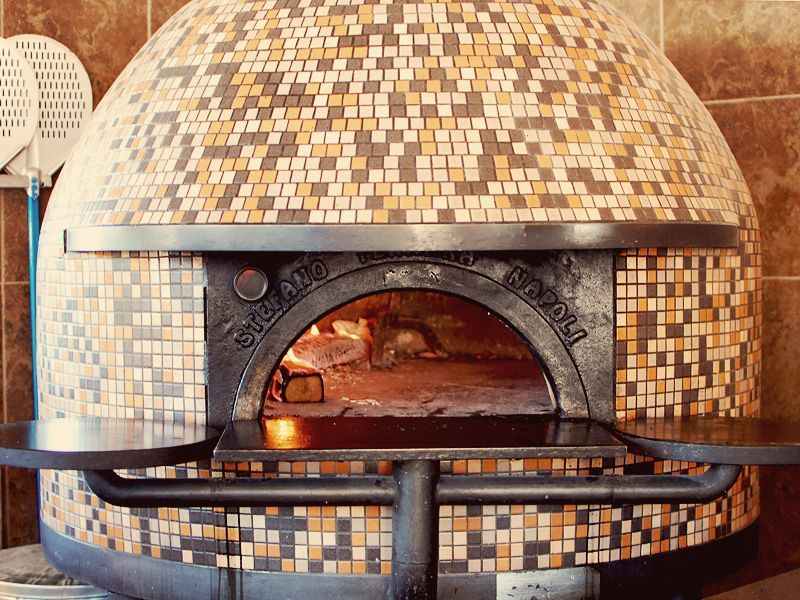
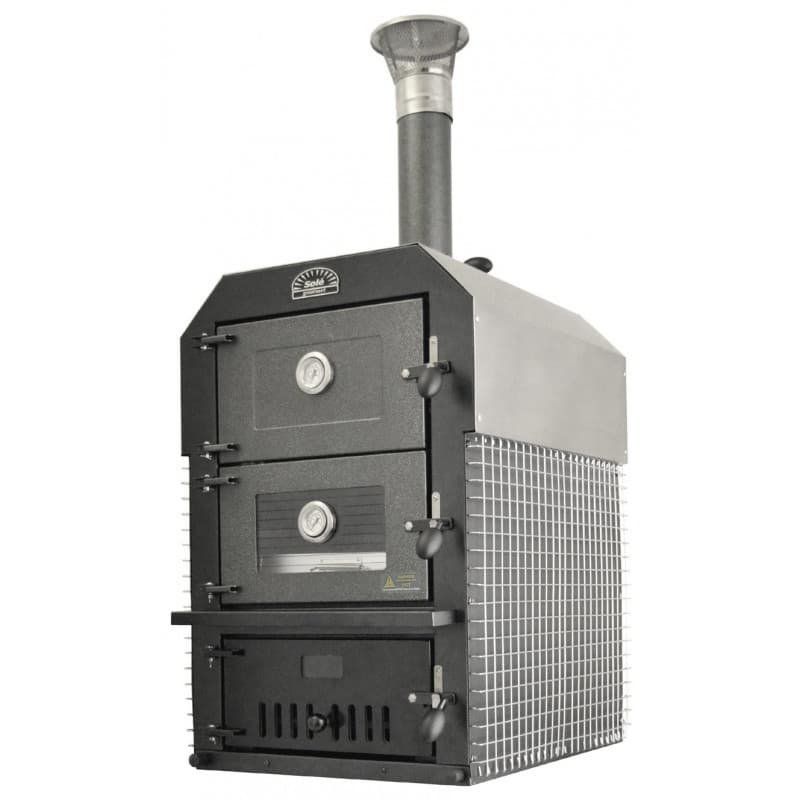
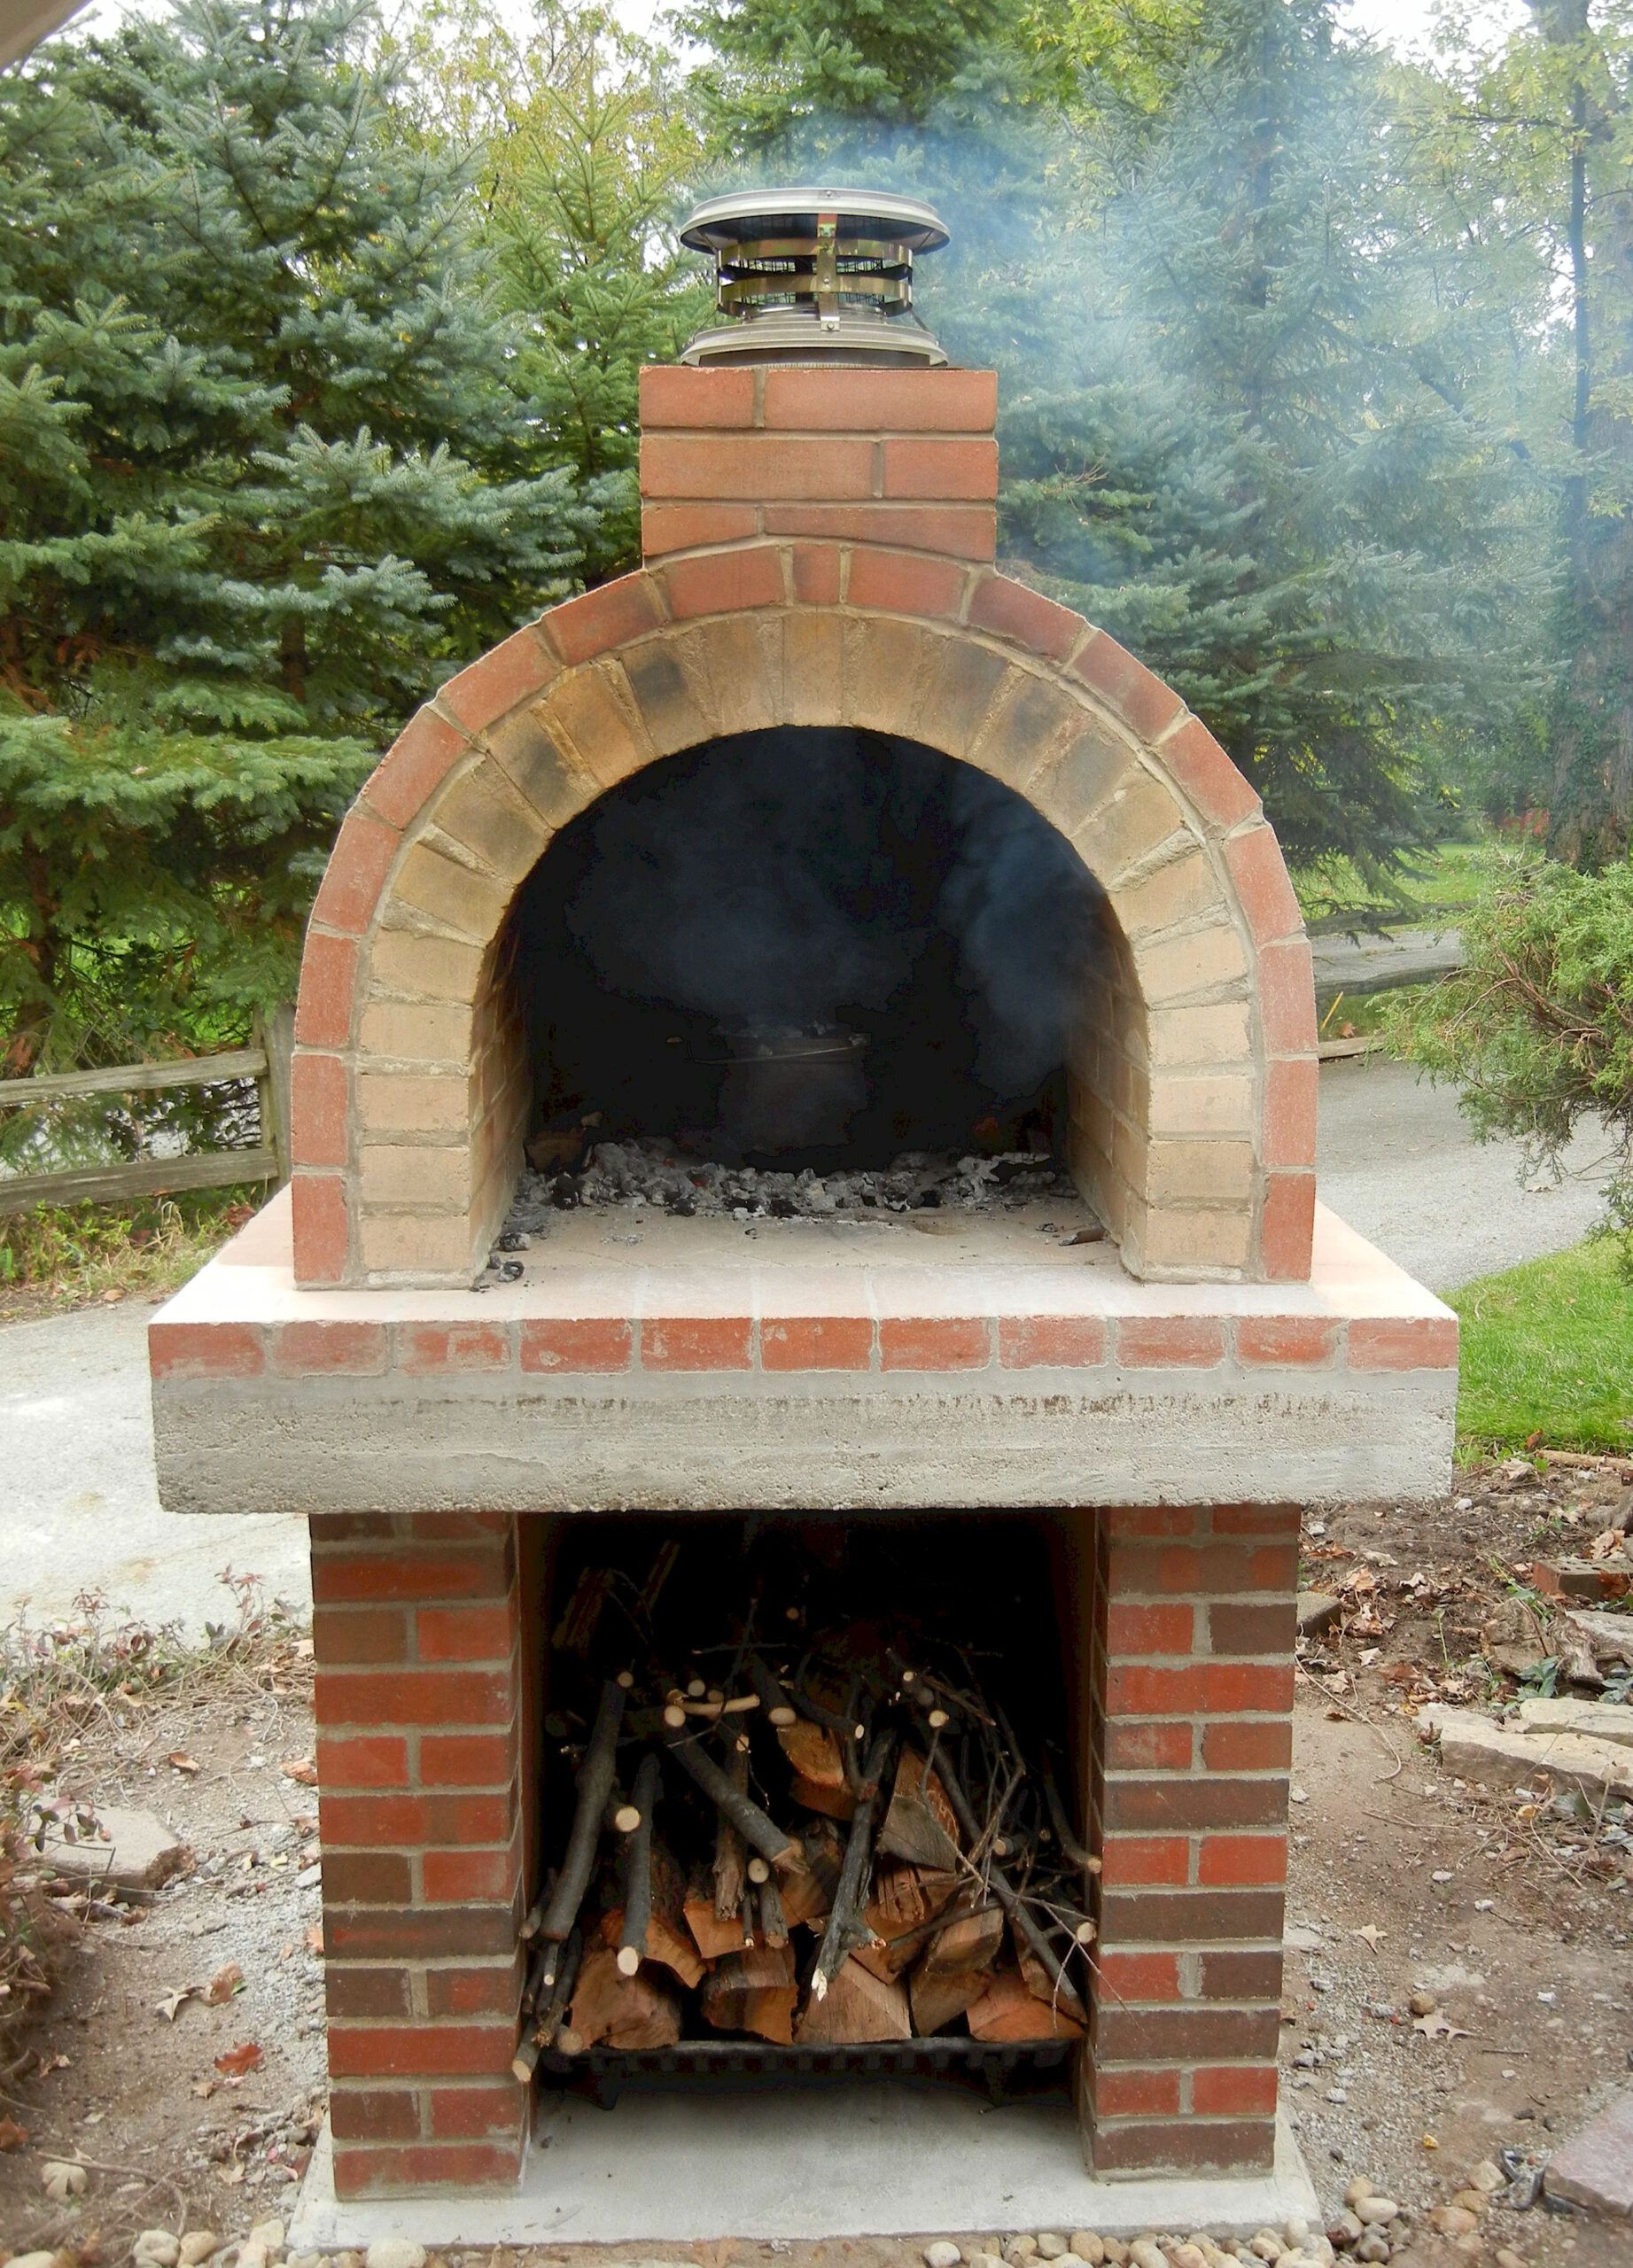
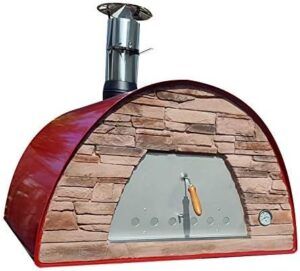
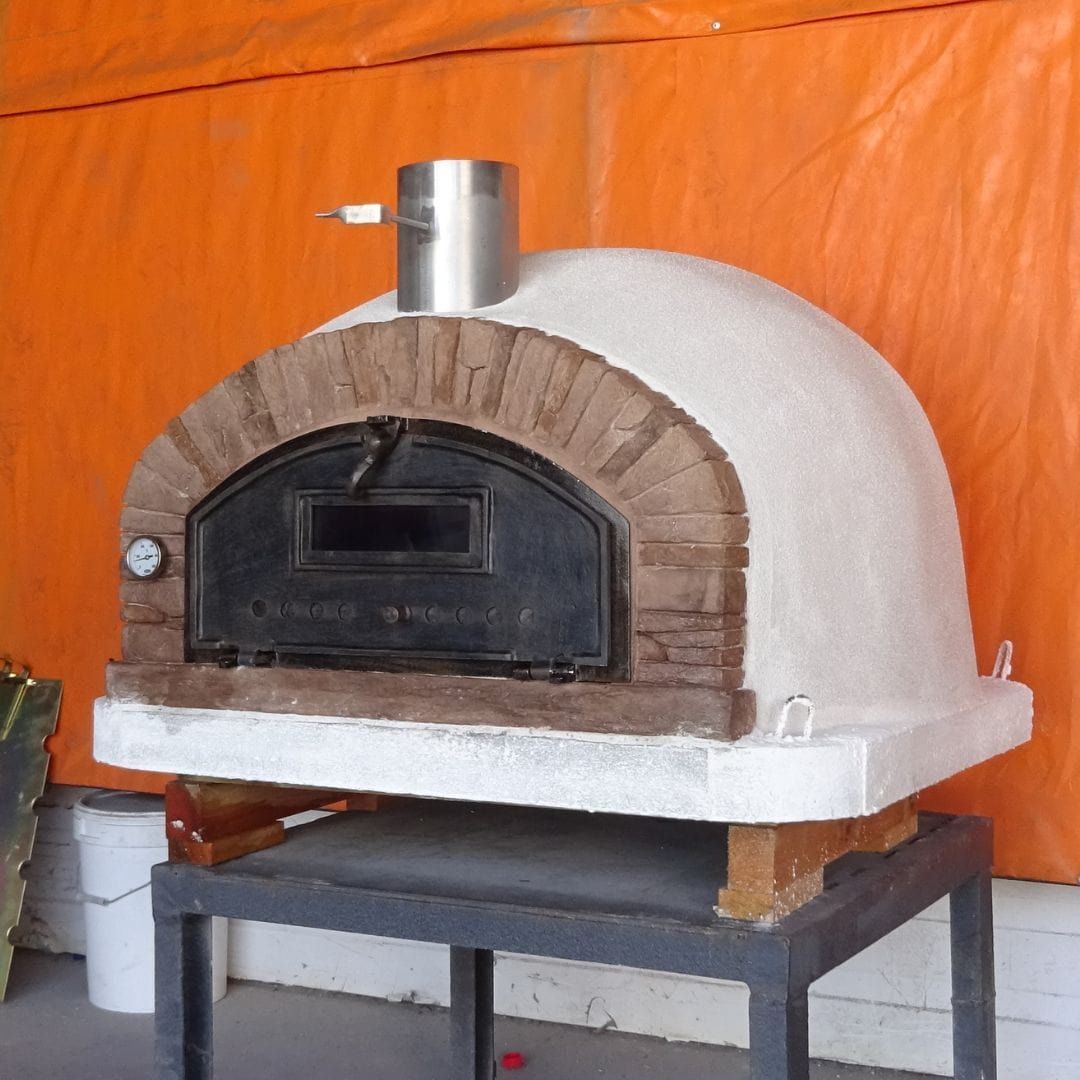
Firing Up Your Solé Gourmet Italia Oven
While your dough is resting, it’s time to fire up that beautiful Solé Gourmet Italia oven. Preheat the oven to around 700-800°F (370-425°C). The goal is to get the oven floor as hot as possible. Use a wood that burns hot and clean, like oak or maple. Once the oven is at temperature, use a pizza peel to transfer your stretched dough onto the hot stone. Be quick about it. It cooks fast! Keep the door closed as much as possible to maintain the heat. And don’t be afraid to rotate the pizza as it cooks to ensure even browning. The high heat of the Solé Gourmet Italia oven will cook your pizza in a matter of minutes, giving you that signature wood-fired flavor and char.
Tips and Tricks for Pizza Dough Success
Here are a few extra tips, I’ve gathered over the years, to help you achieve pizza dough perfection:
- Weigh Your Ingredients: For consistent results, always weigh your ingredients instead of using volume measurements. This is especially true for flour.
- Water Temperature: The temperature of your water affects the yeast’s activity. Too hot, and it can kill the yeast. Too cold, and it will slow it down. Aim for around 105-115°F (40-46°C) for active dry yeast.
- Don’t Overwork the Dough: Over-kneading can make your dough tough. Stop kneading once it becomes smooth and elastic.
- Patience is Key: Don’t rush the proofing process. Allowing the dough to rise slowly, especially in the refrigerator, develops more complex flavors.
- Experiment with Flavors: Add herbs, spices, or even a touch of honey to your dough for extra flavor. A little bit of garlic powder can go a long way.
- Practice Makes Perfect: Making pizza dough is like any skill – the more you do it, the better you’ll become. Don’t get discouraged if your first few attempts aren’t perfect. Just keep practicing, and have fun. And remember, a little bit of flour on the counter is a sign of a good time. And be sure to enjoy the process!
So there you have it: the secrets to making amazing wood-fired pizza dough with your Solé Gourmet Italia oven. From choosing the right ingredients to mastering the proofing process and shaping your dough, it’s a journey filled with flavor and fun. Remember, don’t be afraid to experiment, and enjoy the process. The best part of making pizza is sharing it with friends and family. So fire up your oven, get your hands dirty, and get ready to enjoy pizza that’s truly out of this world. I hope this guide has inspired you to create some truly incredible pizzas. Happy baking, my friends, and enjoy every single delicious bite. And remember, with a Solé Gourmet Italia oven, the possibilities are endless. Now go make some pizza. You deserve it.