There’s something truly special about bringing a piece of the outdoors, inside. And when that piece is crafted from materials often considered mere ‘waste,’ it embodies a quiet triumph of sustainability and artistry. Green woodchip wreaths are not just decorations; they are echoes of the forest, carefully arranged to tell a story of renewal and enduring beauty. As someone who has spent countless hours sifting through freshly chipped wood, feeling the texture, and inhaling that distinct, earthy aroma, I can tell you, this isn’t just a craft. It’s a conversation with nature itself.
For many, the thought of ‘wreaths’ conjures images of vibrant flowers or evergreen boughs. But let me introduce you to a less common, yet profoundly captivating medium: green woodchips. These aren’t your dry, dusty garden mulch. No, these are the fresh, aromatic fragments of recently felled or pruned trees, still holding a hint of moisture and that unmistakable ‘green’ scent. They’re often a byproduct of tree work, readily available, and incredibly versatile. My journey into green woodchip wreaths began years ago, quite by accident, when a local arborist offered me a mound of what he called ‘waste.’ What I saw was potential, and what unfolded was a passion for transforming these humble chips into stunning, long-lasting works of art that hum with the quiet energy of the forest.
The Allure of ‘Green’ Woodchips: More Than Just Sawdust
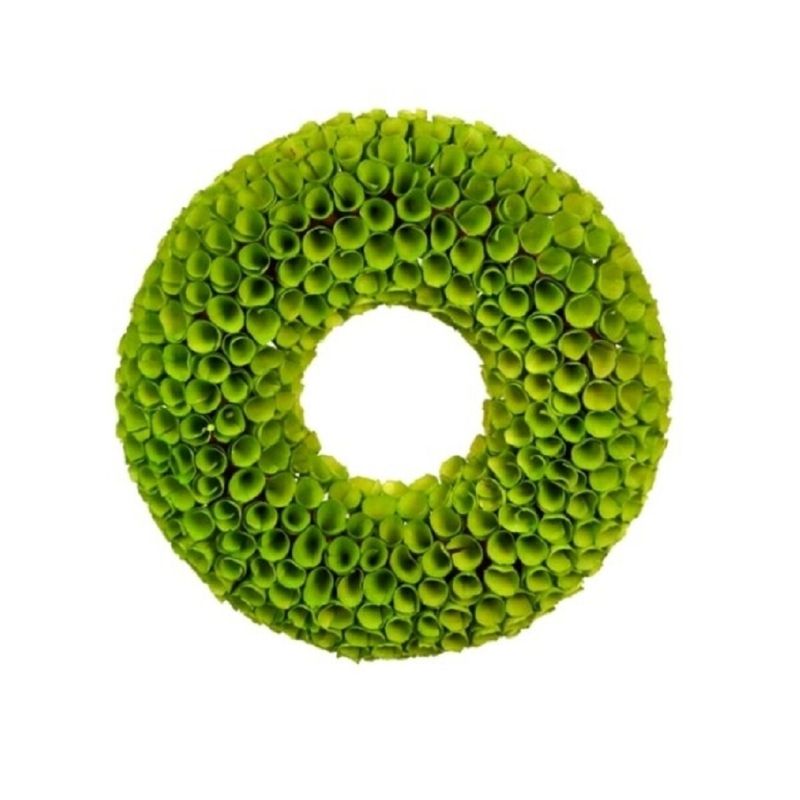
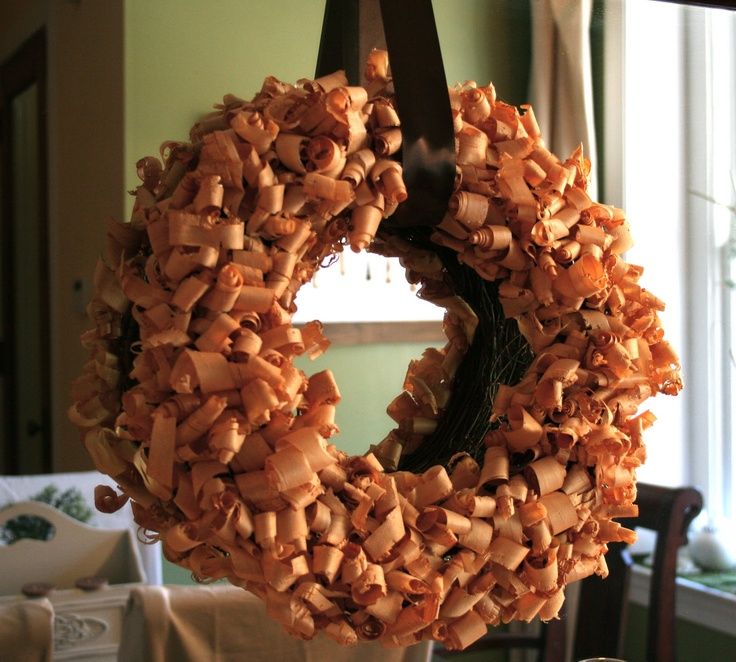
Let’s clarify what ‘green’ woodchips mean in this context. We’re not talking about dyed wood or anything artificial. It refers to wood that is freshly cut, still containing its natural moisture content. Think of the chips produced when a tree is trimmed or removed; they’re soft, pliable, and often have a distinct, pleasant aroma. This freshness is key. Dry woodchips are brittle and hard to work with for intricate designs. The inherent moisture allows them to be compressed and shaped, and as they dry, they ‘set’ into their form, creating a remarkably durable structure. Different tree species yield different chip characteristics. For example, maple chips might be finer and more uniform, while oak could produce chunkier, more rustic pieces. Understanding these nuances is the first step to truly mastering this craft. It’s like a painter understanding their pigments; each type of chip offers a unique texture and, yes, even a subtle color variation as it dries.
Gathering Your Treasures: Sourcing and Preparing Your Chips
One of the most appealing aspects of this craft is its accessibility. Your primary material is often free. Local arborists, tree removal services, or even municipal parks departments are excellent sources for fresh woodchips. Always ask permission before taking. I’ve found that most are more than happy to let you haul some away, as it saves them disposal costs. When collecting, look for chips that are relatively clean and free from excessive dirt or debris. The size of the chips matters too; a mix of larger and smaller pieces provides more textural interest. Once you have your chips, spread them out on a tarp or in a shallow container to allow for some initial air circulation. You don’t want them to mold, but you also don’t want them to dry out completely before you start working. Think of it like conditioning clay; they need to be just right – pliable and ready for shaping. Sometimes, if they’ve dried a bit too much, a light misting of water can bring back that crucial pliability.
The Foundation: Crafting Your Wreath Base
While you can certainly purchase pre-made wreath forms, I encourage you to consider making your own. A hand-made base adds another layer of authenticity and sustainability to your project. Sturdy wire, grapevine, or even thickly twisted newspaper can serve as excellent armatures. The shape and size of your base will dictate the final look of your wreath. For a classic circular wreath, a simple wire frame works beautifully. If you’re going for something more organic, a twisted grapevine base offers a lovely natural texture that can peek through the chips. The key is to create a strong, stable foundation that will hold the weight of the woodchips as they dry and shrink slightly. This is where a little forethought goes a long way. I’ve learned, sometimes the hard way, that a flimsy base leads to a wonky wreath.
The Art of Adhesion: Binding Your Beauty
This is where the magic happens. The secret to a durable woodchip wreath lies in the adhesive. While many glues can work, I’ve found that a good quality wood glue or a strong PVA (polyvinyl acetate) glue is ideal. You’ll want to mix your woodchips with the glue in a separate container, ensuring each chip is coated but not drowned. The consistency should be like a thick, lumpy porridge. This mixture is then pressed onto your wreath form. This isn’t a delicate process; it requires firm, even pressure. Layering is important. Start with a base layer, pressing it firmly into the form, then add more layers, building up the desired thickness and shape. Some artists use wire or twine to temporarily secure sections as they dry, especially for larger wreaths. Remember, as the chips dry and the glue cures, the wreath will become incredibly rigid and strong. Patienec is a virtue here, as rushing this step can compromise the integrity of your finished piece.
Drying and Curing: The Transformation Process
Once your wreath is formed, the drying process begins. This is not something to rush. Place your wreath in a well-ventilated area, away from direct sunlight or extreme heat, which can cause cracking. Depending on the thickness of your wreath and the humidity, this can take several days, or even a week or two. As the moisture evaporates from the chips and the glue fully cures, the wreath will lighten in color and become significantly harder. You’ll notice the distinct aroma of the wood fading, replaced by a subtle, earthy scent. This transformation is part of the beauty. It’s a testament to nature’s ability to change and endure. I often rotate my wreaths daily during this phase to ensure even drying and prevent warping. It’s like watching a caterpillar transform into a butterfly; the final product is a revelation.
Embellishing Your Masterpiece: Adding the Finishing Touches
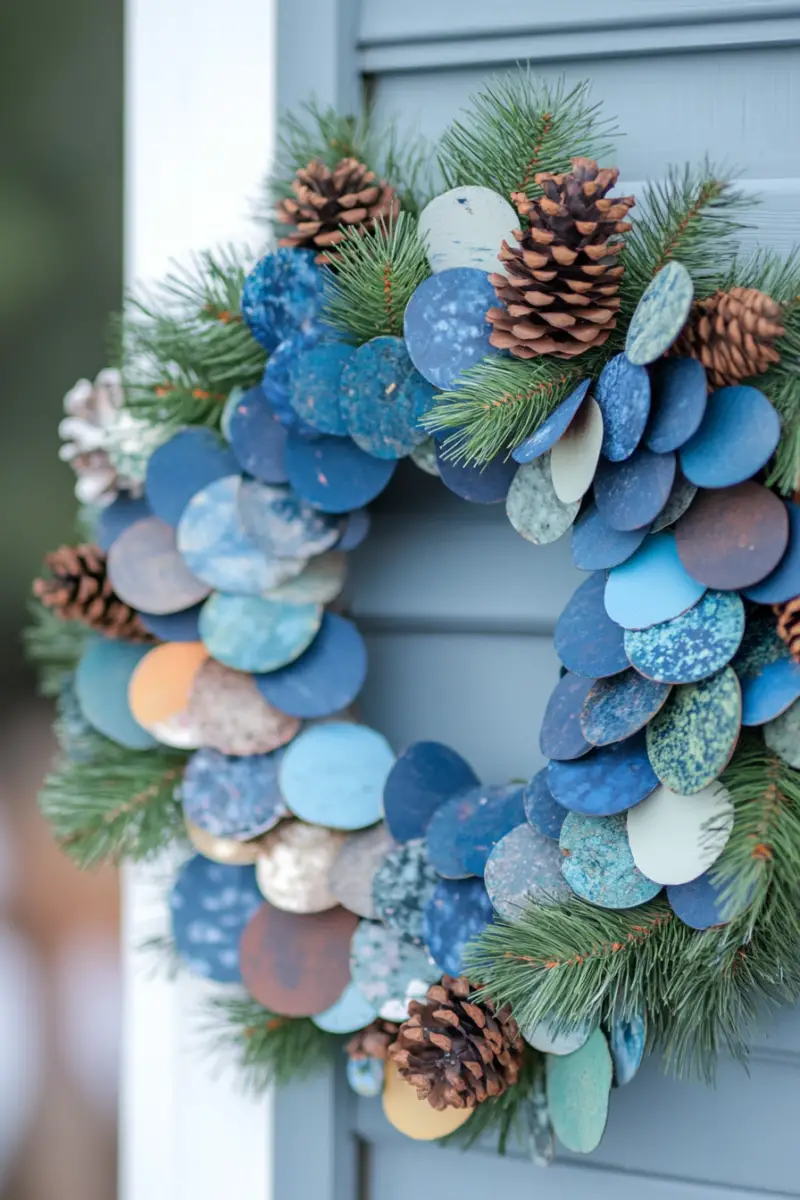
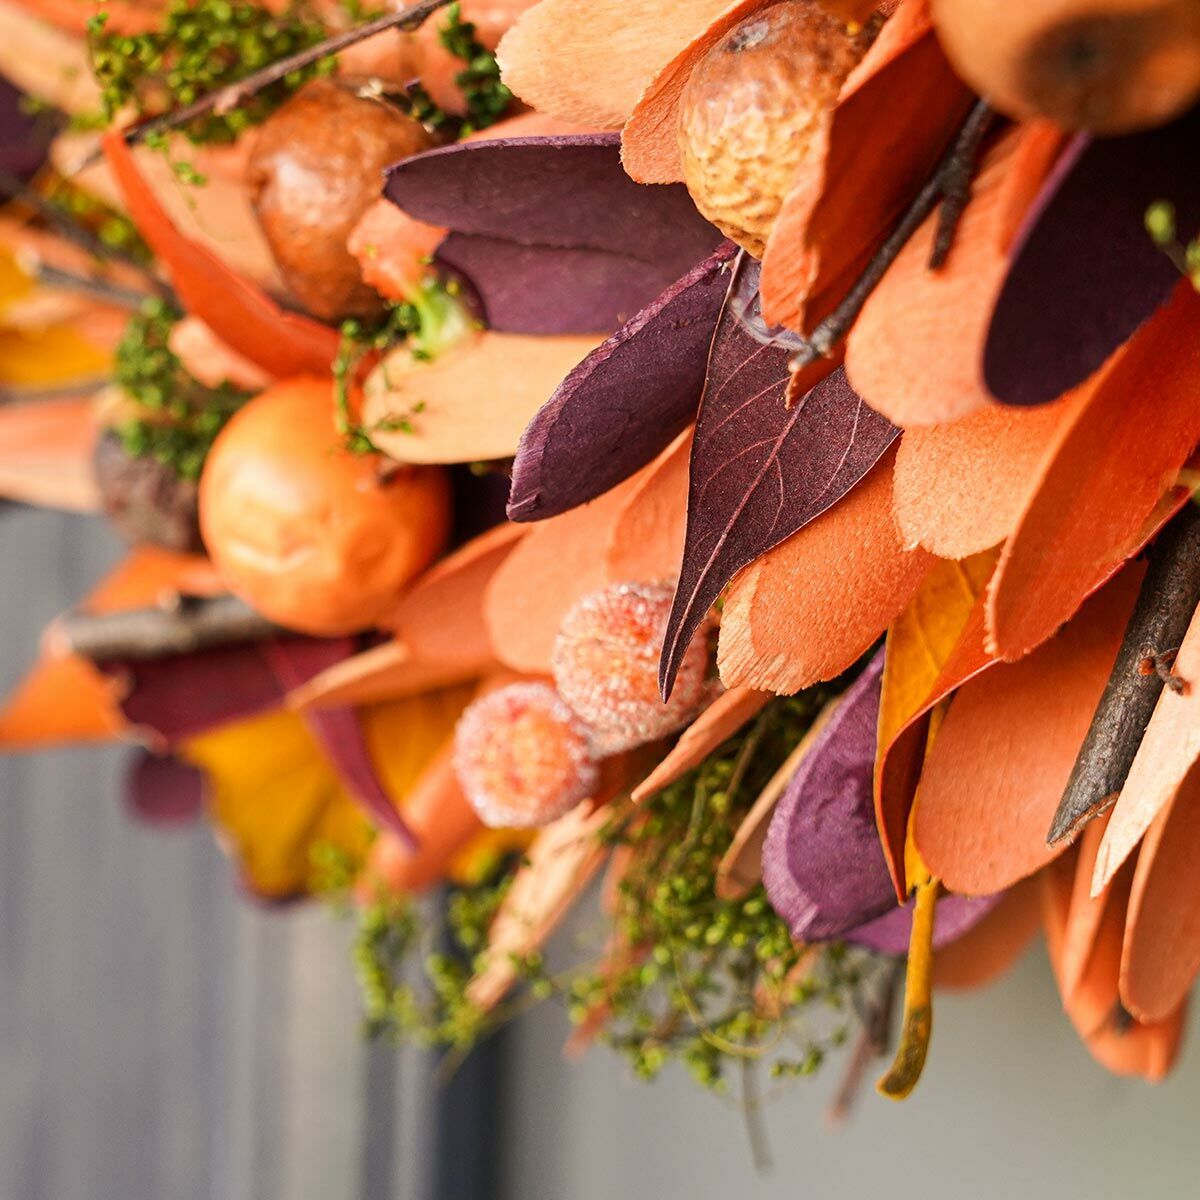
While a plain woodchip wreath has an understated elegance all its own, you can certainly add embellishments to personalize your creation. Think natural elements: dried berries, small pinecones, preserved leaves, or even delicate sprigs of dried lavender. These additions can enhance the natural, rustic feel. For a touch of color, consider subtly painting a few of the chips before applying them, or adding a light wash of thinned acrylic paint to the dried wreath. Ribbons, twine, or burlap can also be incorporated for hanging or decorative accents. The beauty of these wreaths is their versatility. They can be minimalist or elaborate, depending on your personal aesthetic. The key is to choose elements that complement the natural texture and color of the woodchips, allowing their inherent beauty to shine through. I often find that less is more; a few carefully placed accents can elevate the entire piece without overwhelming it. And remember, these wreaths are incredibly durable, making them perfect for both indoor and sheltered outdoor display.
Crafting green woodchip wreaths is more than just a hobby; it’s an act of connection – with nature, with sustainability, and with your own creative spirit. Each wreath is a unique story, born from the remnants of the forest and shaped by human hands. They are quiet reminders of beauty in the overlooked, of resilience in transformation, and of the enduring charm of natural materials. As you hang your finished wreath, take a moment to appreciate the journey it took from discarded woodchips to a lasting piece of art. It’s a testament to the idea that true beauty can be found in the simplest, most sustainable forms. And that, my friends, is a whisper from the woods worth hearing.