
Have you ever spent a whole weekend pulling pesky weeds out of your garden beds, only to watch them pop right back up a few days later? It is super frustrating. We have all been there. Putting down weed barrier cloth sounds like the magic fix, but doing it wrong turns into a messy nightmare.
Gardening is supposed to be fun and relaxing. Yet fighting an endless war against stubborn weeds can make anyone want to give up. That is where a good layer of protective matting comes into play. When you put it down the right way, you save yourself hours of backbreaking work. Let us dive into how to get this job done right the first time.
Clearing Out the Mess
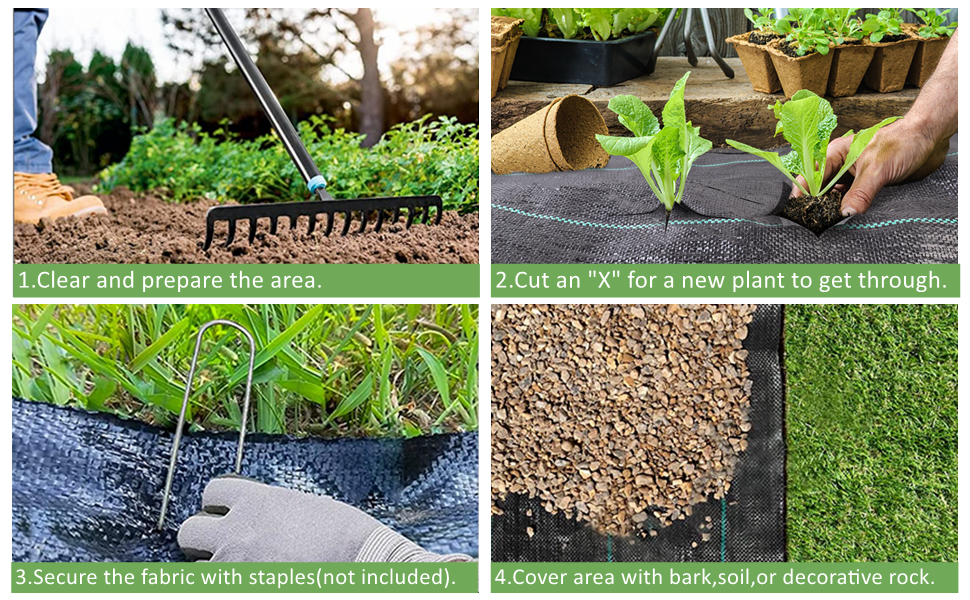
Before you even think about rolling out any fabric, you need a clean slate. Grab your tools and clear away every single weed, stick, and rock in sight. If you leave roots hiding underneath, they will just punch right through your new matting.
Take your time with this step. Pull out perennial weeds by their roots so they cannot stage a comeback. Once the dirt is completely bare, rake it smooth. A level surface helps the material sit flat and look neat once you finish your project.
Measuring and Cutting Like a Boss
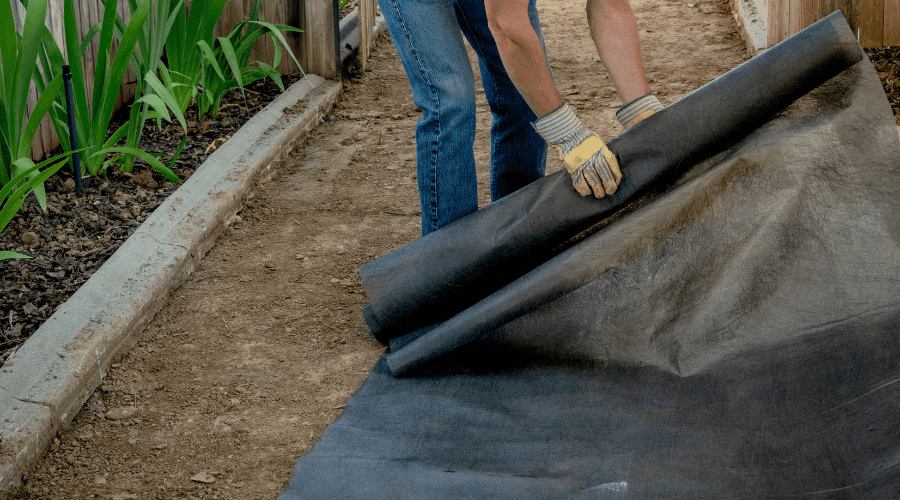
Measuring twice and cutting once saves you a huge headache. Roll your material out over the area and leave a few extra inches on all sides. Sharp utility shears make cutting through thick woven cloth a lot easier.
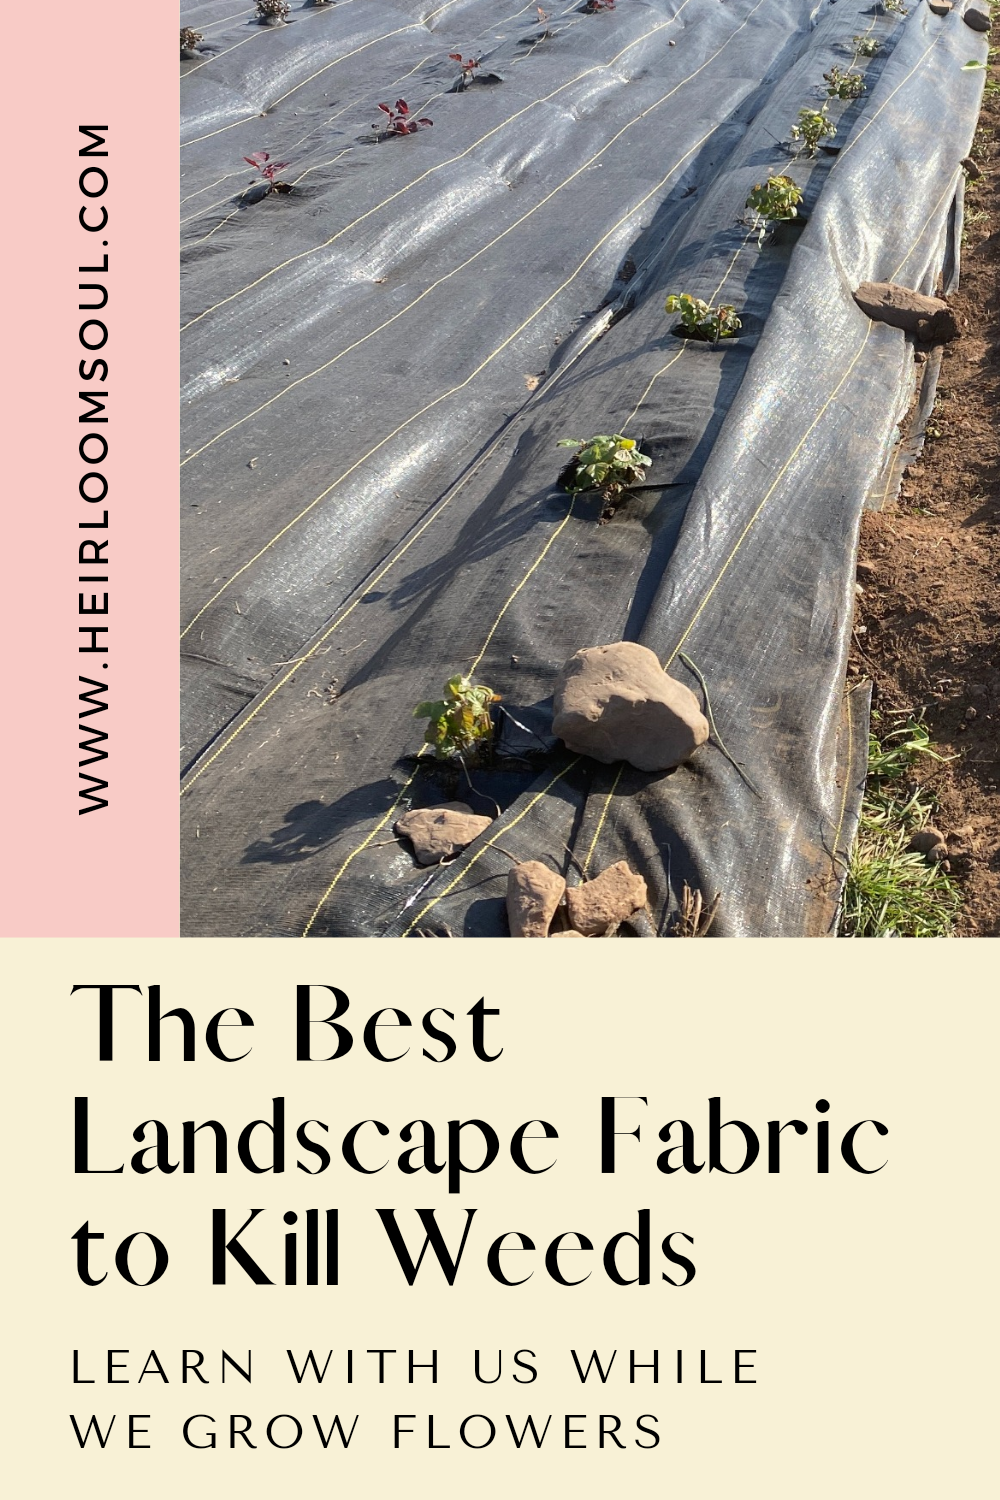
Do not forget to cut small "X" shapes where you want your actual plants to live. Try to make these cuts as small as possible. You only want enough room for the base of your shrub or flower to peek through.
Pinning It Down Securely
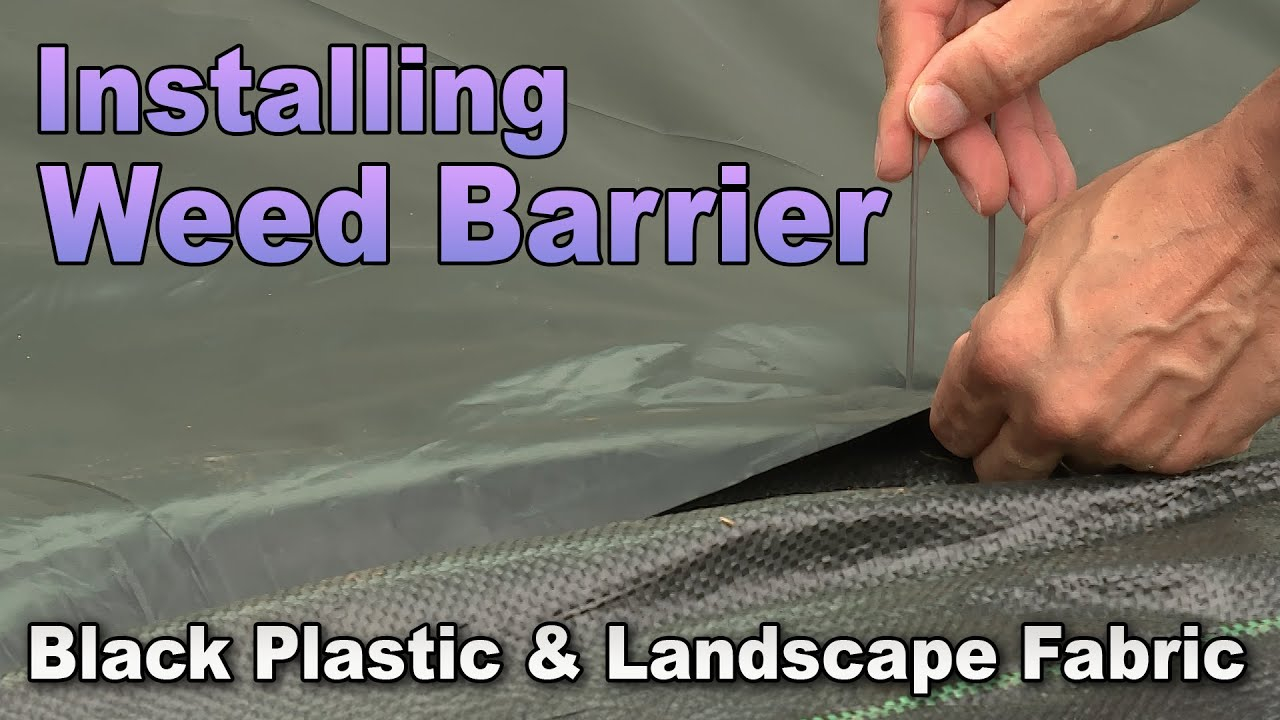
Wind loves to catch loose plastic sheets and lift them right up. To stop this, you need heavy duty garden staples. Push a pin into the soil every few feet along the edges.
Make sure your pieces overlap by at least six inches. Weeds love to sneak through tiny gaps where two sheets meet. Securing those seams tightly keeps everything locked down and blocks stray sunlight.
Adding the Right Mulch Layer
Never leave your weed barrier completely naked under the sun. Ultraviolet rays will break the material down pretty quickly over time. Slapping a thick layer of wood chips or gravel on top solves this problem.
Aim for a depth of about two to three inches. This hides the ugly plastic look and gives your garden a polished appearance. Plus, it adds extra weight to keep the whole setup anchored firmly to the ground.
Smart Watering Strategies
Watering your plants through a barrier takes a little getting used to. You want to make sure moisture actually reaches the roots below. Drip irrigation lines placed underneath the cloth work absolute wonders.
If you use a regular hose or sprinkler, give it a bit extra time to soak through the mulch and fabric. Checking the moisture level with your finger helps you figure out if your green babies are getting enough to drink.
Even with the best setup, nature finds a way sometimes. Dirt blows over your mulch, and stray seeds land on top. Before you know it, a tiny weed sprouts up in the mulch layer itself.
Do not panic when this happens. These surface weeds have shallow roots and pull out super easy. Just pluck them out real quick and your bed stays looking fresh all season long.
Laying down landscape fabric is not rocket science, but it does demand a little patience. By clearing your ground well, overlapping the edges, and covering it with good mulch, you create a low maintenance paradise. Now you can sit back and actually enjoy your outdoor space instead of constantly weeding it.