
The shovel hit a buried chunk of concrete, sending a dull, jarring vibration straight up into my forearms. It was a Saturday morning in April, and the ambition that had felt so bulletproof over a Friday night cup of coffee was already evaporating under a stubborn layer of clay. Two tons of rounded river stone were scheduled for delivery in less than forty-eight hours, sitting somewhere in a quarry forty miles away, waiting to be dumped on my driveway. I stood there in the damp grass, looking at a jagged trench that was supposed to be a French drain and patio border, and realized I had made a classic homeowner’s calculation error. I had budgeted strictly for the sticker price of the stone, entirely ignoring the physics, the labor, and the logistical tax of moving heavy earth.
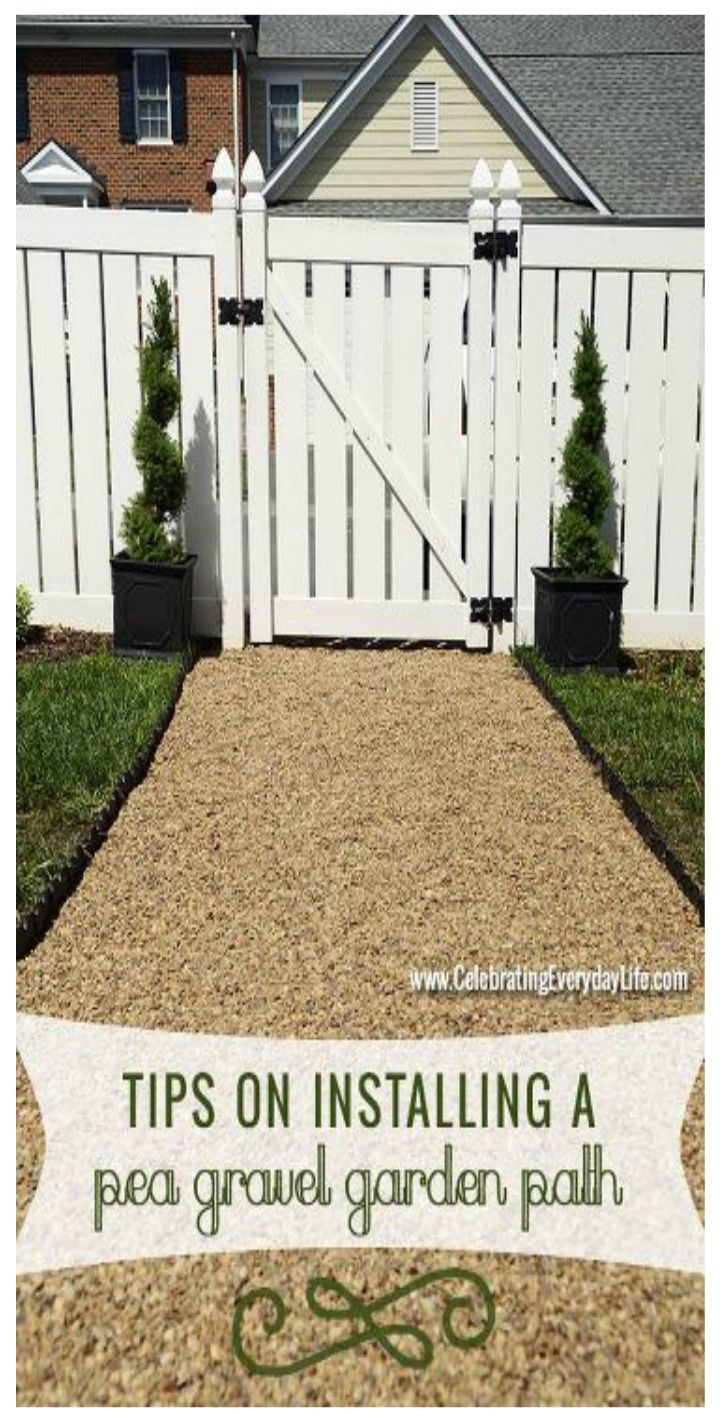
Pea gravel remains one of the most seductive materials in the contractor’s catalog and the DIYer’s Saturday-morning Pinterest board. It looks effortless. The stones are small, typically ranging from a quarter-inch to three-eighths of an inch in diameter, tumbled smooth by water and time until they resemble multicolored coffee beans. Homeowners love them for pathways, dog runs, dry creek beds, and patio bases because they provide a satisfying crunch underfoot and offer an organic texture that manufactured pavers simply cannot mimic. Yet, beneath that rustic charm lies a slippery financial equation. What appears to be an affordable thirty-dollar-per-ton line item on a quarry quote frequently balloons into a multi-hundred-dollar logistical puzzle once you factor in cubic yardage conversions, freight charges, and site preparation.
Navigating the granular economics of aggregate landscaping requires looking past the glossy marketing brochures distributed by stone yards. The material itself is cheap, often mined as a byproduct of sand and gravel dredging. But the moment you buy it, you enter a supply chain governed by weight limits, hauling capacities, fuel surcharges, and municipal access constraints. If you fail to account for how a dump truck navigates a suburban driveway, or how many layers of heavy-duty geotextile fabric you need to keep your investment from sinking into the mud, your backyard sanctuary will quickly turn into an expensive, shifting quagmire.
The Anatomy of Aggregate Pricing: Decoding the Cost Per Yard Versus Per Ton
When you call a local quarry or stone supplier, the price they throw out over the phone usually refers to a ton rather than a cubic yard. This distinction trips up buyers constantly. A cubic yard is a measure of volume—three feet by three feet by three feet—while a ton is a measure of weight. Because pea gravel is dense, rock-solid quartz, sandstone, or limestone, a single cubic yard of dry pea gravel weighs roughly 2,600 to 2,700 pounds, which is well over a ton. Therefore, if a yard costs forty dollars, your actual material cost per unit of volume is going to be slightly higher than the per-ton sticker price because you are buying more than a ton of mass per yard.
Quarry pricing also fluctuates wildly depending on your geographic location and local geology. In regions rich with riverbeds and limestone deposits, such as the Midwest or parts of the Southeast, transportation costs are low because the material is hauled from just down the highway. Conversely, if you live in a region dominated by bedrock or dense clay with few local quarries, hauling fees can easily outpace the price of the stone itself. A cubic yard of pea gravel that costs thirty-five dollars at the scale house might incur a one-hundred-dollar delivery fee just to travel fifteen miles, completely distorting your initial budget calculations.
Color and sourcing add another layer of financial complexity. Standard pea gravel—often a muddy mix of brown, gray, and tan—is the economy option. If you want a specialized aesthetic, such as pristine white marble chips, deep charcoal basalt, or imported Mexican beach pebbles, the price per yard can jump from forty dollars to well over two hundred dollars. Specialty stones are rarely sold in bulk by local utility yards in the same way standard gravel is, meaning you may be forced to buy them in pre-bagged half-cubic-foot increments. Buying aggregate in bags instead of bulk yards can inflate your project costs by four hundred percent or more, turning a modest pathway project into a significant financial commitment.
Minimum order charges and split-load fees are the silent budget killers of landscaping projects. Most commercial haulers operate large dump trucks with capacities ranging from ten to twenty tons. If you only need two cubic yards of pea gravel for a small side yard, a quarry will either charge you a steep short-load fee or decline the delivery entirely, forcing you to make multiple grueling trips with a half-ton pickup truck or rent a utility trailer. Transporting loose stone in the bed of your personal vehicle puts immense stress on your suspension, risks denting your tailgate, and limits your volume to a fraction of what a professional truck can drop in one precise location.
Hidden Logistics: Calculating Delivery, Hauling, and Site Access Realities
Getting loose aggregate from the quarry to your exact backyard drop zone is an exercise in tactical logistics. When you schedule a bulk delivery, the dispatcher will inevitably ask you a series of pointed questions about your property layout: Can a tri-axle dump truck fit down your street? Are there low-hanging oak branches or overhead utility lines? Is your driveway asphalt or concrete? These questions are not mere formalities; they are liability boundaries. A fully loaded tri-axle truck weighs upwards of thirty tons. Driving that much weight onto a standard residential concrete driveway can crack the slab instantly, leaving you with a multi-thousand-dollar repair bill that completely eclipses the savings of buying bulk stone.
If the truck driver cannot back directly onto your project site, you are faced with a choice between tailgate spreading or street dumping. Tailgate spreading involves the driver slowly pulling forward while lifting the truck bed, attempting to lay a continuous ribbon of gravel across your driveway or open yard. While efficient, it requires a skilled driver and an unobstructed path, and it rarely leaves the stone where you actually want it; you will still be moving tons of material with a shovel and wheelbarrow. If the driver has to dump the pile on your street or curbside, you now own a mountain of rock blocking traffic or drainage, and every single wheelbarrow load must travel uphill or across your lawn.
Weather plays a surprisingly aggressive role in delivery logistics. Rain transforms freshly quarried gravel piles into heavy, waterlogged sludge. Wet pea gravel can weigh up to ten percent more than dry gravel, which means your volume-to-weight calculations shift drastically. A truckload that was estimated at twelve tons might weigh fourteen tons when soaked through by a heavy overnight thunderstorm. Furthermore, if your drop zone is a patch of soft lawn, a heavy dump truck will sink into the mud, rutting your grass into deep trenches that require professional grading and sod repair to fix.
Handling fees often catch DIYers off guard when they realize the physical toll of moving bulk material. If you cannot get the truck close to the installation area, you must factor in the time and physical endurance required to push a wheelbarrow. A standard heavy-duty wheelbarrow holds about three cubic feet of material. Since there are twenty-seven cubic feet in a cubic yard, moving a single yard requires nine full wheelbarrow loads. If your project calls for ten yards—a common amount for a modest backyard overhaul—that is ninety grueling trips across your lawn, resulting in hundreds of wheelbarrows pushed, dumped, and maneuvered over uneven terrain.
Excavation, Sub-Base Engineering, and Weed Prevention Protocols
The single biggest mistake homeowners make with pea gravel is treating it like a magic carpet that can be rolled right over top of existing grass and weeds. If you dump three inches of loose stone directly onto bare dirt or turf, within six months you will be staring at a chaotic mess of protruding weed roots, sinking stones, and muddy channels. Pea gravel is fluid; it moves under pressure. Without a rigid containment structure and a stable sub-base, your carefully leveled pathway will migrate into your flower beds, disappear into the soil, and become an absolute maintenance nightmare.
Proper installation starts with excavation, which means digging out the earth to a depth that accommodates both a stabilizing base layer and your desired depth of stone. For a standard pathway or patio, you need to excavate between three to four inches of soil. This involves renting a sod cutter, grabbing a flat-front shovel, and sweating through hours of backbreaking digging. You also have to dispose of the excavated earth, which creates another logistical hurdle. A four-inch deep dig over a five-hundred-square-foot area yields roughly six cubic yards of dirt that must be hauled away, given away on online marketplaces, or repurposed for grading elsewhere on your property.
Once the earth is excavated, sub-base preparation dictates the long-term integrity of the project. You must tamp the raw soil thoroughly using a rented plate compactor to create a firm, unyielding foundation. Over this compacted earth, professional landscapers install heavy-duty woven geotextile fabric. Do not make the mistake of buying cheap, thin weed barrier from the garden center; you need industrial-grade woven fabric that allows water to drain freely while blocking weed seeds from germinating underneath and stopping the gravel from sinking into the subgrade mud. Securing this fabric with six-inch landscape staples every few feet prevents shifting during the stone-laying process.
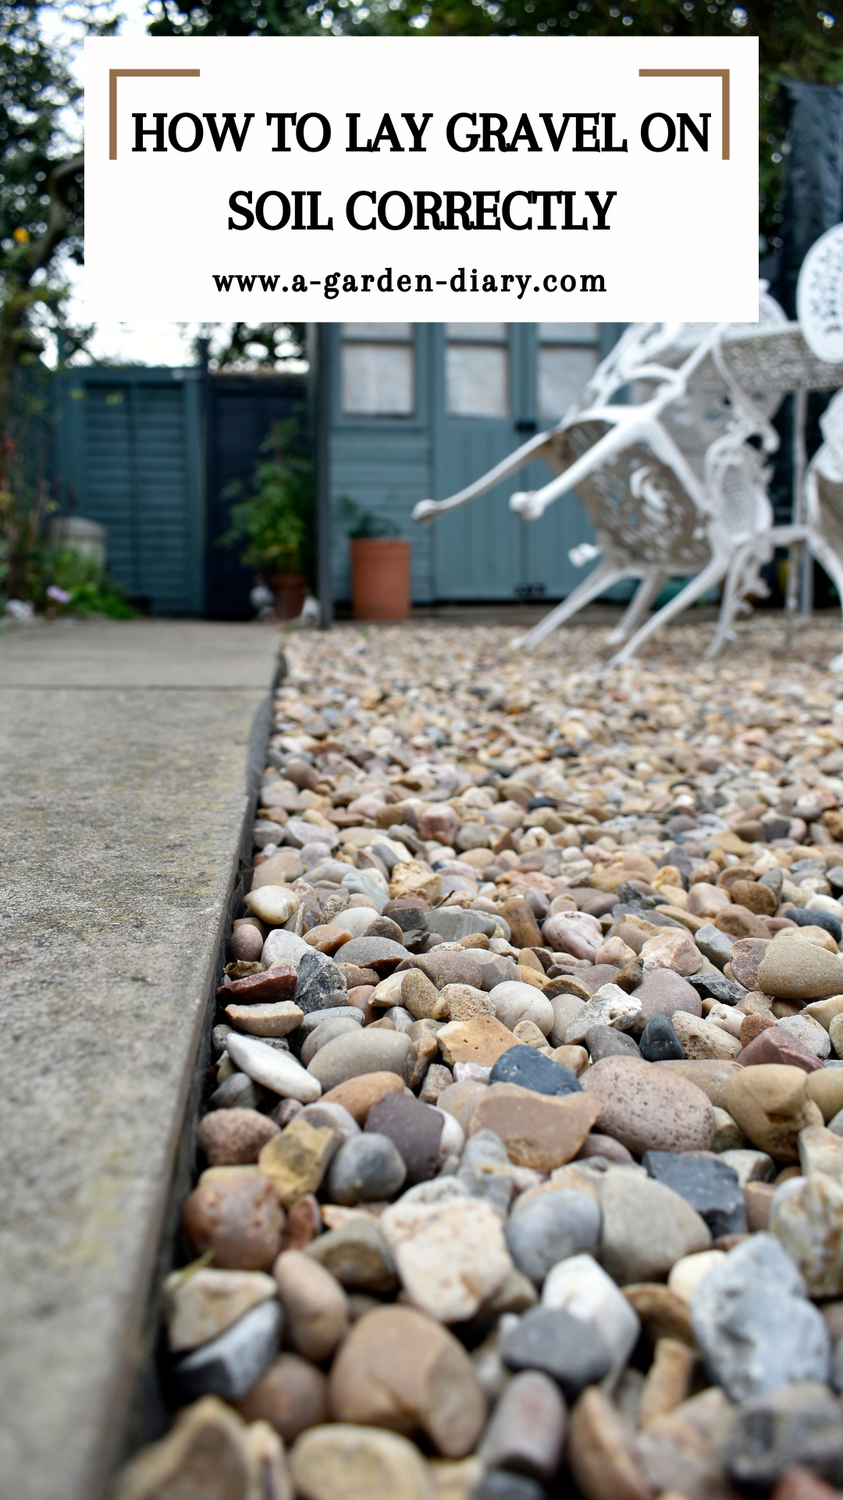
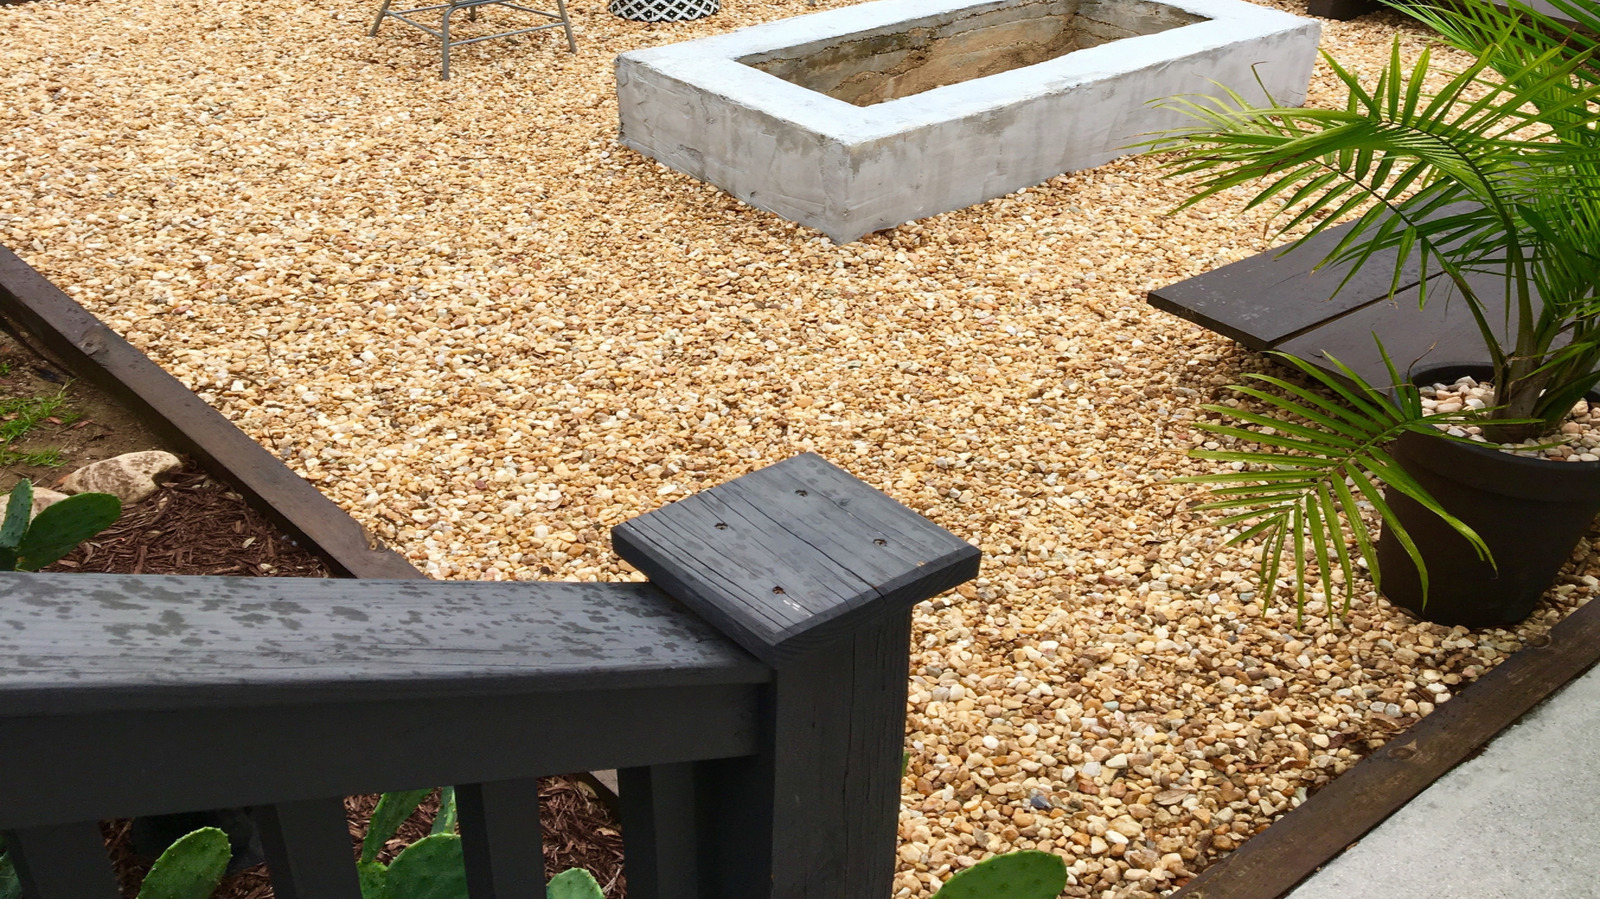
Containment edging is the final structural requirement before a single pebble is unloaded. Because pea gravel has zero structural cohesion, it scatters easily when walked upon, kicked by pets, or hit by lawnmower blades. You must install a rigid border system that sits flush with or slightly above your finished stone height. Options range from heavy-gauge aluminum and weathering steel edging to pressure-treated timbers and poured concrete curbs. This edging acts as a retaining wall for fluid rock, keeping your landscape clean and defined while separating your gravel areas from mulch beds and turfgrass.
Step-by-Step Practical Implementation Guide for Accurate Budgeting and Installation
Translating rough estimates into a finished, professional-grade gravel installation requires a methodical, step-by-step approach. Skipping a phase in this workflow inevitably leads to structural failure or budget overruns down the road.
- Step 1 (Accurate Area Measurement and Volume Calculation): Measure the length, width, and desired depth of your project area in feet. Multiply length by width to get square footage, then multiply by the depth in feet (e.g., 3 inches is 0.25 feet). Divide that total by 27 to find the exact cubic yards needed, and add a ten percent waste factor for spillage, settlement, and uneven sub-grades.
- Step 2 (Local Sourcing and Logistics Verification): Call at least three local aggregate suppliers to compare per-yard prices, delivery fees, and minimum load restrictions. Confirm whether their trucks can safely access your drop zone without damaging your driveway, septic tank covers, or underground utilities by calling your local utility marking service before digging.
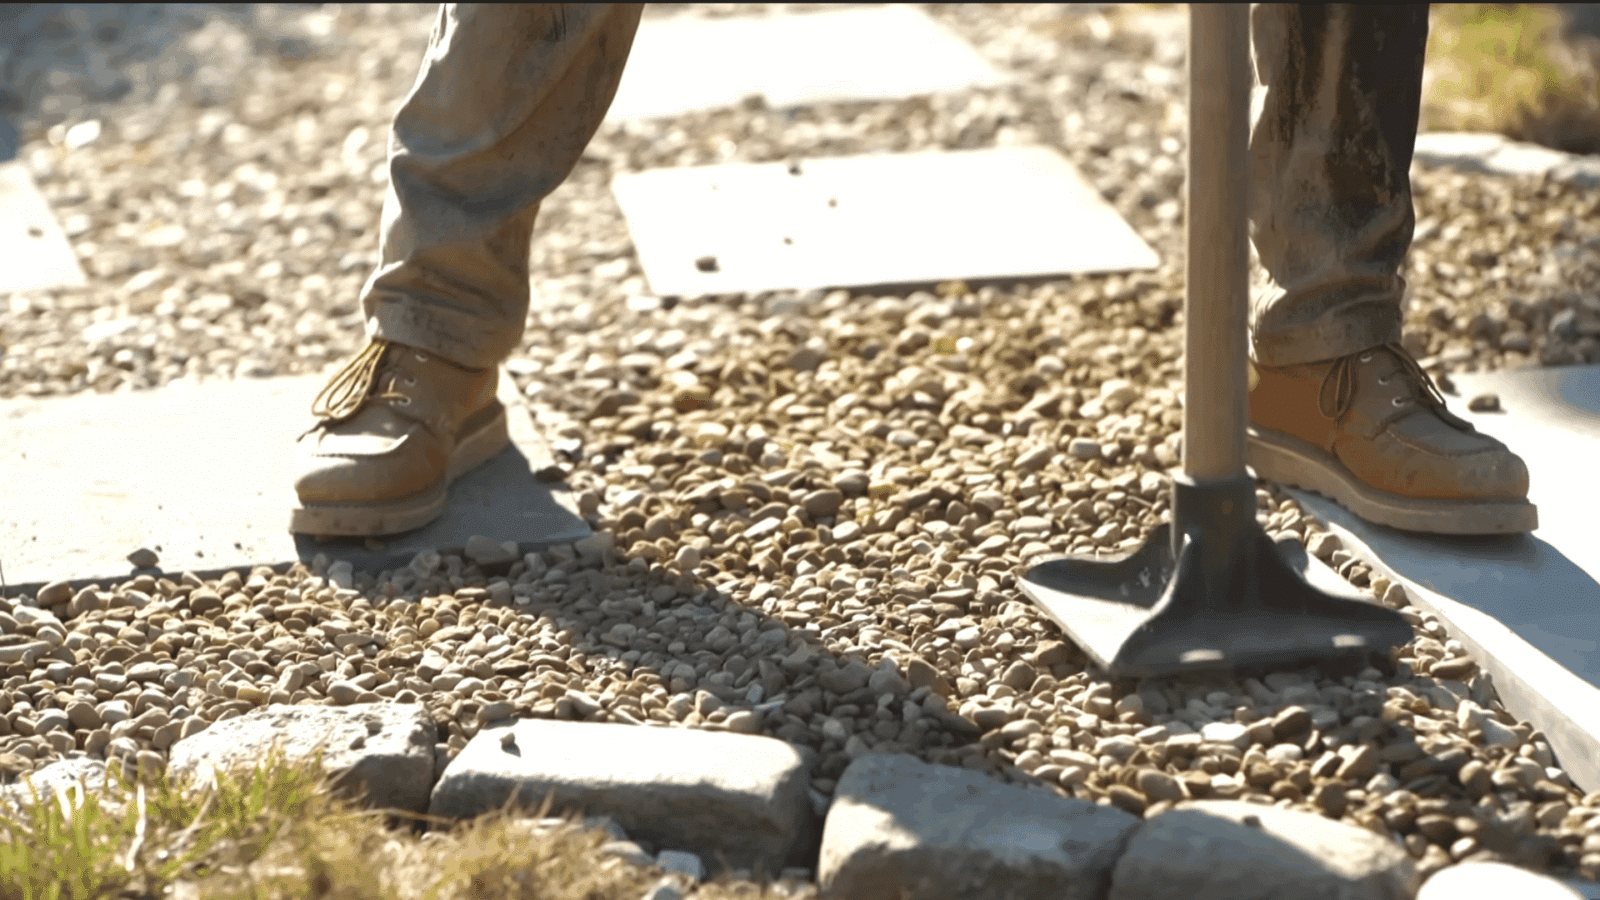
- Step 3 (Excavation and Earthmoving Execution): Rent a sod cutter or grab a shovel to excavate the site to a uniform depth of three to four inches. Tamp the exposed sub-grade soil using a mechanical plate compactor to eliminate soft spots and prevent future settling rifts under your stone bed.
- Step 4 (Geotextile Installation and Edging Setup): Lay down heavy-duty, commercial-grade woven landscape fabric across the entire excavated area, overlapping seams by at least six inches and pinning securely with steel staples. Install your rigid perimeter edging—such as aluminum, steel, or treated timber—anchoring it firmly into the compacted sub-base.
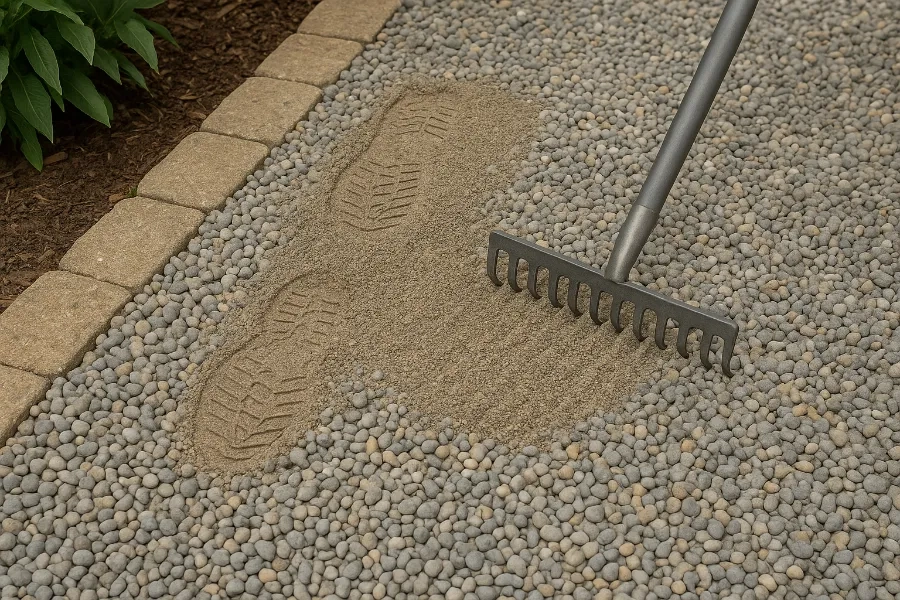
- Step 5 (Spreading and Leveling the Pea Gravel): Wheelbarrow your bulk pea gravel onto the fabric and rake it out into an even layer matching your target depth. Use a flat-head rake and a stiff broom to settle the stones between your edging, ensuring a smooth, stable surface that is ready for foot traffic.
Common Pitfalls, Financial Traps, and Field-Tested Workarounds
Every seasoned landscaper has horror stories involving botched pea gravel budgets and unstable installations. Recognizing these common traps before you put a shovel in the ground will save you hundreds of dollars and countless hours of frustration.
- Pitfall 1 (Underestimating Total Material Volume): Homeowners often calculate volume using perfect mathematical depth, forgetting that loose stone settles and packs down under its own weight. Workaround: Always order ten to fifteen percent more material than your baseline calculations suggest to account for settling and edge loss.
- Pitfall 2 (Choosing the Wrong Stone Size for Walking Paths): Buying stones larger than half an inch or irregular crushed rock makes walking barefoot or pushing strollers nearly impossible. Workaround: Stick strictly to true rounded pea gravel between one-quarter and three-eighths of an inch for pathways, saving angular crushed stone for sub-bases or utility driveways.
- Pitfall 3 (Skipping Geotextile Fabric to Save Money): Thinking you can skip weed fabric or substitute cheap plastic sheeting leads to massive weed infestations and gravel migration within months. Workaround: Invest in high-permeability, woven commercial geotextile fabric that breathes while locking aggregate and weeds apart permanently.
- Pitfall 4 (Ignoring Drainage and Water Runoff Patterns): Dumping gravel in a low spot without a drainage plan turns your new patio into an underground retention pond during heavy storms. Workaround: Ensure your excavated sub-base slopes gently away from structures, and integrate perforated drain pipes wrapped in sock filters if water pools in your yard.
- Pitfall 5 (Surface Migration Into Turf and Flower Beds): Failing to install deep, rigid edging causes stones to scatter onto your lawn every time someone walks or mows near the edge. Workaround: Use heavy metal or thick timber edging driven at least four inches deep into the soil to lock the perimeter in place.
The Broader Ecological and Economic Value of Permeable Aggregate Hardscaping
Choosing pea gravel over poured concrete or non-porous pavers is not merely an aesthetic choice; it is an environmental and financial strategy that pays dividends over time. Traditional hardscaping seals the earth, preventing rainwater from infiltrating the water table and forcing heavy volumes of storm runoff directly into municipal storm sewers, contributing to urban flooding and soil erosion. Pea gravel hardscaping is entirely permeable. Every drop of rain that falls on your gravel path filters directly through the stone and fabric into the earth below, recharging local aquifers and eliminating the need for expensive surface drainage channels.
From a long-term economic perspective, aggregate surfaces offer superior lifecycle value compared to poured concrete. Concrete slabs inevitably crack due to ground frost, tree roots, and seismic shifting, requiring expensive saw-cutting, demolition, and pouring to repair. Pea gravel, on the other hand, is completely immune to cracking. If a section settles or gets displaced, you simply rake it back into place or toss down a couple of wheelbarrows of fresh stone to refresh the surface. This low maintenance overhead makes it one of the most cost-effective ground covers available over a ten-to-twenty-year horizon.
There is also a psychological and sensory return on investment that defies spreadsheet calculations. Urban environments are dominated by hard, flat, artificial surfaces that reflect sound and create visual fatigue. The organic sound of footsteps crunching softly over rounded river stones introduces a biophilic element to your outdoor living space, creating a natural acoustic buffer against neighborhood noise. By transforming a sterile patch of dirt or dying lawn into a rich, textured aggregate garden room, you elevate both the functional utility and the overall market value of your property without triggering the massive permitting fees and contractor delays associated with permanent masonry.
Actionable Recommendations for a Successful Aggregate Project
Approaching your landscaping project with disciplined preparation ensures that your final bill matches your initial expectations. Success in aggregate installation relies on treating material acquisition as a complete logistical system rather than a simple retail transaction.
- Establish a Comprehensive All-In Budget: Include material costs, delivery fees, tax, equipment rentals (such as plate compactors and wheelbarrows), and disposal fees for excavated earth before finalizing your project funds.
- Perform a Dry Run on Delivery Access: Walk the path the dump truck will take from your street to the drop site, checking for low branches, overhead wires, soft turf, and driveway weight limits.
- Prioritize Sub-Base Integrity: Never compromise on excavation depth or geotextile fabric quality; spending extra time on foundation prep prevents years of ongoing maintenance headaches.
- Select the Right Material Grade: Purchase washed, rounded pea gravel from a local quarry to avoid dusty fines and sharp edges that make walking uncomfortable.
Standing at the edge of a finished pea gravel project, watching the afternoon sun catch the multi-colored sheen of rounded stones, brings a distinct kind of satisfaction. That initial moment of doubt—staring down at a stubborn patch of clay with a shovel in hand—fades quickly when you see the clean lines of a well-engineered landscape holding firm against the elements. Landscaping with aggregate is an exercise in respecting raw materials and understanding the hidden mechanics of weight, volume, and earthwork.
As you plan your next outdoor overhaul, remember that the true price of pea gravel extends far beyond the number printed on a quarry’s price list. It encompasses the sweat of excavation, the precision of logistical planning, and the foresight required to build a sturdy, permeable foundation. By respecting these hidden variables from the start, you protect your budget, spare your back unnecessary strain, and create a resilient outdoor space that will look pristine and function flawlessly for years to come.