
Your yard has been whispering to you all winter. It wants a change. Maybe that patchy grass is driving you crazy or perhaps you are just sick of mowing the same old patch of green every single weekend. Either way, an outdoor makeover is calling your name.
Updating your yard can feel a bit overwhelming at first. You want something that looks great without taking up all your free time. That is where small rounded stones come into play. They add a nice texture and a casual vibe to any garden space. But before you call up a delivery truck, you should learn a few things so you do not run into unexpected headaches down the road.
Why This Material Stands Out for Yards
Homeowners love using these tiny smooth rocks because they feel nice underfoot. Unlike jagged crushed stone, these little pebbles have been worn down by nature or tumbled by machines until they are completely round. This makes them a popular choice for walking paths where people might go barefoot.
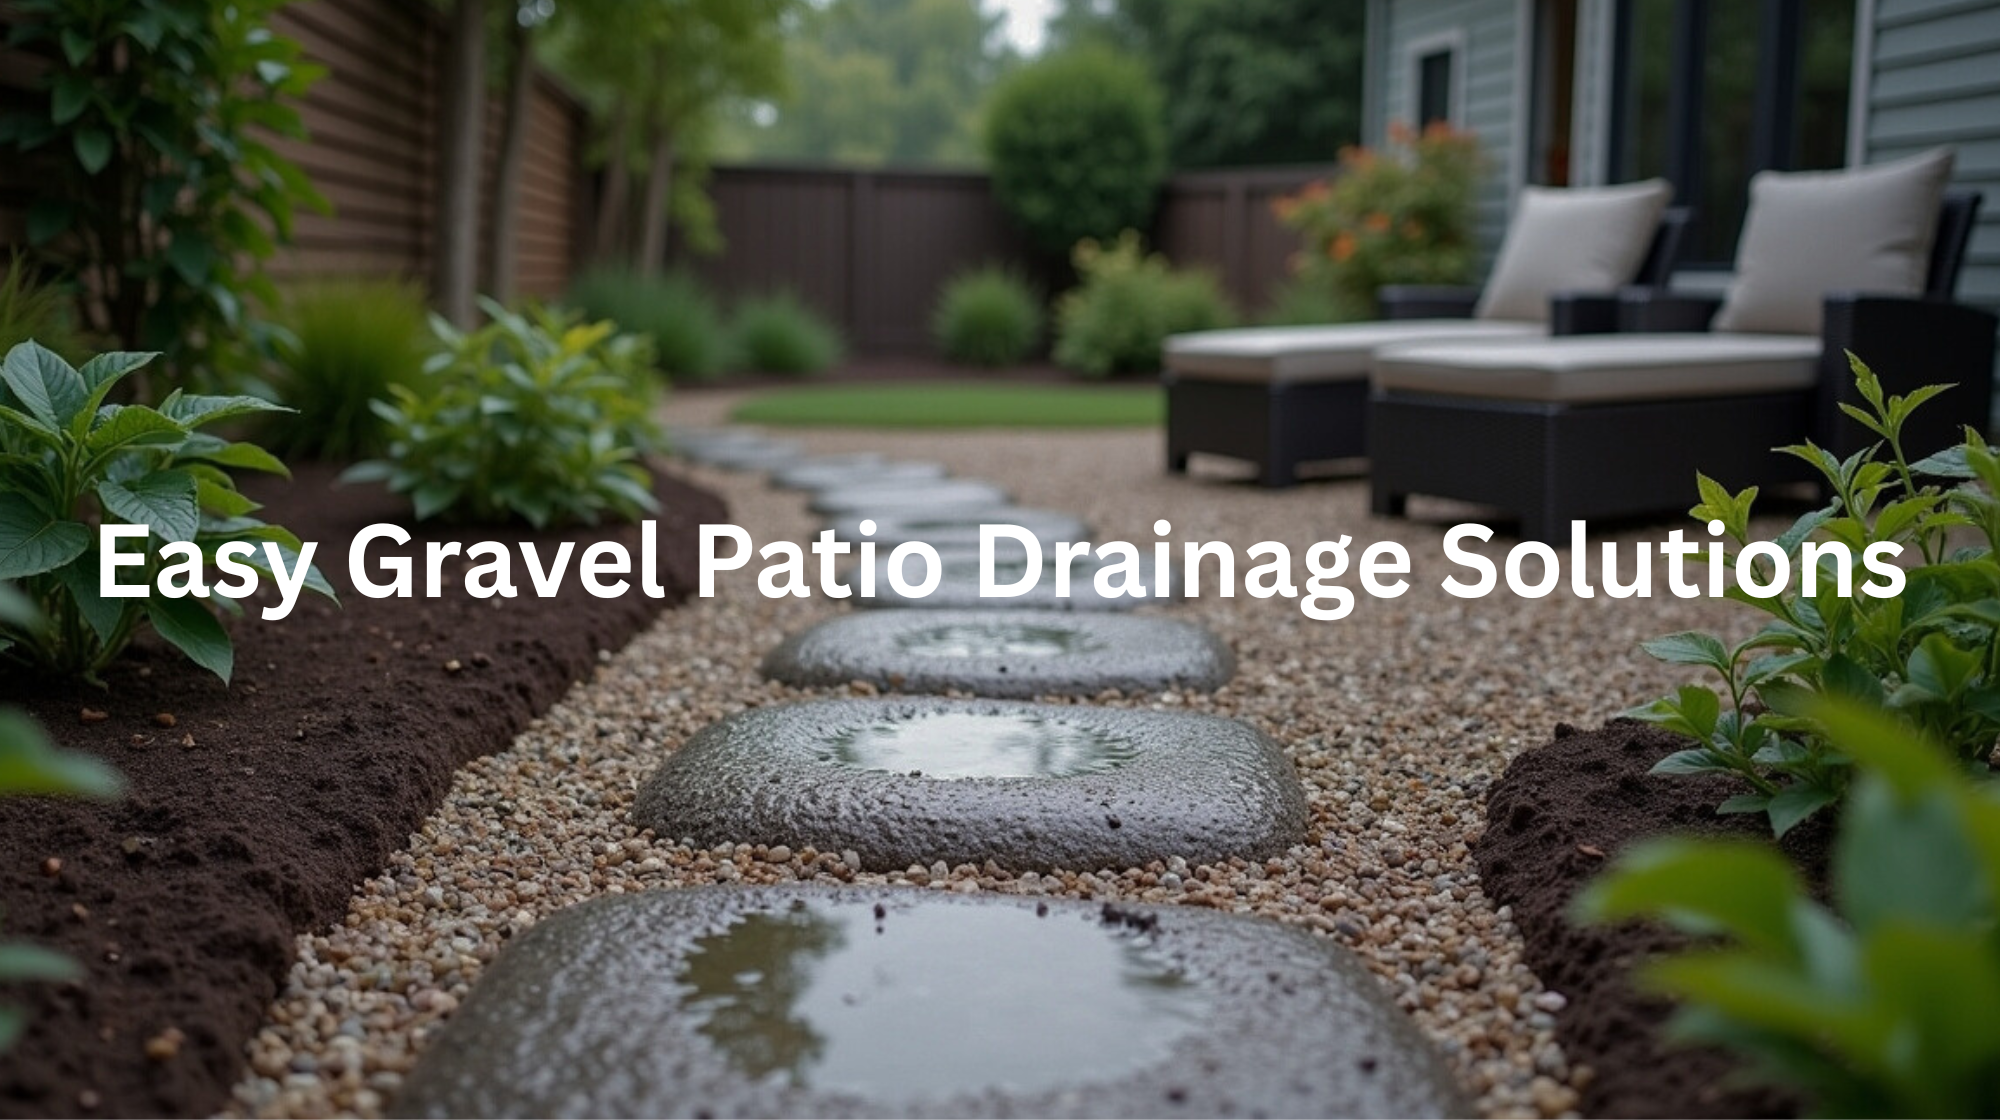
They also let water drain right through them. When heavy rain hits your yard in 2026, you will not have to worry about giant puddles forming on top. The water simply slips between the gaps and soaks deep into the soil. It is a natural way to keep your yard from flooding during stormy weeks.
Where These Small Stones Work Best
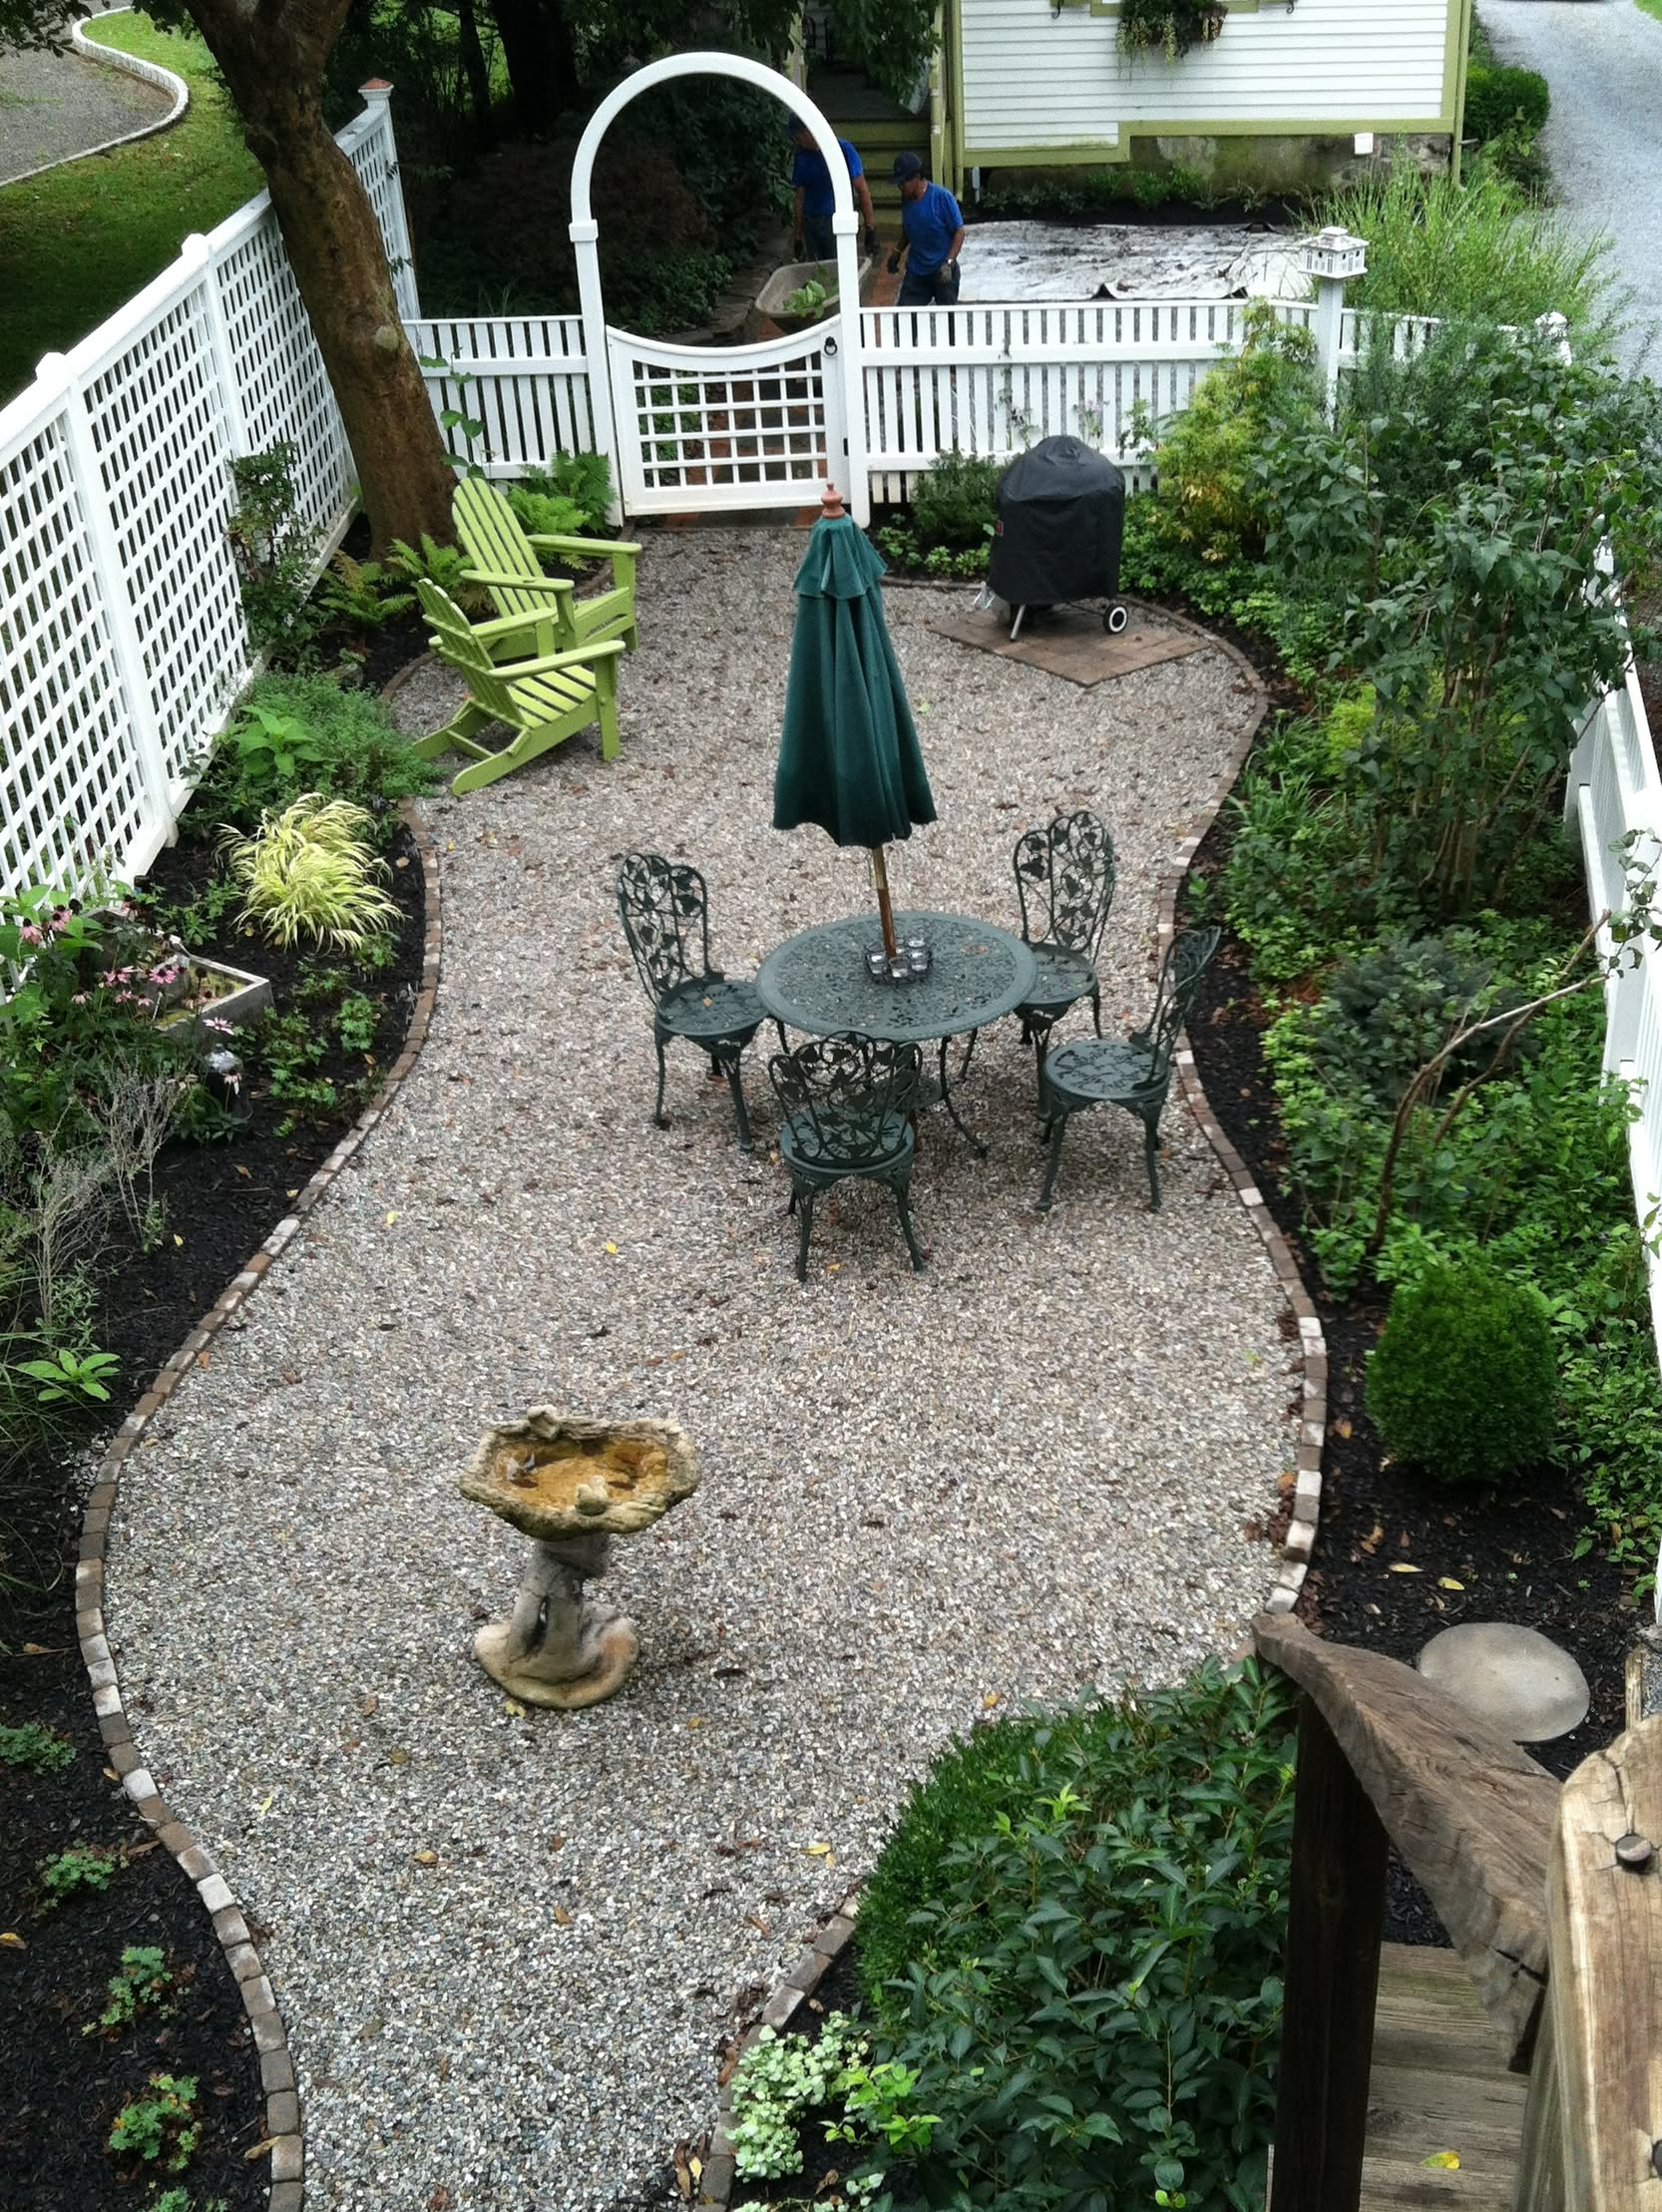
You can drop these little stones in tons of different spots around your property. They make fantastic pathways winding through flower beds. You can also use them to create a cozy sitting area for a fire pit or outdoor chairs.
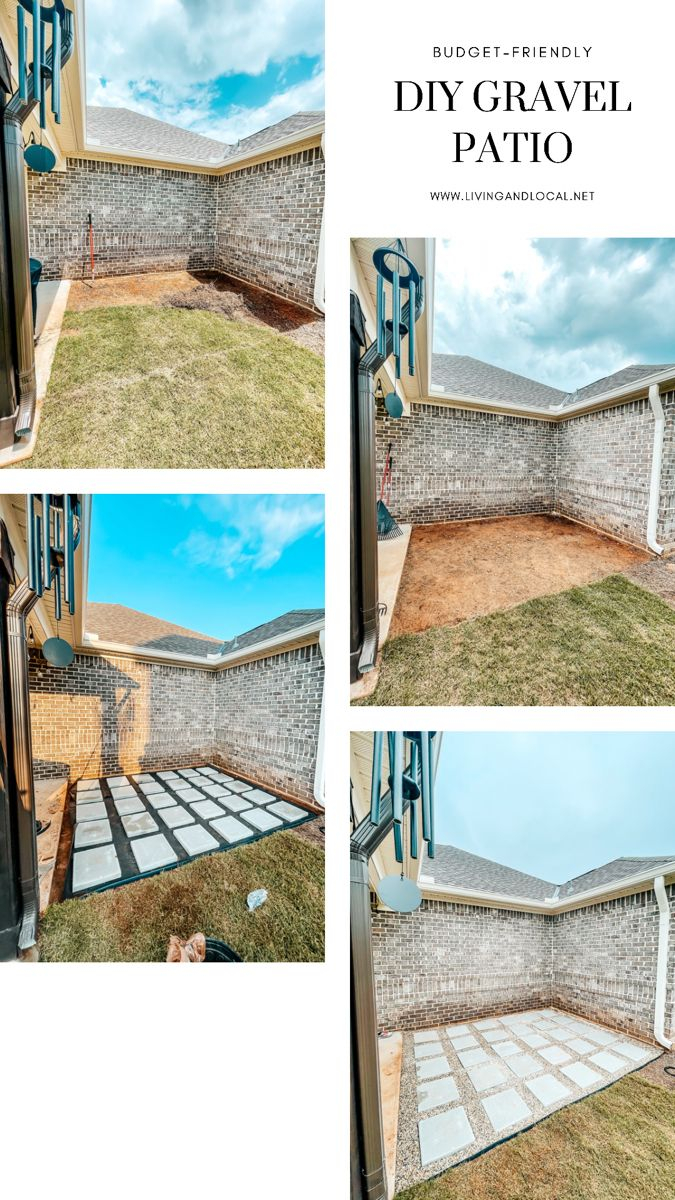
Another great spot is right along the foundation of your house. Setting down a border of these pebbles keeps moisture away from your walls. It stops mud from splashing up on your siding when it rains too. Plus, it gives your house a clean and tidy look with very little effort.
The Hidden Trap of Shifting Ground
Before you dump tons of rock everywhere, you need to understand how they behave. Because they are round and loose, they like to roll around. If you put them on a steep slope, they will slide down every time someone walks on them.
You also have to deal with what happens underneath. Without a good barrier, dirt will mix with your stones over time. Pretty soon, weeds start poking through and ruining that clean look you worked so hard to build. Taking time to prep the ground properly saves you hours of weeding later on.
Setting Up a Solid Base Layer
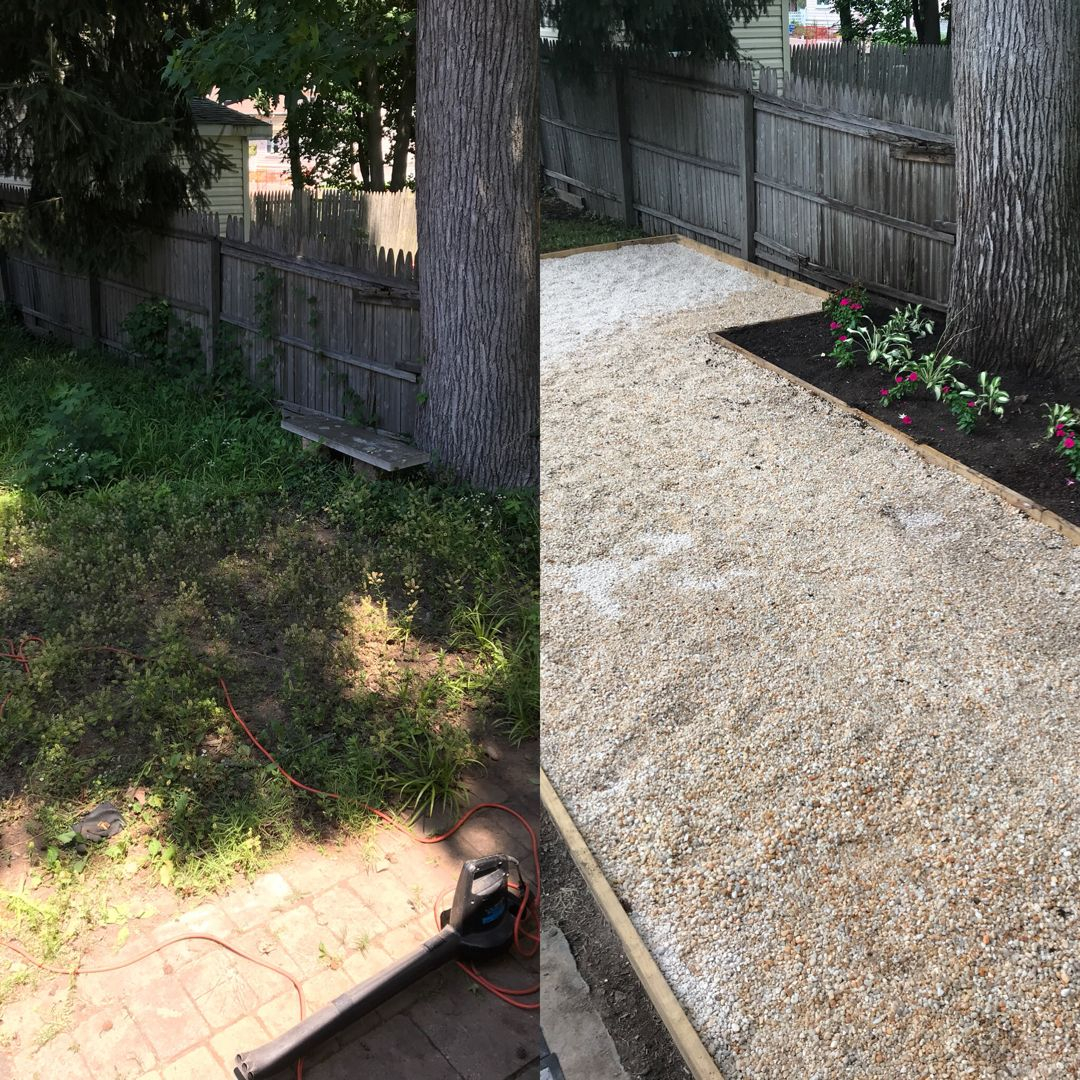
Getting your yard ready for rock installation takes a little muscle. First, you have to dig down a few inches and clear out all the grass and roots. Flattening out the dirt makes a huge difference in how the surface feels later.
Next comes the weed barrier fabric. This special cloth lets water pass through while blocking unwanted plants from pushing up from below. Pin it down tightly before any rocks go on top. Skipping this step is a mistake you will regret by summer.
Keeping Your Stones Looking Fresh
Maintenance is pretty straightforward, but it is not zero. Leaves and twigs love to fall right into the pebble beds. You can use a leaf blower on a low setting to clear out the junk, but you might still have to pick out stubborn sticks by hand.
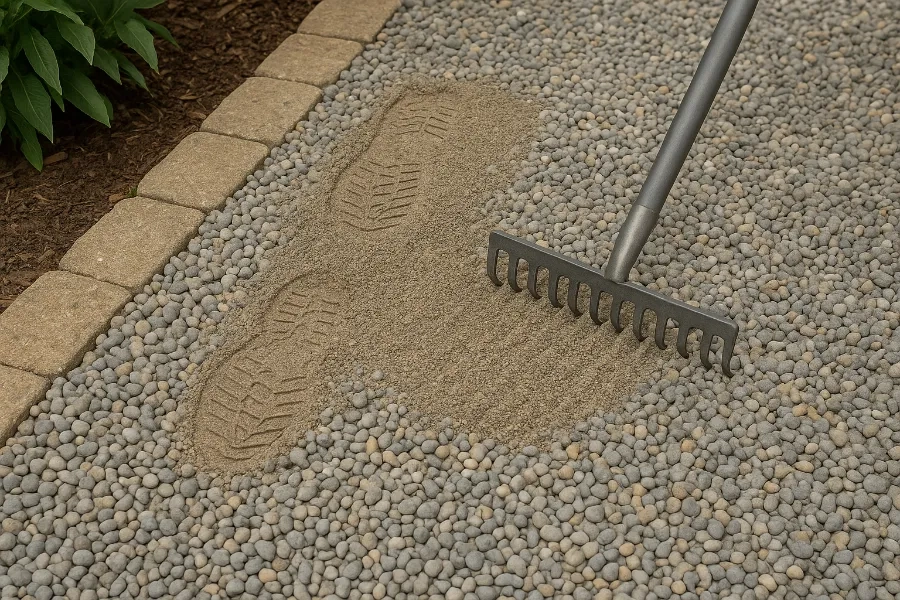
Every couple of years, you may need to order a few extra bags to top things off. Stones sometimes wander off into the grass or sink deeper into the ground. Raking them back into place every now and then keeps the layer looking thick and even.
Not all small stones are the same. They come in a rainbow of natural shades like earthy tans, soft grays, and deep rich browns. Think about the color of your house and fencing before you make a final choice.
Size matters too. Most of these pebbles measure around a half-inch to five-eighths of an inch across. Anything smaller might get stuck in shoe treads and tracked inside your house. Anything much larger loses that comfortable feeling when you walk across it.
Sprucing up your outdoor space does not have to be a massive headache. When you plan ahead and pick the right materials, you set yourself up for success. Just remember to prep your base and choose colors that match your style.
Your yard is ready for its big glow-up this year. Take it slow, enjoy the process, and soon you will have a gorgeous new spot to relax in.