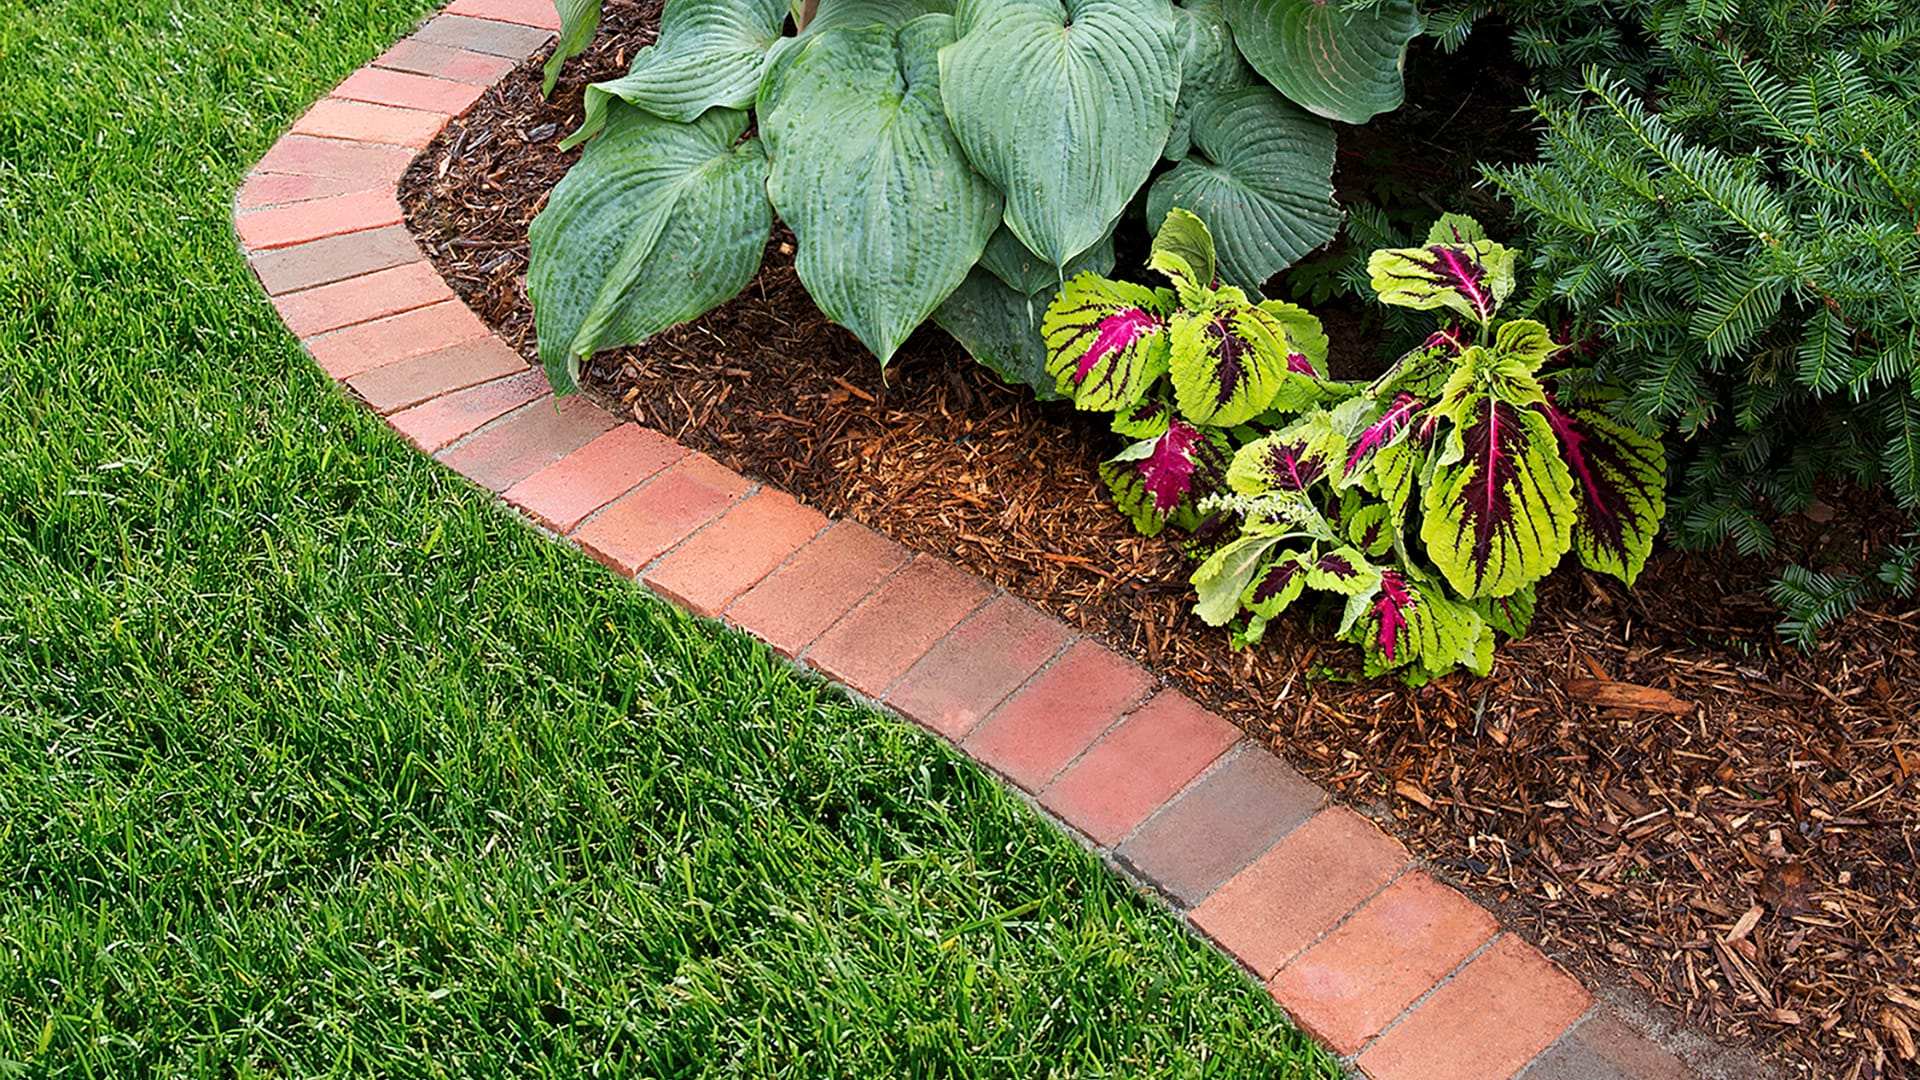

Have you ever pulled into your driveway and felt like your front yard was missing that little something extra. You have the green grass and maybe a few nice bushes, but the whole setup just looks a bit messy around the edges.
Well, you are not alone. In 2026, more homeowners than ever are looking for fast, budget-friendly ways to upgrade their outdoor spaces without hiring expensive contractors. The secret to making your lawn look instantly professional is surprisingly simple: clean, defined lines.
Why Crisp Borders Matter for Your Lawn
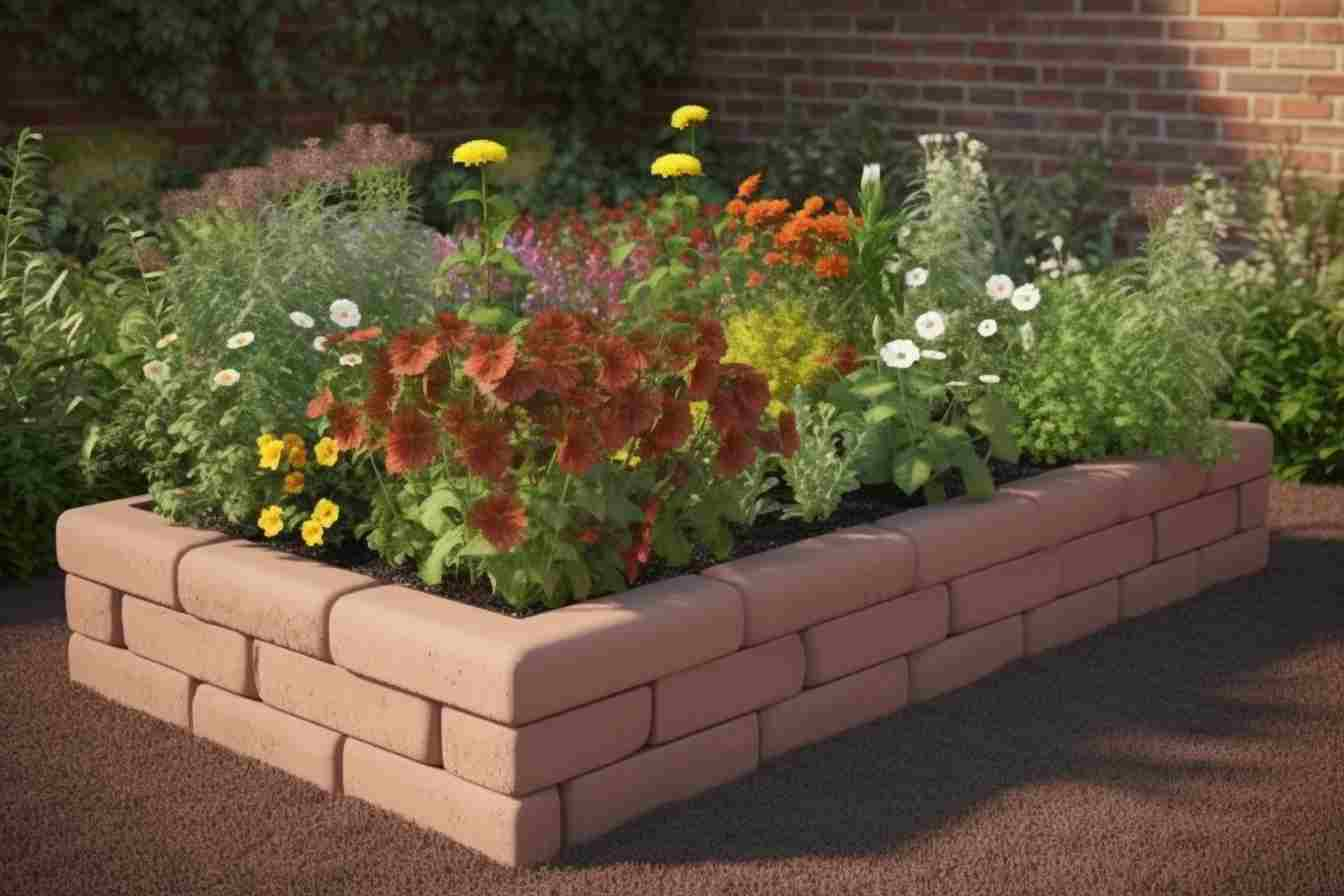
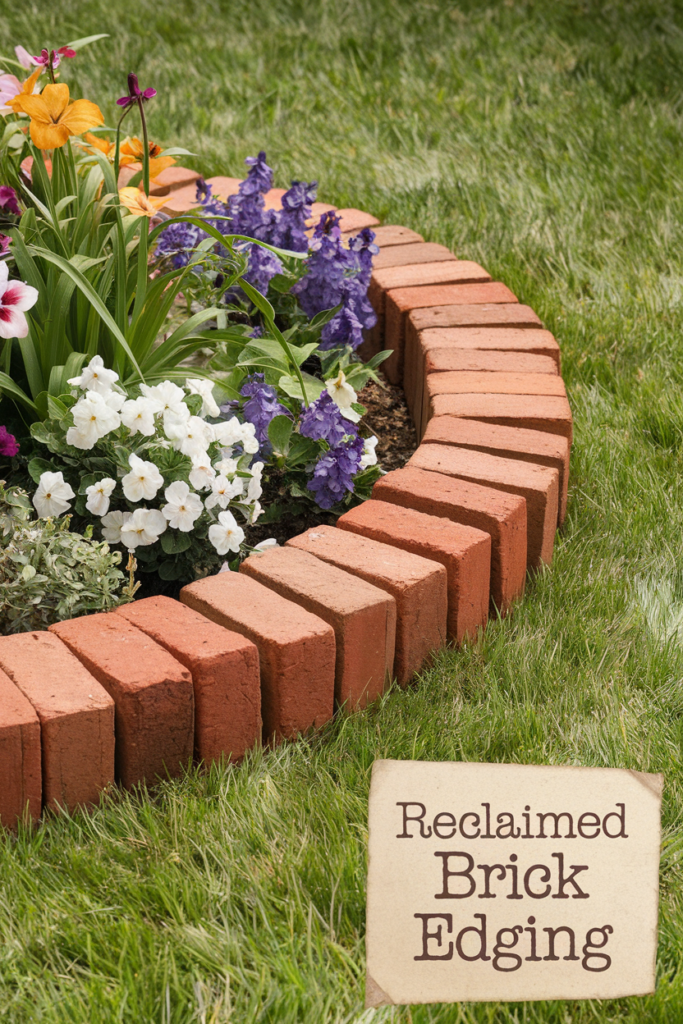
Think of your front yard like a painting. Even the most beautiful artwork looks a bit unfinished without a good frame. Brick edging acts as that perfect frame for your flowerbeds & walkways. It creates a striking visual barrier that instantly separates your lush green grass from your garden mulch.
When you add a solid border, it stops your eyes from wandering into the messy spots. Instead, it guides the view right to your best landscaping features. Plus, it gives your entire property an organized, high-end appearance that makes neighbors take notice.
The Surprising Practical Perks
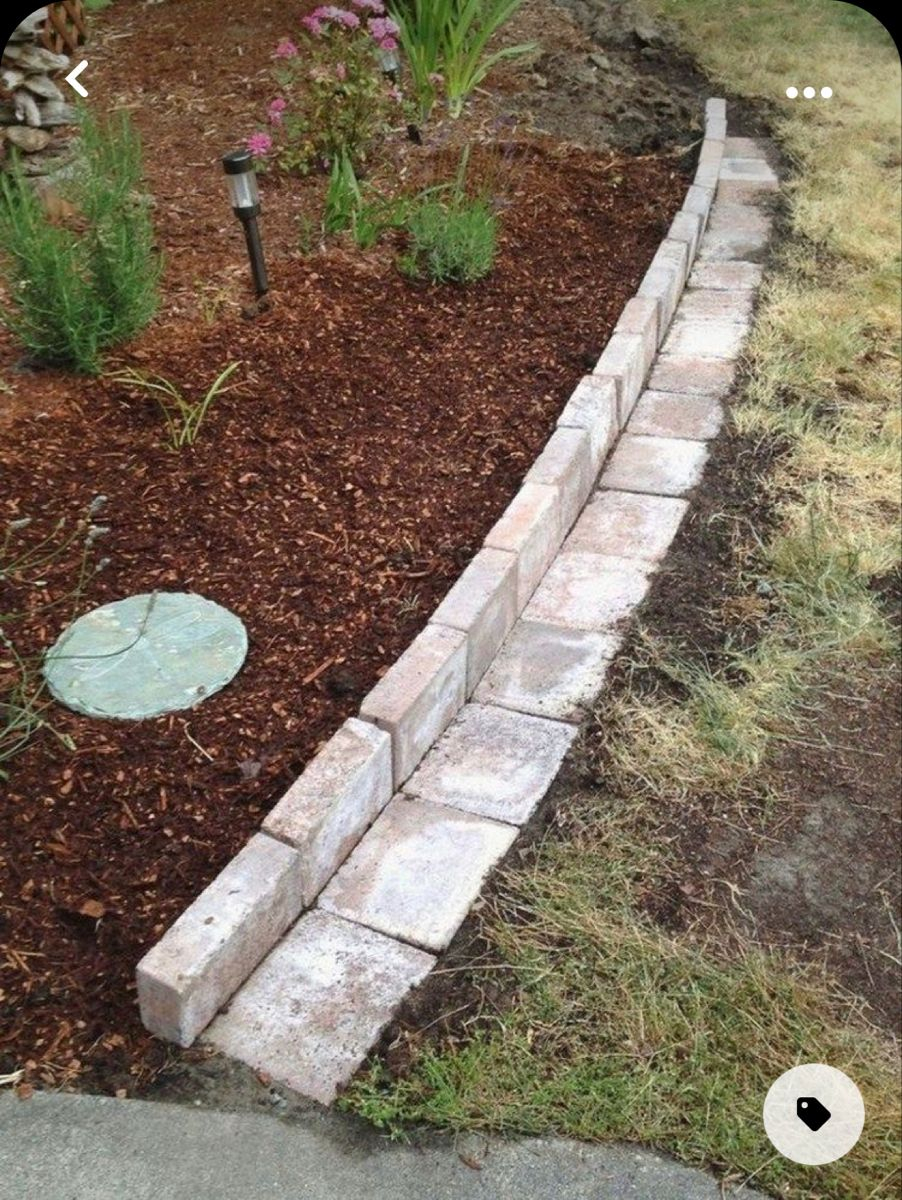
Beyond just looking pretty, a brick border does some heavy lifting for your yard maintenance. Are you tired of constantly battling grass crawling into your flowerbeds? A sunken brick line acts as a physical shield that blocks stubborn roots from invading your garden space.
It also saves you tons of time when you mow the lawn. Instead of carefully trimming the edges every single week, you can simply run your mower’s wheels right over the flat bricks. It cuts your yard work time down significantly & keeps your edges looking sharp with way less effort.
Choosing the Best Materials for Your Home
You don’t need to spend a fortune on fancy stone to get a great look. Standard red clay bricks are incredibly durable and offer a timeless, classic vibe that fits almost any house style. If your home has a more modern look, you might want to look at concrete pavers in gray or charcoal shades.
Before you run to the local home improvement store, take a quick peek at the front of your house. You want to pick a color that complements your siding or front door. Mixing and matching colors can sometimes look a bit chaotic, so keeping it simple is usually your best bet.
Gathering Your Tools Before You Start
There is nothing worse than starting a project only to realize you have to run to the store halfway through. Luckily, this job doesn’t require any crazy power tools. You just need a few basic things that you might already have sitting in your garage.
Make sure you grab a sturdy shovel, a wheelbarrow for moving dirt, a rubber mallet, some string, and a few wooden stakes. You will also want some leveling sand. This sand is the secret ingredient because it cushions the bricks and keeps them from shifting around over time.
A Simple Step-by-Step Guide to Laying the Brick
First, use your stakes and string to mark out exactly where you want your border to go. If you want curves, a flexible garden hose laid on the ground works great as a guide. Next, dig a shallow trench along your line. You want it to be about two inches wider than your bricks and just deep enough so the bricks sit slightly above the grass level.
Pour a thin layer of sand into the trench and smooth it out. Now comes the fun part: placing the bricks. Set them side-by-side, using your rubber mallet to gently tap them into place so they are nice and level. Take your time here; a rushed job will look bumpy later on.
Finishing Touches for a Long-Lasting Border
Once all your bricks are down, you might notice small gaps between them. Don’t worry, that is completely normal. Sweep more leveling sand over the top of the bricks until all the tiny cracks are completely filled to the brim.
After sweeping away the extra sand, mist the area lightly with a garden hose. This helps the sand settle down deep between the bricks, locking them tightly together like a puzzle. After a few days, your new border will be rock solid and ready to handle both the lawnmower and foot traffic.
By Sunday evening, you will be able to step back and admire a front yard that looks entirely different from how it started on Friday. It is amazing how such a straightforward project can make your whole property look so much more expensive and taken care of.
Investing just one weekend into a DIY brick border brings massive rewards for your home’s overall vibe. It proves that you don’t need a massive budget or teams of workers to create beautiful, lasting changes right outside your front door.