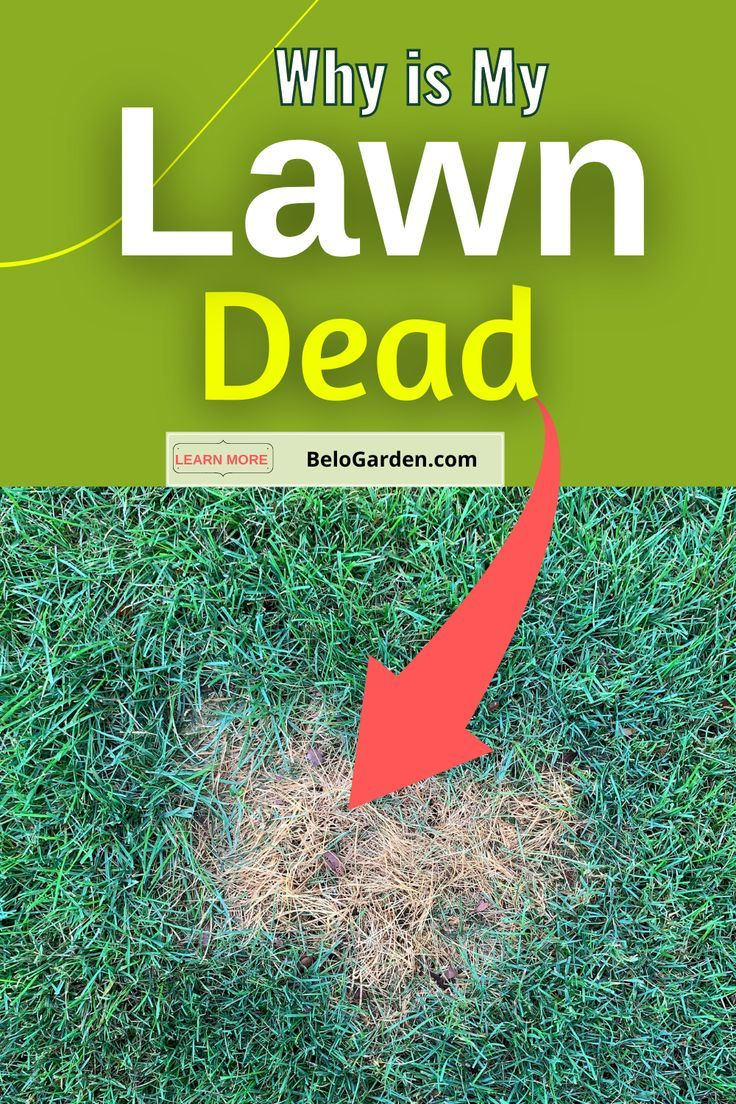

It’s July. The sun is beating down like a hammer, and you’re standing in your backyard with a hose in one hand and a look of pure defeat on your face. Again. Right there, near the corner of the patio, the grass has turned that sickly shade of straw-yellow. It’s not just dry; it’s dead. And the worst part? It’s the exact same spot that died last summer. And the summer before that.
You’ve watered it more than the rest of the yard. You’ve thrown down fertilizer. You’ve even talked to it, politely asking it to please just stay green. But nothing works. It’s frustrating, isn’t it? It feels personal. Like your lawn is specifically choosing that one patch to give up on life while the rest of the turf thrives. Most people assume it’s a disease, or maybe their dog has a favorite bathroom spot, or perhaps they just aren’t watering enough. But what if I told you the problem isn’t on the surface at all? What if the answer is buried six inches down, left behind by someone who didn’t care about your grass?
The Ghost in the Ground
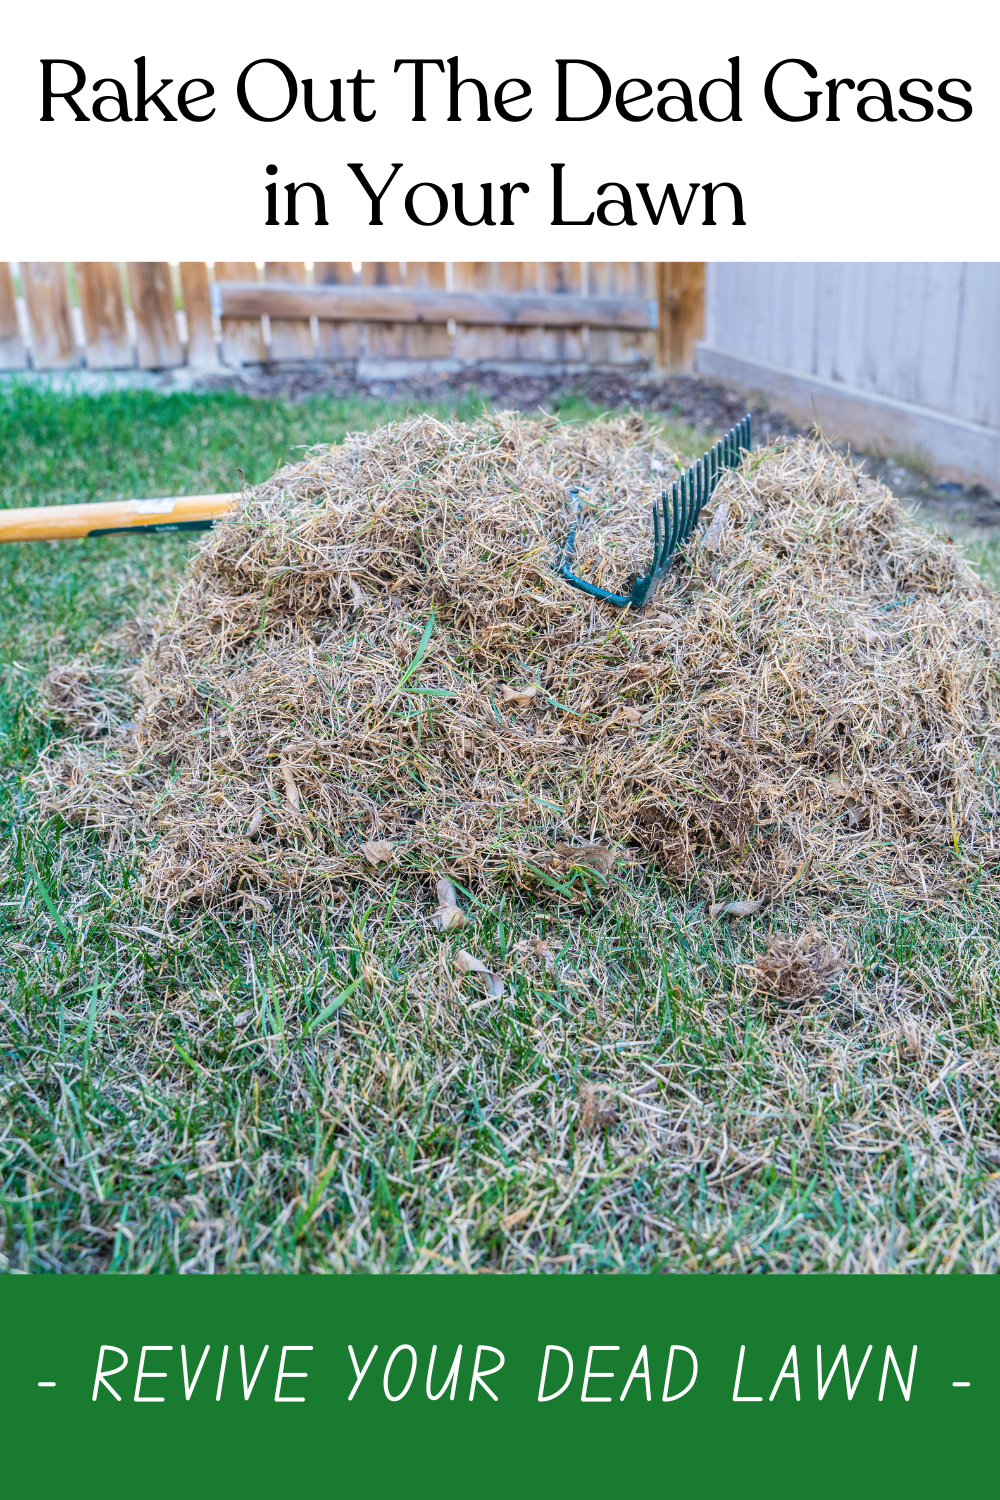
Let’s start by ruling out the usual suspects. We all know the common reasons grass dies. Poor watering habits are huge—either too much or too little. Then there are pests like grubs munching on roots from below, or fungal diseases like brown patch that thrive in humidity. Even pet urine can burn a hole in your lawn if Fido likes the same tree every morning. These are real issues. They happen. But here is the key difference: those problems usually move around. Grubs might infest a new area next year. A fungal outbreak might shift with the wind. Pet spots change as your dog explores.
But your spot? It’s static. It’s stubborn. It’s predictable. If you are dealing with a patch that returns to the exact same coordinates every single year, regardless of how much you water or treat it, you are likely not dealing with a biological issue. You are dealing with a physical one. This is what experts call "construction debris compaction" or simply, the "rubble layer." It’s the hidden reason that drives homeowners crazy because standard lawn care advice doesn’t fix it. You can’t fertilize your way out of a rock pile.
Think about it. When was your house built? Or when was that patio added? Maybe ten years ago? Twenty? During construction, workers often bury waste. Broken concrete, chunks of asphalt, old bricks, wood scraps, and even plastic wrap get tossed into the hole and covered with topsoil. It’s cheap, it’s easy, and it’s invisible. Until the grass tries to grow over it. For the first few years, the topsoil above the debris might be deep enough for roots to survive. But as time passes, that top layer settles, erodes, or gets compacted. Suddenly, the roots hit a wall.
Hitting the Ceiling
Grass is surprisingly tough, but its roots have limits. Most common lawn grasses, like Kentucky Bluegrass or Fescue, need to send their roots down 6 to 8 inches to access moisture and nutrients during the heat of summer. In spring, when the soil is cool and wet, the grass can survive with shallow roots. It looks fine. It’s green. You’re happy. But then June hits. The air temperature spikes. The sun gets intense. The top inch of soil dries out in hours.
Now, the grass needs to drink from deeper down. It tries to push its roots further into the earth. But instead of loose, rich soil, it hits that layer of broken concrete and hard-packed clay debris. It’s like hitting a ceiling. The roots can’t penetrate it. They spread out sideways, cramped and stressed, unable to reach the water table below. As the summer heat intensifies, the shallow root zone dries out completely. The grass plant essentially suffocates and dehydrates. It goes dormant, turns brown, and eventually dies.
This is why the patch only dies in summer. In the cooler months, the stress isn’t there. The demand for water is lower. The grass can limp along. But put it under the thermal pressure of July and August, and the system fails. It’s not a disease killing the grass; it’s starvation and thirst caused by a physical barrier. It’s a structural failure, not a biological one. And no amount of fungicide will fix a brick buried in the dirt.
How to Confirm the Diagnosis
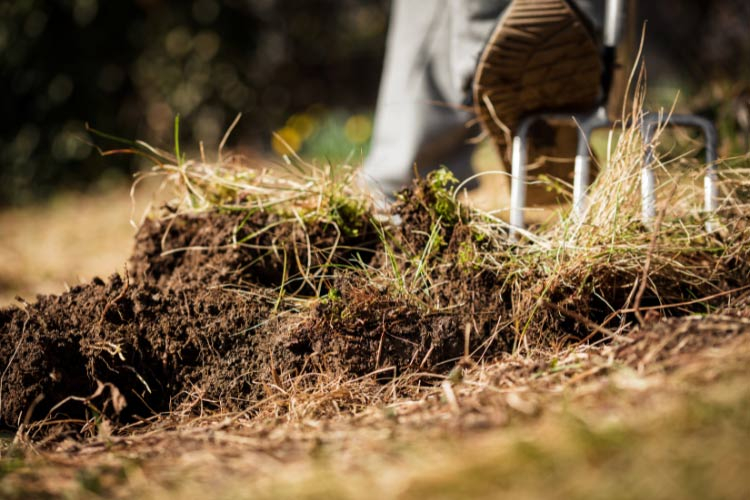
So, how do you know for sure if this is your problem? You don’t need a lab test. You need a shovel. Wait until the ground is somewhat moist, maybe after a light rain or a good watering session. Take a sharp spade and go to the edge of the dead patch, where the green grass meets the brown. Dig down. Don’t just scratch the surface; you need to go deep. Aim for about 6 to 8 inches.
As you dig, pay attention to the resistance. Normal soil should give way relatively easily. If you hit something hard, clangy, or unyielding, you’ve found your culprit. You might pull up a chunk of concrete. Maybe a piece of wood that’s rotted but still dense. Or you might find that the soil itself is incredibly hard, like clay that’s been mixed with gravel and compacted by heavy machinery years ago. This is the "debris layer." It acts as a perched water table blocker, meaning water sits above it or runs off, rather than soaking through to where the roots need it.
Another tell-tale sign is the location. Is the dead spot near the foundation of your house? Close to a driveway, sidewalk, or patio? These are high-probability zones for buried construction waste. Builders often use the immediate vicinity of structures as convenient dumping grounds for excess material. If your dead patch aligns with where a crew might have been working decades ago, the odds are overwhelmingly in favor of the debris theory. Also, notice if the grass around the edges looks stunted or thinner than the rest of the lawn. That’s the zone where roots are struggling against the barrier.
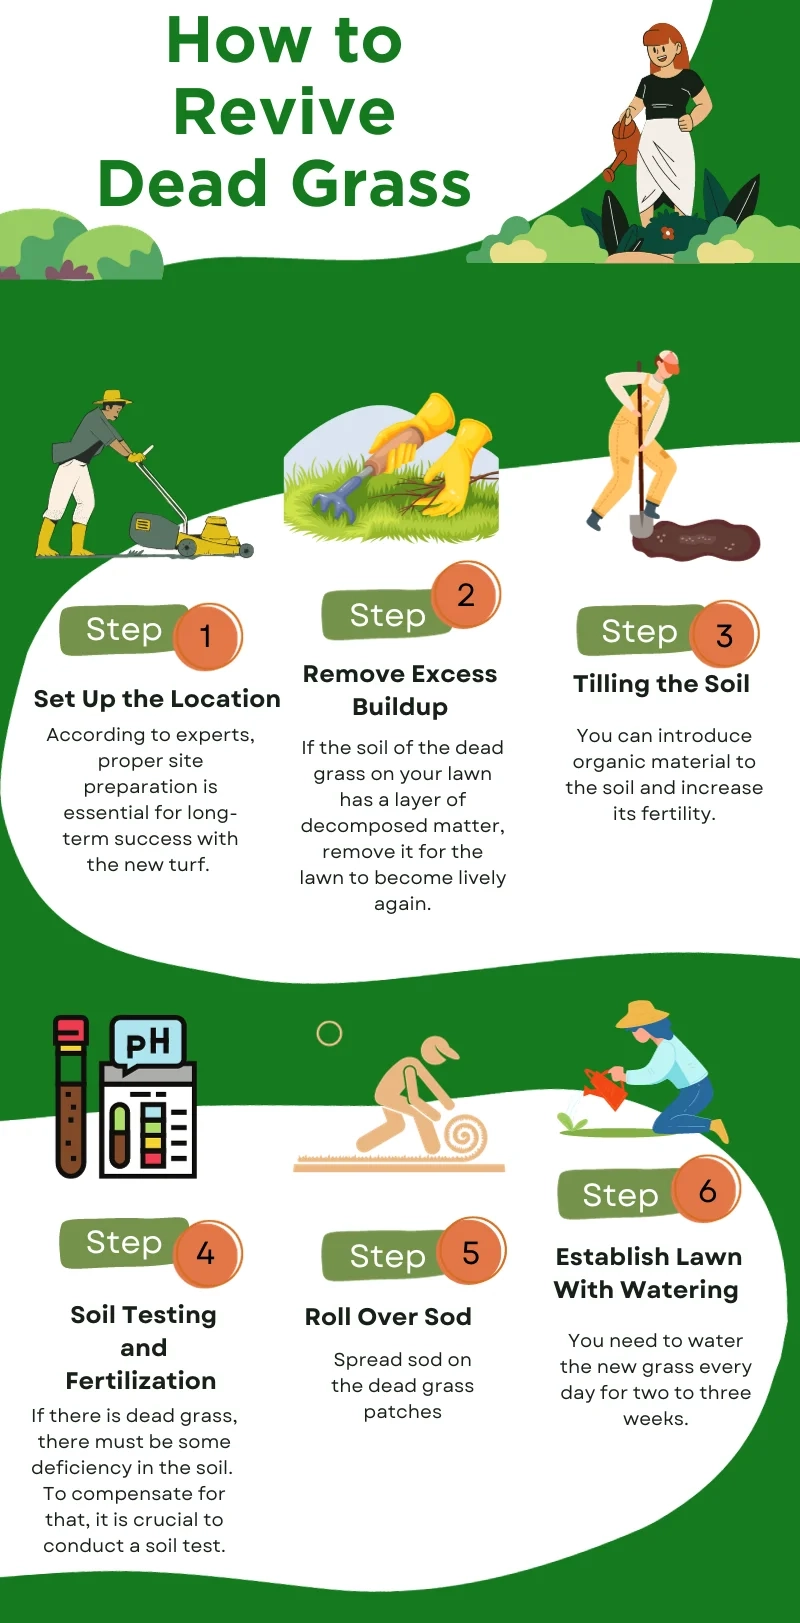
The Fix: Digging It Out
Once you’ve confirmed there’s rubble or compacted debris below, you have to remove it. There is no shortcut here. You can’t pour a liquid solution on it. You have to get physical. Start by digging out the dead grass and the soil around the affected area. Make the hole slightly larger than the dead patch to ensure you get all the compromised soil. Remove everything until you clear the debris layer. This might mean digging down a foot or more, depending on how deep the waste was buried.
Dispose of the debris properly. Don’t just push it to the side and cover it up; that’s just kicking the can down the road. Take the concrete and rocks to a local landfill or recycling center. Once the hole is clean and free of obstruction, you need to rebuild the soil profile. Don’t just fill it with bagged topsoil from the garden center, though. That can create a "bathtub effect" where water gets trapped in the new loose soil because the surrounding native soil is still compacted.
Instead, mix native soil with organic matter. Compost is great. So is aged manure. The goal is to create a transition zone that allows water to drain through while holding enough moisture for roots. Fill the hole in layers, tamping down gently but not compacting it hard. Leave the filled area slightly mounded, as it will settle over time. This process is labor-intensive, yes. It’s a weekend project. But it’s a permanent fix. You are removing the cause, not just treating the symptom.
Rebuilding and Reseeding
Now that the hole is filled with good, healthy soil, you need to reintroduce grass. Don’t just scatter seed on top and hope for the best. The soil structure has been disturbed, so you need to help it along. Choose a grass seed that matches your existing lawn. If you have a sunny spot, use a sun-loving blend. If it’s shady, go for shade-tolerant varieties. In 2026, there are also some excellent drought-resistant blends available that require less water once established, which is a smart move if you live in a hot climate.
Rake the seed lightly into the top quarter-inch of soil. Cover it with a thin layer of straw or peat moss to keep it moist and protect it from birds. Water is critical here. Keep the area consistently moist, not soggy, for the first two to three weeks. You want the seeds to germinate and the young roots to establish themselves in the new, debris-free soil. This is the moment of truth. If you’ve removed the barrier, the new roots will be able to dive deep.
Be patient. It might take a full season for the new patch to blend in seamlessly with the rest of the lawn. Don’t fertilize heavily right away; let the roots focus on growing down, not just pushing up blades. Once the grass is established, you’ll notice a difference. Next summer, when the heat wave hits, that spot won’t turn brown. It will stay green because the roots can finally access the water they need. It’s a satisfying feeling, seeing that patch thrive instead of fail.
Prevention and Long-Term Health
While you can’t change the history of your home’s construction, you can prevent future issues. If you are planning any landscaping projects, like adding a deck or a fire pit, be mindful of where you dump excess soil or debris. Never bury waste in areas where you want grass to grow. It’s tempting to save on disposal fees, but it costs you more in the long run. Also, consider aerating your lawn regularly. Aeration helps break up minor compaction in the native soil, allowing water and air to penetrate deeper.
If you notice other small patches appearing in different spots, keep an eye on them. If they move, it’s likely pests or disease. If they stay put, dig. Early detection saves you from having to dig a massive hole later. Another tip is to improve the overall health of your lawn. A thick, healthy lawn is more resilient to stress. Mow high, leave clippings, and water deeply but infrequently. This encourages deep root growth everywhere, making your lawn less susceptible to shallow soil issues.
Sometimes, the best solution is acceptance. If a spot is particularly problematic, or if the debris layer is too deep and widespread to dig out practically, consider changing the landscape. Turn that spot into a flower bed. Mulch it. Put in a rock garden. Plant a native shrub that has a different root structure. Fighting nature and bad construction is exhausting. Working with it is smarter. There’s no shame in admitting that a specific corner of your yard is better suited for hostas than for fescue.
At the end of the day, a lawn is a living thing, but it’s also a reflection of the history of the land it sits on. Those dead patches aren’t a judgment on your gardening skills. They’re echoes of the past, literal remnants of the construction that built your home. Understanding this shifts the perspective. It’s not about being a better waterer or buying expensive chemicals. It’s about understanding what’s underneath.
By taking the time to dig down and remove that hidden barrier, you’re not just fixing a brown spot. You’re restoring the integrity of your soil. You’re giving your grass a fair chance. And honestly, there’s something deeply satisfying about solving a mystery that’s been plaguing you for years. No more guessing. No more wasted water. Just green grass, deep roots, and a little bit of peace of mind.
So, grab that shovel. It’s time to see what’s really going on down there. You might be surprised by what you find. And when you pull out that chunk of concrete from 1995, you’ll know exactly why your grass has been struggling. It wasn’t you. It was the rubble. And now, it’s gone.