
Have you ever stood on your back porch during a massive summer downpour, watching your expensive topsoil literally wash away into the neighbor’s yard? It is a heartbreaking sight. You spend weekend after weekend planting grass and mulching beds, only for a single storm to carve ugly mud trenches right through your hard work.
Water is a sneaky force, isn’t it. It always finds the path of least resistance. Instead of fighting against nature, the trick is to give that water a clear, beautiful path to follow. That is where a DIY dry creek bed comes into play. It transforms a destructive backyard swamp into an attractive landscape feature that actually does some heavy lifting when the skies open up.
The Real Danger of Unchecked Backyard Water
When heavy rain hits your property, it doesn’t just sit there; it moves. If your yard has even a slight slope, that moving water picks up speed. Before you know it, you are dealing with severe erosion. This isn’t just about losing some dirt. Runoff can slowly undermine the concrete of your patio, drown the root systems of your favorite trees, and even seep into your home’s foundation.
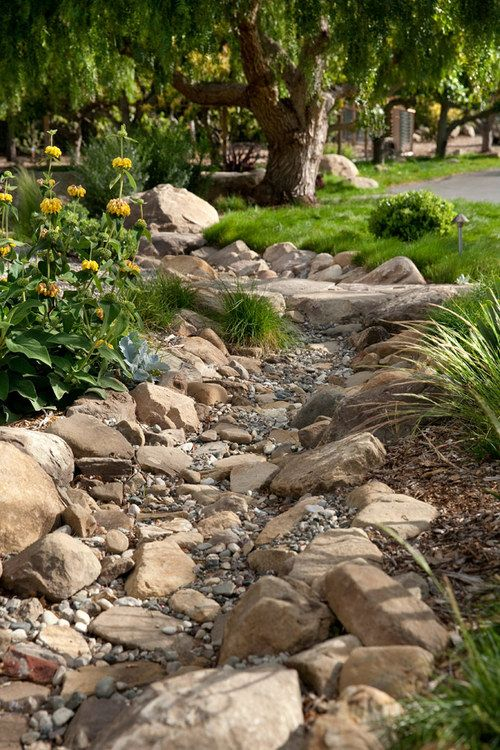
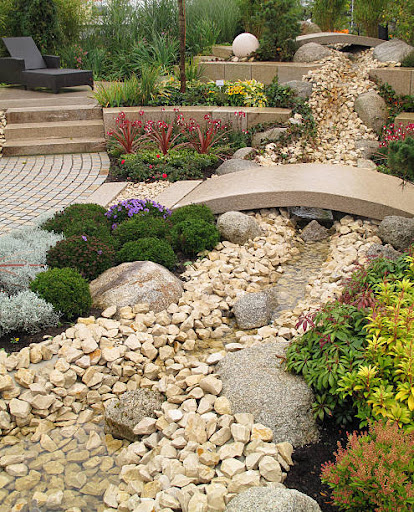
Think of a dry river bed as a stylized ditch that looks like a natural part of the environment. Instead of a ugly plastic pipe or a muddy trench, you get a winding stream of river stones. During dry spells, it acts as a gorgeous architectural focal point in your garden. But when the storms arrive in 2026, it safely catches the torrents and slows them down.
Mapping Out the Perfect Path
You can’t just throw rocks in a straight line and hope for the best. To make this work, you need to watch how water naturally behaves in your yard. The next time it pours, put on a raincoat and go outside. Where does the water pool? Where does it rush the fastest? That is exactly where your new creek needs to go.
Nature rarely moves in a perfectly straight line, so your DIY river bed shouldn’t either. Give it some gentle curves. A winding path looks way more natural and, more importantly, it helps slow the water down. If water flows too fast, it will just wash your stones right out of the channel. Making it curve forces the water to lose its destructive energy.
Digging and Shaping the Channel
Once you have your path marked out with some spray paint or a garden hose, it’s time for some old-fashioned shovel work. You will want to dig a trench that is roughly twice as wide as it is deep. For most average yards, a channel about two feet wide and eight to ten inches deep works beautifully.
As you dig, make sure the center of the trench is the deepest point, sloping up gradually to the sides like a shallow "U" shape. Try to mound the dirt you dig up along the banks of your new creek. This extra soil can be used later to plant nice greenery or create little ridges that keep the water contained. Don’t worry about making it look too perfect; nature loves a little bit of imperfection.
Laying the Foundation to Stop Weeds
This is the step where lots of folks make a big mistake. They just toss rocks right onto the bare dirt. If you do that, two things will happen: your rocks will slowly sink into the mud over time, and weeds will take over your beautiful project within a month. You absolutely need a solid barrier beneath your stones.
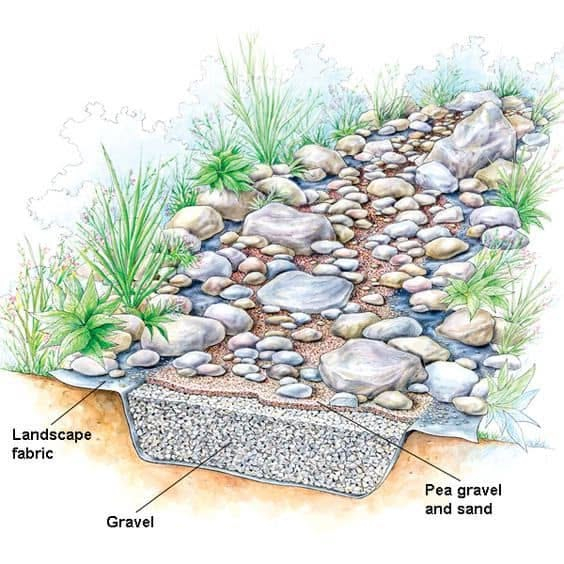
Grab a roll of heavy-duty, commercial-grade landscape fabric. Roll it out along the entire length of your dug-out trench. Make sure it covers the bottom and goes all the way up the sides, overlapping the edges by a few inches. Secure it tightly with landscape staples. This fabric lets water soak into the ground while keeping the soil underneath from mixing with your clean stones.
Choosing and Placing Your Stones
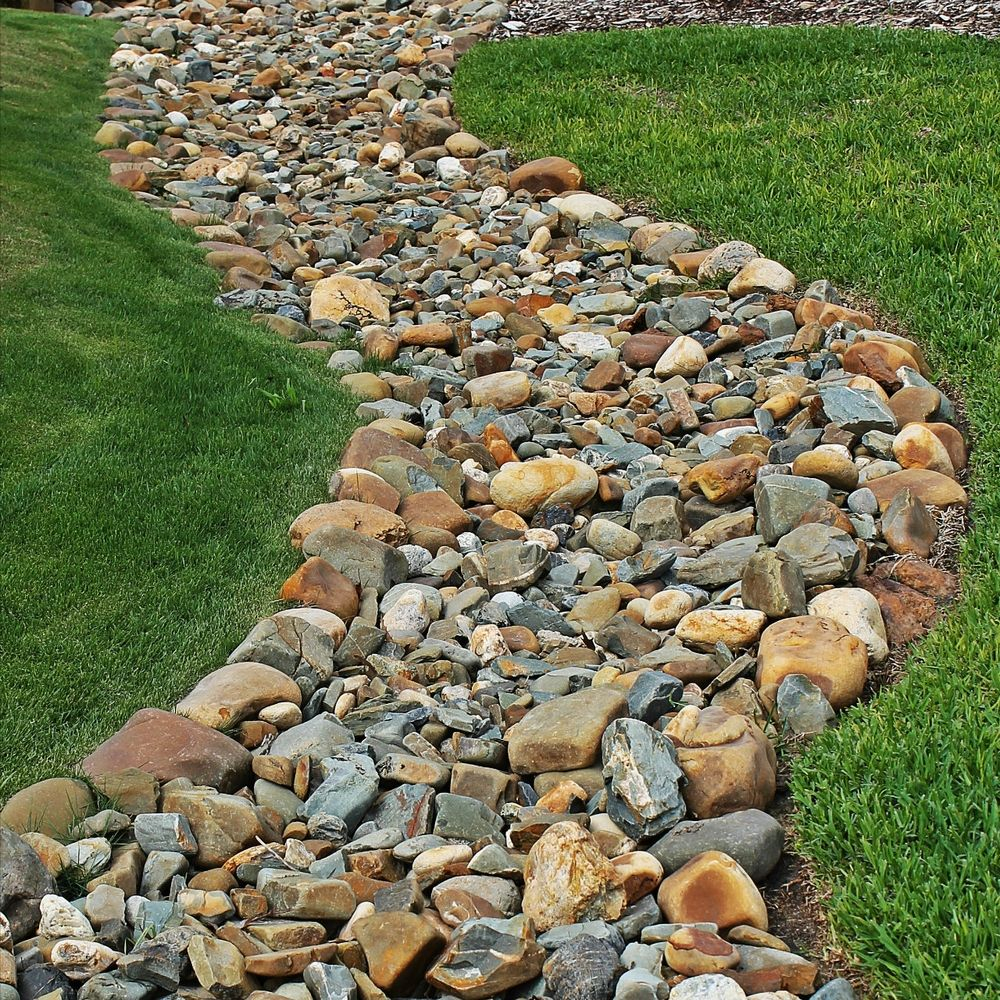
To make your river bed look like it was created by Mother Nature and not a machine, you need a variety of rock sizes. If you use only one size of gravel, it will look like a driveway. Go to your local landscape supply yard and get a mix of large boulders, medium river rocks, and small pea gravel.
Start by placing your biggest boulders along the edges and at the bends of the curves. These act as anchor points and help deflect the rushing water. Next, fill in the bottom of the channel with your medium-sized river stones, which should be about two to four inches wide. Finally, use the smallest gravel to fill in the gaps between the larger rocks. This layered approach locks everything tightly into place.
Softening the Edges with Plants
Right now, your river bed might look a bit harsh against the rest of your lawn. To truly integrate it into your yard, you want to introduce some hardy plants along the banks. Plants with deep root systems are fantastic because they help bind the soil together, offering an extra layer of defense against erosion.
Look for ornamental grasses, ferns, or local native flowers that don’t mind getting their feet wet occasionally but can also survive dry spells. Plant them right along the edges of the stone channel, cutting small Xs into the exposed landscape fabric where needed. As these plants grow and spill over the rocks, the entire structure will look like it has been there for decades.
The great thing about a dry creek bed is that it requires very little upkeep once it is built. However, you can’t just completely forget about it. Over time, autumn leaves, twigs, and flying debris will land in your rocks. If too much debris builds up, it can block the water flow and cause a backup.
Every spring, take a few minutes to clear out any clogged leaves or twigs. Check for any spots where rocks might have shifted after a particularly brutal storm and push them back into place. If you notice a spot where water tried to escape the channel, simply add a couple of larger rocks to that area to reinforce the bank. With just a tiny bit of love, your DIY river bed will protect your yard for years to come.