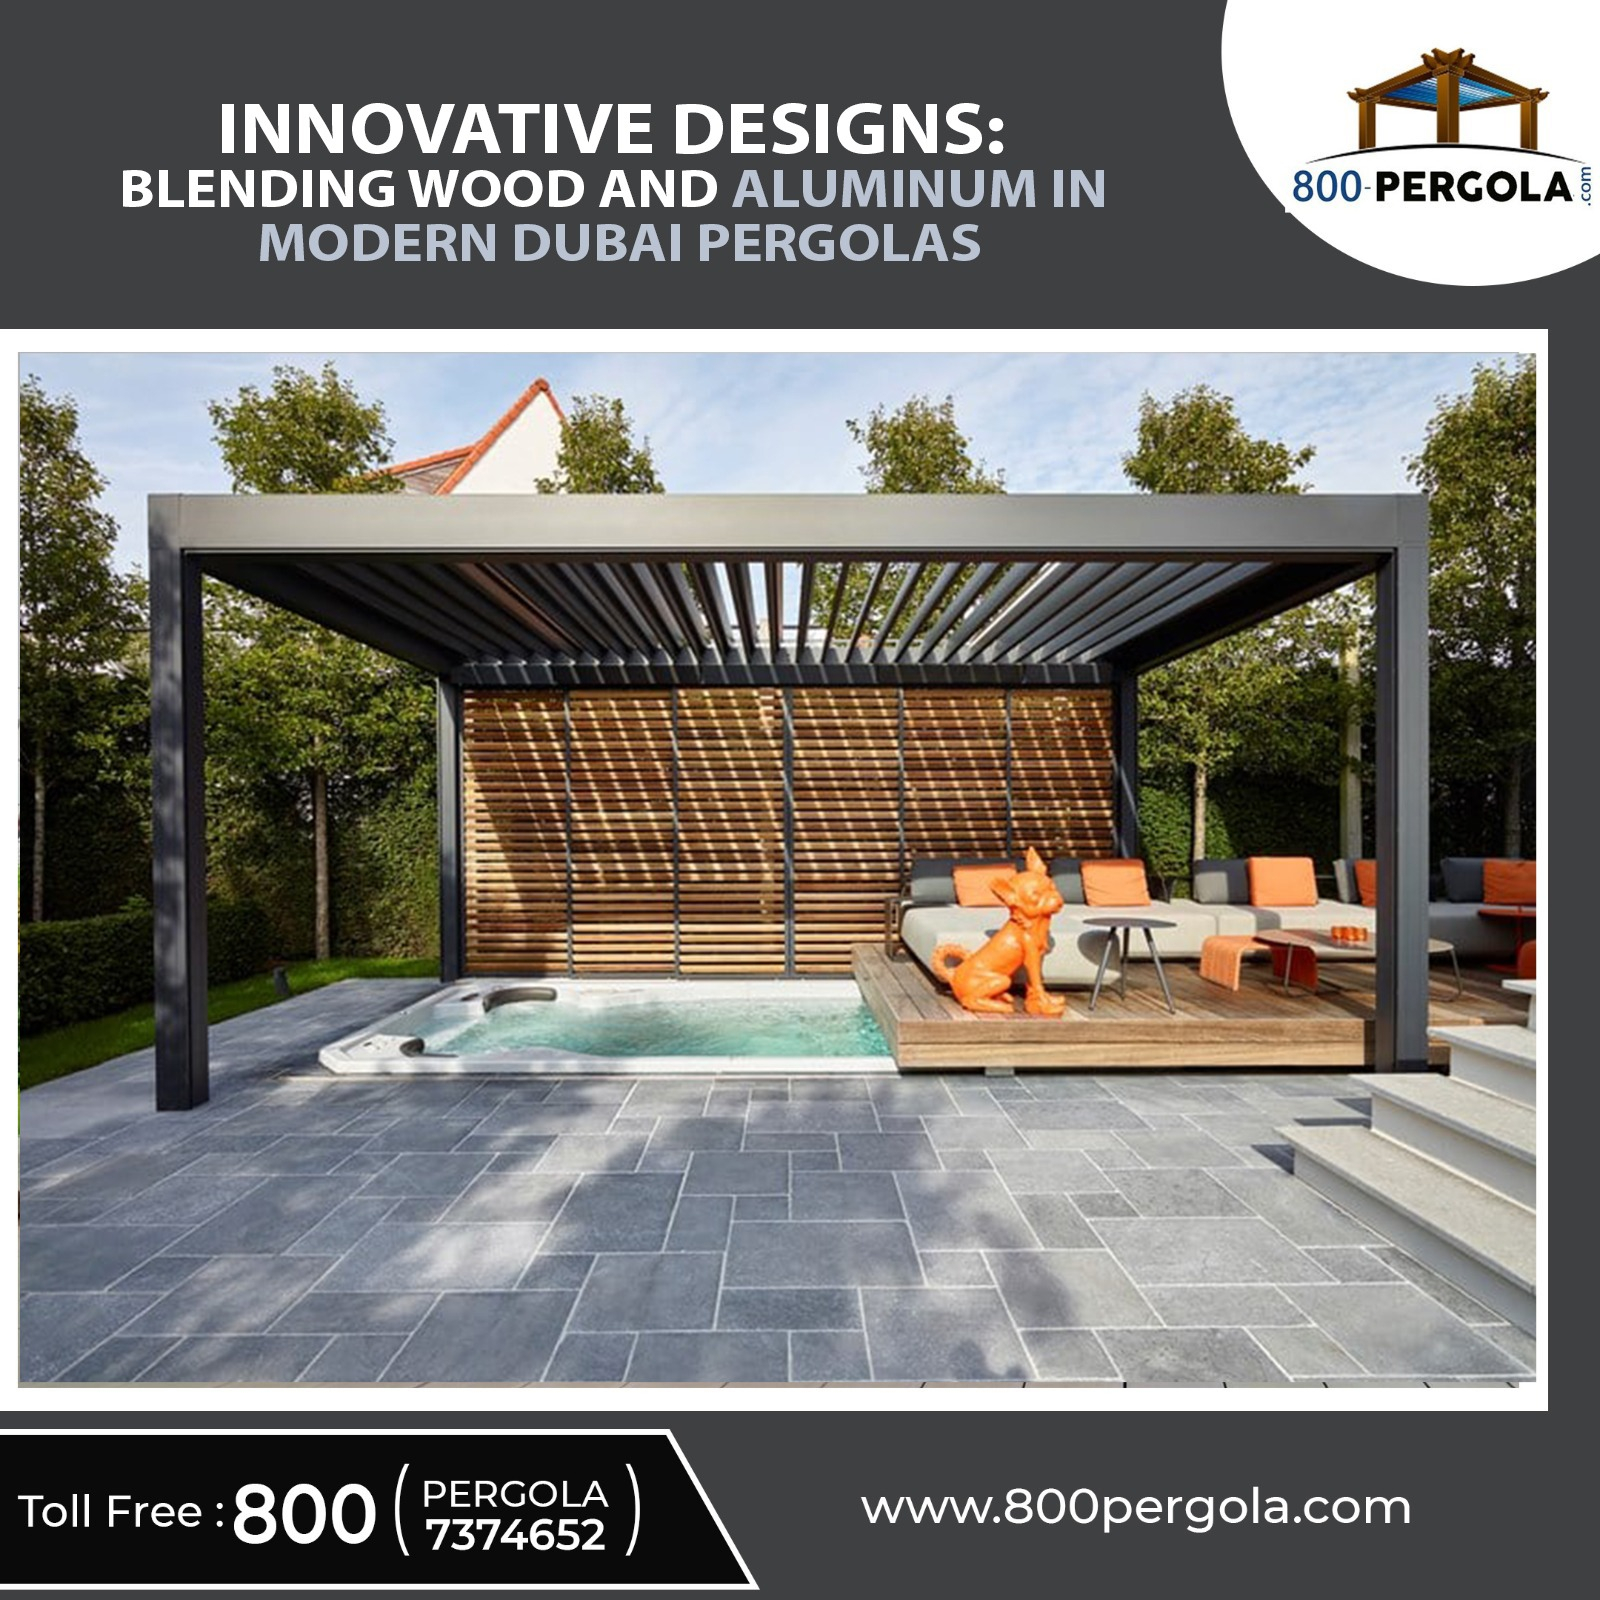

The midday sun beats down mercilessly on the flagstone patio, radiating a dry heat that forces you indoors just as the afternoon begins to stretch. You wanted an outdoor living space to connect with the natural rhythm of your property, yet your existing setup offers a stark choice: bake in unfiltered UV radiation or retreat behind drawn curtains. This familiar frustration plagues homeowners who treat outdoor architecture as an afterthought rather than a precise instrument of microclimate control. A poorly positioned open-air structure sits uselessly in a blinding glare, while one planted thoughtlessly in a dark corner turns damp, mossy, and uninviting.
Architecture in the open air demands an intimate understanding of solar geometry, seasonal shifts, and wind patterns. When you master the placement of a backyard pergola, you stop fighting the elements and start collaborating with them. You capture the low, golden rays of an autumn morning while deflecting the punishing vertical intensity of a July afternoon. Achieving this equilibrium requires looking past standard aesthetic trends and studying the exact way light and shadow interact with your specific patch of earth.
For centuries, Mediterranean and Middle Eastern agrarian societies used slatted garden arbors not merely as ornamental centerpieces, but as essential environmental modulators. They understood that an overhead trellis creates a localized thermal shift, dropping ambient temperatures underneath the canopy through shade and engineered airflow. Fast forward to the current era of high-performance outdoor design, and the modern backyard pergola has evolved into a sophisticated architectural machine. It bridges the gap between total exposure and heavy enclosure, filtering harsh light into a comfortable, dappled glow.
Decoding Solar Geometry and the Physics of Overhead Shadow
Sunlight is not a static constant; it is a dynamic, moving entity dictated by latitude, time of day, and the tilt of the Earth’s axis. Designing an effective overhead structure begins with plotting the solar path across both the summer solstice and the winter solstice. In the Northern Hemisphere, the summer sun climbs high into the southern sky, shooting rays down at steep angles. Conversely, the winter sun hangs low, casting long, lazy shadows across the landscape. If your pergola rafters run parallel to the path of the sun, light will stream uninterrupted through the gaps during peak hours. Aligning those same rafters perpendicular to the solar path creates an automatic blocking mechanism, chopping harsh beams into manageable bands of shade.
Beyond simple orientation, the dimensions of the lumber and the spacing between the purlins dictate the density of the canopy. Standard construction often relies on uniform spacing—such as placing two-by-two slats two inches apart—without calculating the shadow footprint. A deeper rafter profile, such as a two-by-six or two-by-eight, casts a much wider, more effective shadow even when the sun is positioned directly overhead. This optical physics principle relies on shadow projection angles; taller vertical barriers block a broader swath of oblique light than shallow, flat surfaces. Ignoring these geometric realities usually results in a structure that looks striking in an architectural render but leaves you squinting on your patio.
Microclimates also play a massive role in how a pergola handles solar thermal gain. Hardscaping materials like concrete pavers, flagstone, and brick absorb solar radiation during the day and reradiate that heat long after dusk. If you place your pergola over a massive expanse of unshaded stone, you trap an invisible dome of heat underneath the open rafters. Balancing sunlight and shade means pairing your overhead structure with strategic ground-level interventions, such as permeable pavers, low-growing ground cover, or flanking planting beds that transpire moisture and cool the surrounding air.
Analyzing Site Architecture, Wind Vectors, and Domestic Flow
Where you anchor your outdoor retreat dictates whether it becomes your favorite sanctuary or an abandoned backyard monument. Homeowners frequently make the mistake of pushing a pergola to the farthest, most underutilized corner of the yard simply because there is empty space there. Yet, if that corner catches relentless, howling wind drafts off an open field or traps stagnant, humid air against a privacy fence, the space remains uncomfortable. True site analysis requires observing the intersection of wind vectors, property drainage, and everyday domestic traffic patterns.
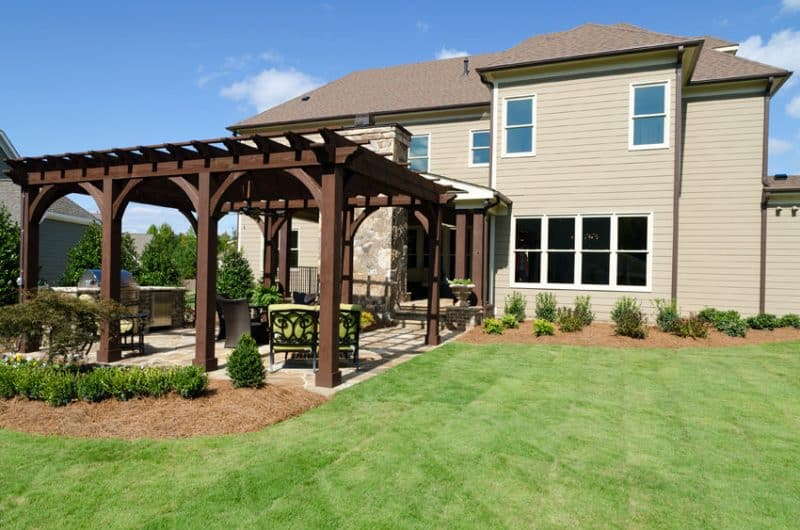
Proximity to the primary dwelling changes the functional utility of the structure. A detached pergola anchored in the middle of a sprawling lawn creates an intentional destination, a garden room that invites you to take a journey away from the house. However, if it sits too far from the kitchen, hauling out dinnerware and morning coffee becomes a chore, leading to low utilization. An attached pergola, bolted directly to the home’s exterior ledger board, extends the indoor living space seamlessly. The house itself acts as a massive thermal mass and windbreak, altering the microclimate and making the transition between indoor and outdoor living effortless.
You must also evaluate existing arboreal canopies and root systems before sinking posts into the earth. Building underneath a mature deciduous tree offers magnificent natural shade in the summer, but autumn brings a relentless avalanche of leaves, sticky sap, and falling branches that can clog gutters and stain wood or vinyl surfaces. Conversely, clearing out a pristine patch of lawn without considering afternoon glare bouncing off a neighbor’s light-colored stucco wall will subject you to blinding horizontal light that overhead rafters alone cannot block.
Step-by-Step Methodology for Precision Pergola Siting
- Step 1 (Solar Mapping and Shadow Tracking): Spend a full weekend tracking light conditions on your property at 9:00 AM, 1:00 PM, and 5:00 PM using a sun-tracking mobile application or physical stakes. Mark the exact zones of maximum heat accumulation and desired morning shade to establish your primary footprint.
- Step 2 (Traffic and Utility Integration): Map out how you walk from your back door to the proposed site, ensuring a clear, unobstructed path that accommodates furniture clearance and future features like outdoor kitchens or fire pits. Verify that you will not be placing posts over underground utility lines, septic fields, or main irrigation pipes.
- Step 3 (Rafter and Slat Orientation): Calculate your local latitude and design the roof canopy layout. Rotate the architectural plans so that the primary joists run perpendicular to the summer afternoon sun angles, maximizing passive light diffusion without requiring motorized louvers.
- Step 4 (Post-Anchor and Structural Engineering): Dig frost-line-compliant concrete footings (typically 12 inches wide and extending below the local frost depth) and install heavy-duty post bases to prevent moisture rot and seismic shifting. Secure the main support posts with temporary bracing until the header beams lock the entire skeletal frame into a rigid square.
- Step 5 (Dynamic Shade Layering): Install secondary shade elements such as retractable canvas canopies, exterior-grade roller shades on the sun-facing side, or train climbing vines like confederate jasmine and wisteria along the posts to soften the architectural silhouette and fine-tune light filtration.
Common Pitfalls and Field-Tested Workarounds for Outdoor Structures
- Pitfall 1 (Ignoring the Low Autumn and Spring Sun Angles): Homeowners often design for the July solstice, only to find themselves blinded by low horizontal rays during October dinners. Workaround: Install a retractable drop-down solar screen on the western or eastern facade to intercept low-angle glare without ruining the open feel of the roof.
- Pitfall 2 (Selecting Undersized Structural Timbers): Using thin four-by-four posts and shallow two-by-four beams makes the structure look flimsy and compromises snow-load and wind-shear resistance. Workaround: Always upgrade to robust six-by-six posts and double header beams, anchoring them with concealed steel brackets to ensure decades of structural integrity.
- Pitfall 3 (Neglecting Wood Movement and Drainage): Direct contact between wooden posts and wet soil accelerates rot, while trapped water in horizontal joints breeds wood-boring insects. Workaround: Use stainless steel post-separation brackets that keep wood at least one inch above concrete, and seal all end-grain cuts with a high-grade penetrating epoxy sealer.
- Pitfall 4 (Overplanting Aggressive Vines): Fast-growing vines can quickly overwhelm a lightweight wooden structure, adding massive weight loads and retaining moisture against the lumber. Workaround: Choose well-behaved climbers like clematis or passionflower, and construct a parallel wire trellis system off the wood frame so the plants never touch the primary timbers directly.
- Pitfall 5 (Failing to Check Local Zoning and Setback Laws): Building a permanent overhead structure too close to a property line can trigger expensive stop-work orders or forced demolition. Workaround: Consult your municipal zoning office and HOA guidelines early in the design phase to secure the necessary permits and adhere to mandatory boundary setbacks.
The Broader Environmental, Economic, and Lifestyle Implications
Integrating a thoughtfully positioned architectural shade structure into your property yields ripple effects that extend far beyond simple backyard comfort. From an energy-consumption perspective, a pergola positioned strategically outside a west-facing living room window acts as a passive cooling shield. By intercepting direct sunlight before it strikes glass sliding doors, the structure dramatically lowers indoor ambient temperatures, easing the load on residential air conditioning units during peak summer months. This reduction in solar heat gain translates directly to lower utility bills and a smaller domestic carbon footprint.
Economically, well-designed outdoor living spaces consistently rank near the top of features that add measurable resale value to residential real estate. Modern homebuyers view an integrated patio retreat not as a luxury, but as essential functional square footage. Unlike temporary sun umbrellas or flimsy pop-up gazebos that succumb to seasonal storms, a custom-built, properly sited pergola signals quality craftsmanship and architectural permanence. It turns an awkward, underused backyard into an open-air great room, expanding the usable footprint of the home for a fraction of the cost of a traditional indoor addition.
Cultivating a balanced microclimate also fosters a deeper, more restorative connection to the natural world. Spending time in dappled shade reduces visual fatigue and protects skin from intense UV exposure while still allowing your body to synthesize healthy levels of natural vitamin D. When your outdoor space offers physical comfort, you naturally spend more time outside, disconnecting from screens and attuning your daily routine to the changing light of the seasons. The pergola becomes a silent witness to family gatherings, quiet morning reflections, and the steady passage of time.
Strategic Recommendations and the Blueprint for Long-Term Success
Maximizing the performance of your outdoor architecture demands a disciplined approach to material selection, spatial planning, and ongoing seasonal maintenance. If you live in an ultra-arid, high-UV climate like the American Southwest, standard untreated softwoods will crack, warp, and bleach within a single season. Opt instead for naturally durable hardwoods like Ipe or thermally modified timber (TMT) that resist thermal shock and moisture fluctuation. In coastal zones with high salt-air corrosion, ensure all fasteners, bolts, and brackets are marine-grade 316 stainless steel to prevent rust bleeding down your posts.
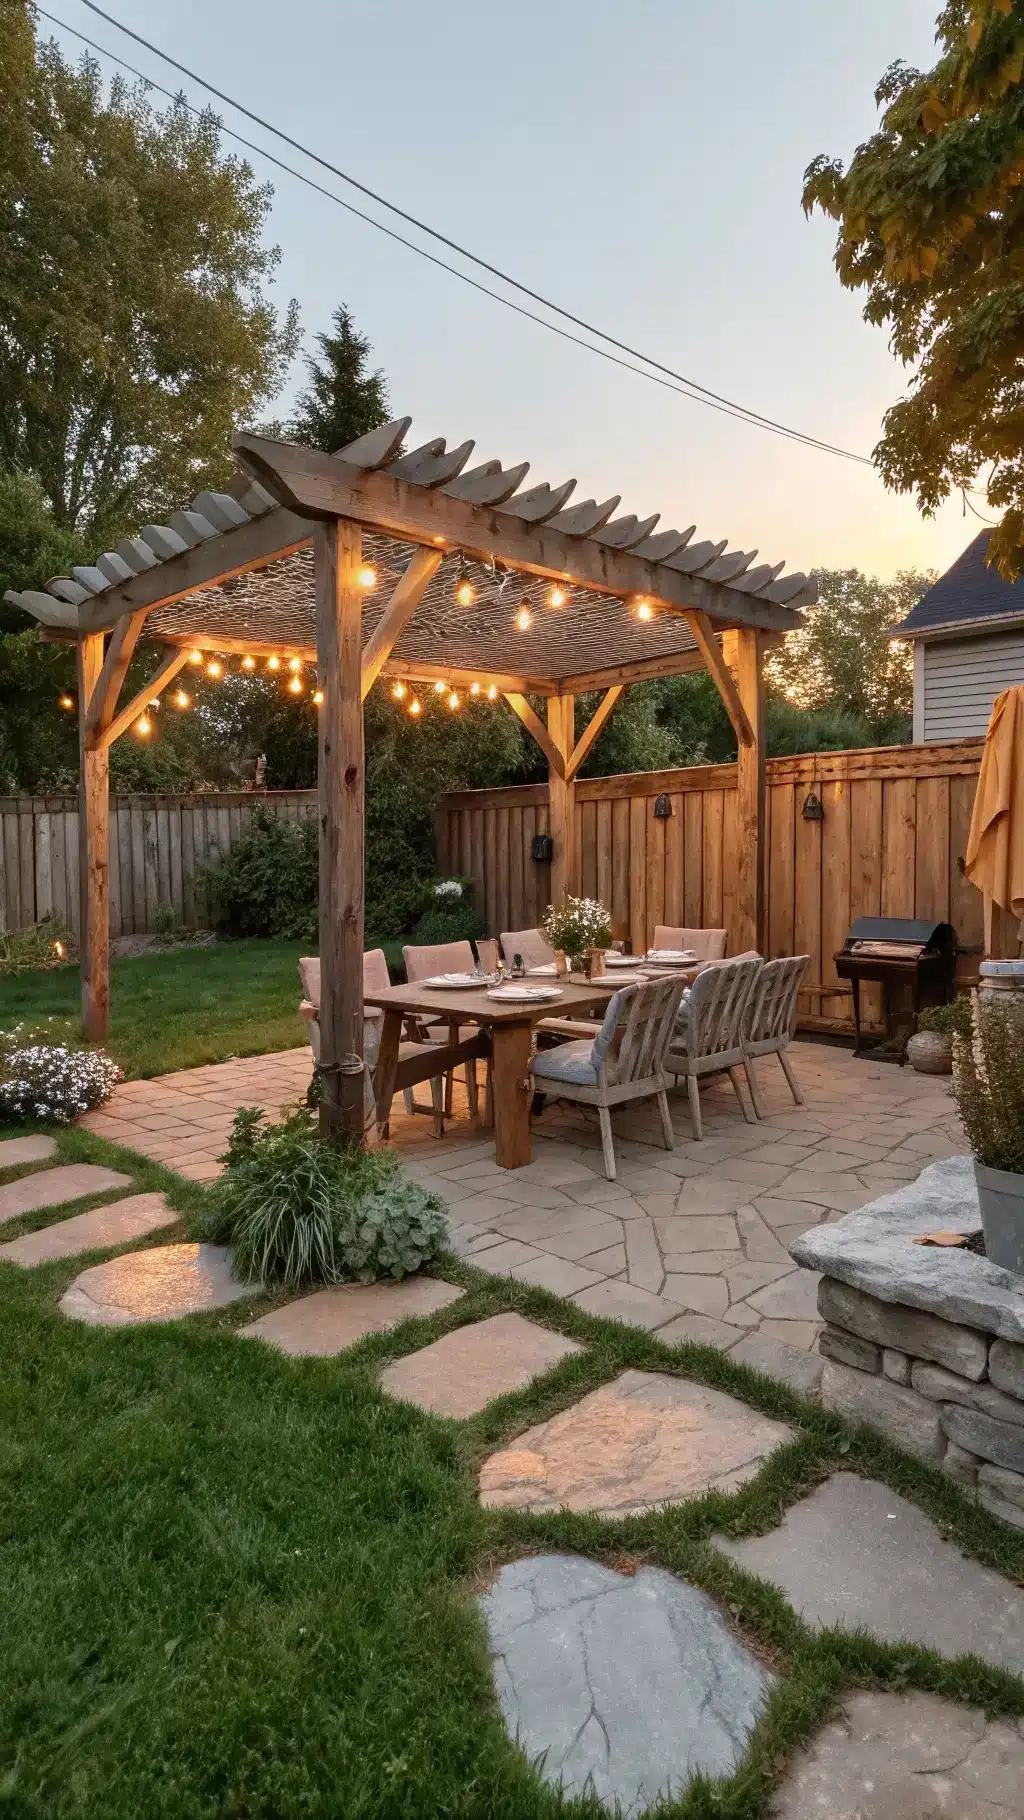
Lighting integration represents another critical layer of thoughtful planning that homeowners frequently overlook during initial construction. Do not rely on glaring floodlights that ruin the nighttime ambiance; instead, weave low-voltage LED string lights or recessed rafter uplights into the overhead framing. This allows the pergola to transition seamlessly from a daytime solar filter into an intimate nighttime lounge. Running conduit through the hollow interior of a support post during framing saves you from messy, exposed surface wiring later on.
Finally, adopt a proactive maintenance schedule to protect your investment against the elements. Inspect post-anchors, beam connections, and overhead purlins twice a year—once in the spring before heavy seasonal use and once in late autumn after leaf fall. Reapply penetrating UV-blocking finishes to wood structures every two to three years before the grain begins to grey and dry out. By treating your backyard pergola as a living architectural asset rather than a static piece of yard furniture, you ensure that the delicate balance between sunlight and shade remains optimized for decades of outdoor living.
Designing a backyard retreat that successfully navigates the extremes of bright summer sun and deep shadow is an exercise in intentionality. It asks you to slow down, observe the subtle movements of light across your property, and respect the physical forces of wind and weather. When you align your architecture with the natural world, you stop fighting for comfort and begin cultivating it naturally.
Your outdoor space should be a sanctuary that adapts to your life, offering a cool refuge on a scorching afternoon and a warm, inviting frame for the golden light of an evening sunset. By leaning into precision placement, robust material choices, and thoughtful site analysis, you create a timeless environment where form and function exist in absolute harmony. The tools are in your hands, the solar map is drawn, and the blueprint for your ideal backyard oasis is ready to take root in the earth.