
There is something deeply satisfying about looking out your kitchen window and seeing perfectly crisp, straight lines framing your backyard veggies and flowers. For years, folks thought you needed to spend a small fortune on high-end cedar or hire a pricey contractor to get that neat, manicured look. But guess what. You can achieve that exact same high-end finish yourself without draining your bank account.
The secret weapon for budget-conscious gardeners has always been landscape timbers. Ever since lumber prices went completely bananas a few years back, backyard DIYers have been looking for smarter, tougher alternatives that don’t skimp on style. Landscape timbers are rugged, incredibly easy to work with, and they give your yard an instant structure that says, "Yeah, a professional built this." Let us dive into how you can make this happen in your own yard this weekend.
Why Choose Landscape Timbers?
First off, let us talk about why these chunky pieces of wood are so great. Landscape timbers are typically flattened on the top and bottom with rounded edges on the sides. This unique shape makes them incredibly easy to stack together like building blocks. They are also usually pressure-treated, meaning they can sit in the wet dirt for years without rotting away or getting chewed up by nasty bugs.
If you are worried about the safety of treated wood near your food, don’t sweat it. Modern treated timber uses safe compounds that won’t leach harmful chemicals into your prized tomatoes. Plus, they offer fantastic drainage and help control your soil quality perfectly. You get to control exactly what goes into the bed, giving your plants a massive head start.
Planning and Mapping Your Space
Before you go rushing off to the local hardware store, you need a solid plan. Pick a spot in your yard that gets plenty of sunshine—most veggies want at least six hours of direct light daily. Once you find the perfect zone, use some bright string and wooden stakes to outline exactly where the frames will sit.
Take your time during this phase. Grab a tape measure and check the diagonals of your rectangle to make sure your corners are perfectly square. If the diagonal measurements match, your frame is perfectly square. Trust me, spending an extra ten minutes right now will save you an absolute mountain of frustration later when you start stacking the heavy wood.
Prepping the Ground Like a Pro
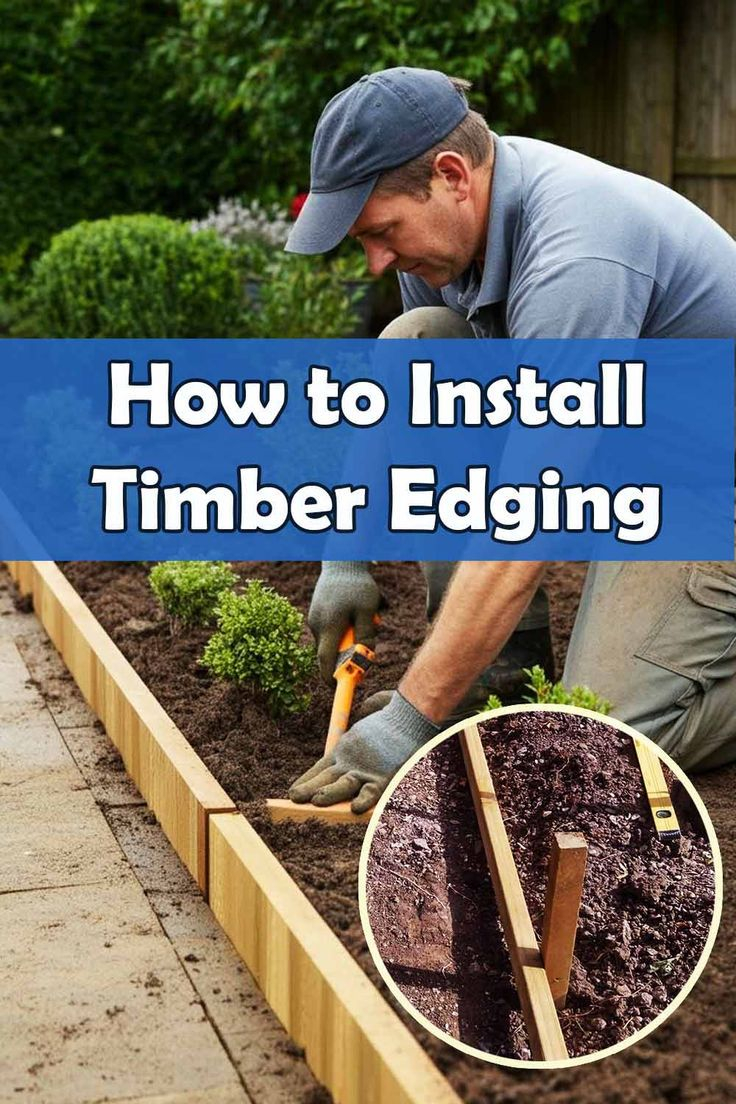
Here is where a lot of beginners make a mistake: they just toss the wood right onto the grass. If you want your beds to look level and last for a decade, you have to prep the base. Grab a shovel and dig a shallow trench—about two to three inches deep—right where your first layer of timber will sit.
This trench needs to be as flat as a pancake. Use a long spirit level to check your progress as you dig. If your yard has a slight slope, you might need to dig a bit deeper on one side. A perfectly level foundation ensures your stacked wood won’t lean or gap over time, keeping your soil exactly where it belongs.
Stacking and Paving the Corners
Now comes the fun part: building the actual walls. Lay down your first layer of timbers in the trench you just dug. To make the corners incredibly strong, you want to overlap them like a zipper. This means if the north side timber overlaps the east side on the first layer, the east side should overlap the north side on the second layer.
This interlocking pattern gives the structure immense strength against the heavy weight of the wet soil. For a standard raised bed, stacking them three or four layers high is usually the sweet spot. It is high enough to save your back from excessive bending, yet low enough that it remains easy to fill.
Pinning Everything Securely
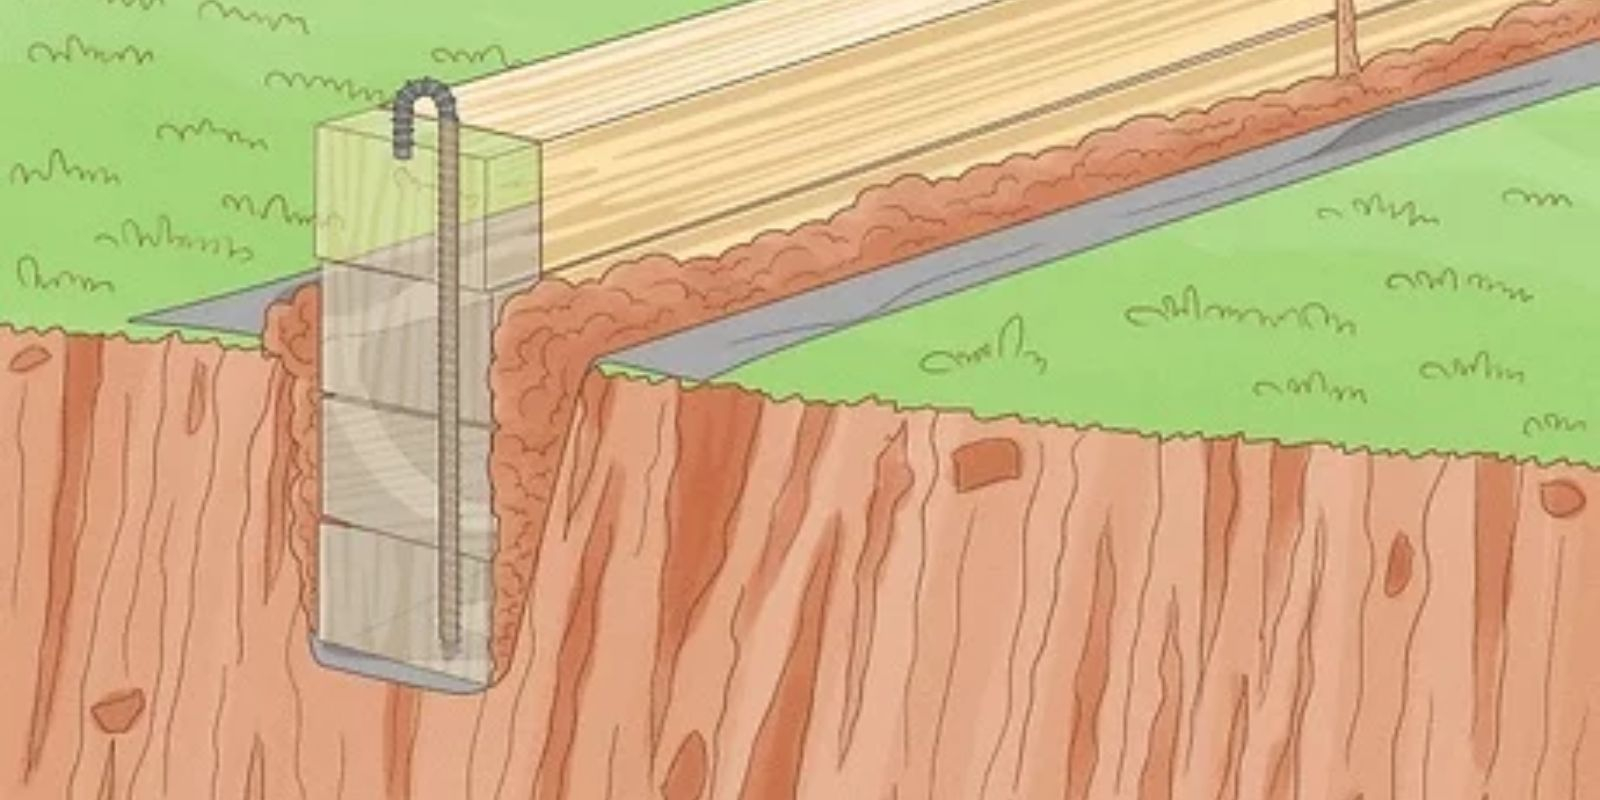
Once your timbers are stacked and looking beautiful, you need to lock them together so they never budge. This requires a heavy-duty drill and some serious muscle. Drill a hole straight down through the entire stack of timbers at each corner, and about every three feet along the sides.
Drive long metal rebar stakes or heavy-duty timber screws right down through those holes and deep into the ground below. A heavy sledgehammer is your best friend here to pound that metal flush with the top beam. Once pinned, your garden frame becomes rock-solid and won’t shift even during intense winter freezes or heavy spring downpours.
Lining and Filling the Bed
Before you dump in the dirt, there is one last professional secret. Line the bottom and inside walls of your new frame with heavy-duty landscaping fabric or simple cardboard. This creates a barrier that stops aggressive weeds and stubborn lawn grass from pushing up into your new garden.
Finally, fill your masterpiece with a premium blend of rich topsoil, organic compost, and a bit of peat moss for aeration. This nutrient-dense mixture provides the perfect home for almost any plant to thrive. Whether you want to grow a vibrant cut flower patch or a bounty of crisp summer vegetables, your new timber bed is officially ready for action.
Building the bed is only half the battle; keeping it looking top-notch requires just a little bit of ongoing love. Every spring, take a quick walk around the perimeter to check for any loose corners or wood splitting. If a timber looks like it is starting to dry out from the intense sun, applying a quick coat of exterior wood sealer can extend its life by several years.
Also, keep an eye on the soil levels inside the frame. Over the course of a growing season, rich organic soil naturally settles and compacts. Simply top off your beds with a fresh layer of homemade compost or rich mulch every autumn. This not only keeps the beds looking full and neat but also constantly feeds the earth for your next planting cycle.