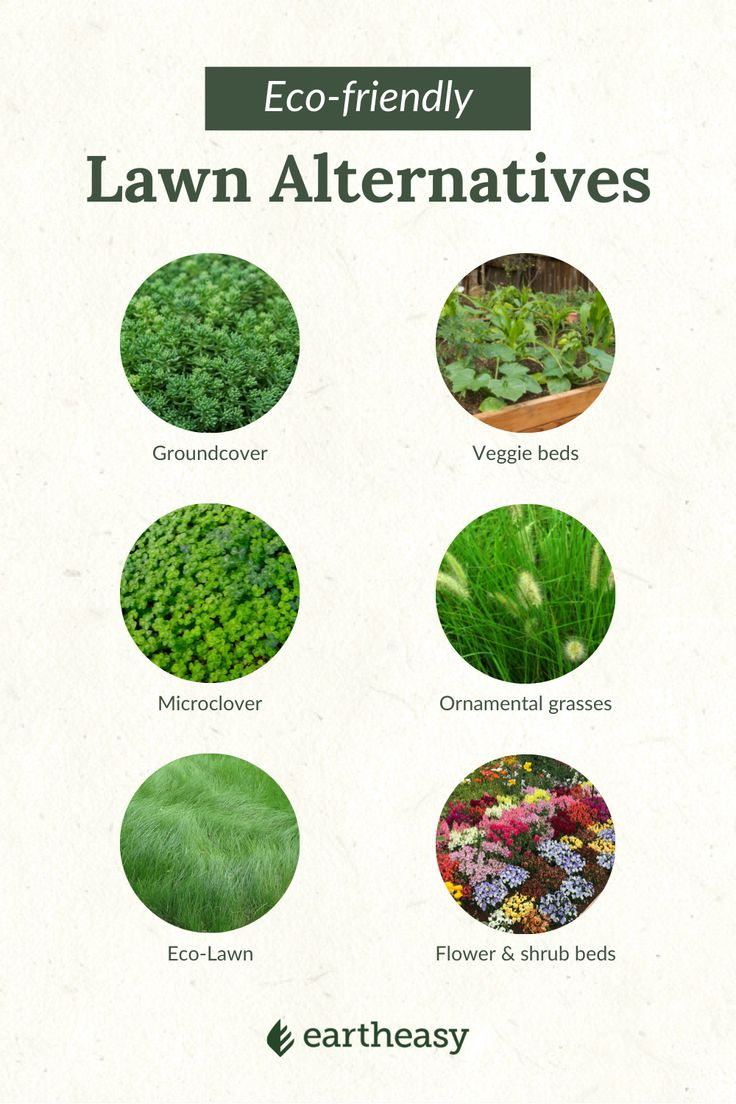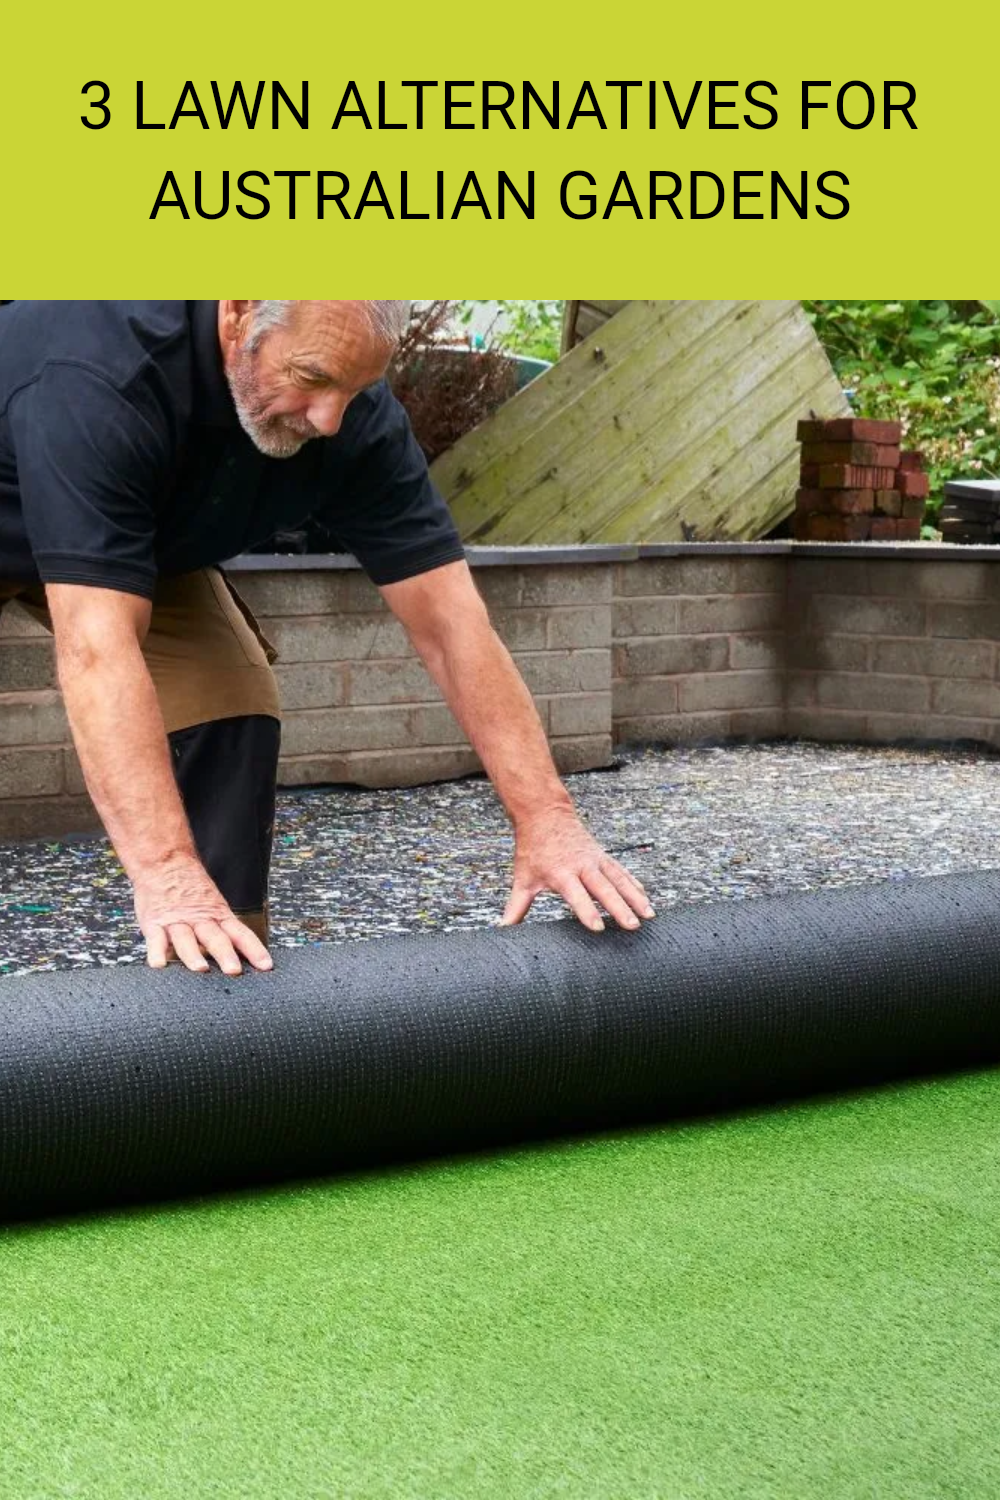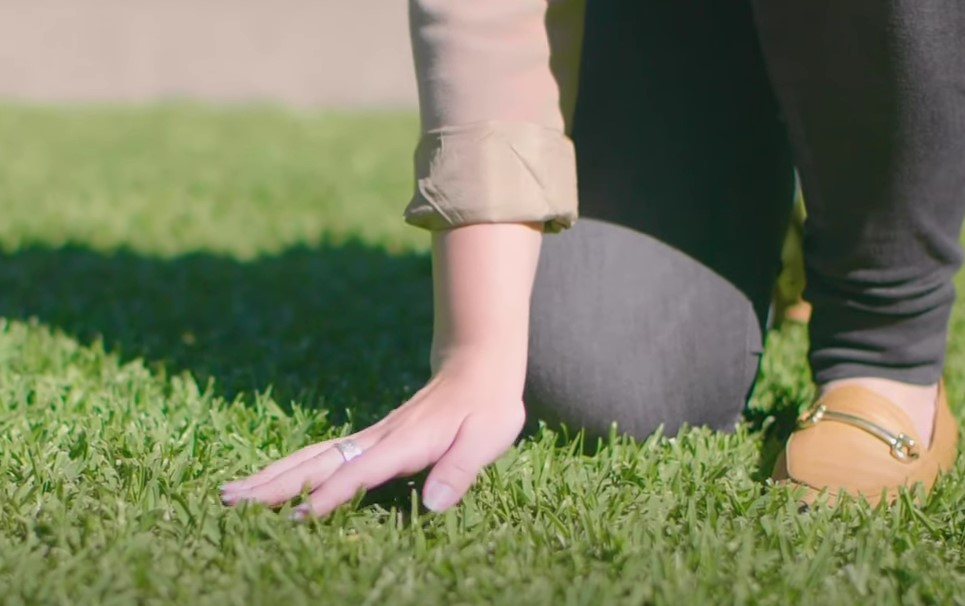

Remember when Saturdays meant spenting hours behind a roaring lawnmower, pushing through endless grass while heat shimmered off the driveway? For decades, we have been obsessed with maintaining the standard grass carpet. But let us be honest for a second. Traditional turf grass is a total diva. It demands endless gallons of water, frequent feeding, and non-stop attention just to stay green.
There is a much better way to handle your yard that leaves you with more free time and a significantly lower water bill. Switching over to clover is one of the easiest ways to get a gorgeous green space without all the backbreaking labor. Let us break down how you can plant your own clover lawn, step by step.
Why Choose Clover Over Traditional Grass?
Grass lawns consume massive amounts of fresh water, especially during hot summer weeks. Clover, on the hand, has deep roots that pull moisture from far down in the dirt, making it extremely heat-resistant once established. Once it sets up camp in your yard, it stays green long after traditional grass turns brown and dormant.
Besides saving water, clover actually fixes its own nitrogen. That means you can completely ditch those synthetic fertilizers you used to buy every spring. The plant pulls nitrogen out of the air and feeds it directly into the soil. It feels incredibly soft under barefoot, repels common lawn pests, and rarely needs a trim.
Picking the Best Seed Variety for Your Yard
When you start browsing seed catalogs, you will quickly notice a few different options. Dutch White Clover is by far the most popular choice for home landscapes. It stays relatively low to the ground, produces cute little white flowers, and stands up remarkably well to everyday foot traffic from kids and pets.
If you want an even lower-profile look, consider Microclover. It features tiny leaves and flowers far less often, blending almost seamlessly if you decide to mix it alongside existing turf grass. Red clover is another option, though it grows quite a bit taller and is better suited for larger, wilder garden zones rather than a neat suburban yard.
Prepping Your Soil the Right Way
Getting your soil ready doesn’t have to be super complicated, but skipping this step is a huge mistake. First, clear out major weed patches and rack away dead thatch, leaves, and sticks. You want the tiny seeds to make direct contact with bare dirt so they can germinate quickly.
Give your yard a light raking to loosen the top layer of soil—just about a quarter-inch deep is perfect. If your soil feels like hard-packed clay, scattering a thin layer of compost across the surface gives your new seedbed a rich, soft foundation to catch hold.
Step-by-Step Planting Guide
Timing is everything when sowing clover seed. Spring or early fall are the absolute best times to plant, right when temperatures are mild and rainfall is plentiful. Because clover seeds are microscopic, mixing them with dry sand or clean sawdust makes spreading them evenly a whole lot easier.
- Mix 1 part clover seed with roughly 4 to 5 parts sand or dry topsoil.
- Scatter the seed evenly across your lawn by hand or using a broadcast spreader.
- Gently rake the surface so a light layer of dirt lightly covers the seeds.
- Lightly roll or tap down the soil to press the seeds securely into place.
Once seeded, keep the top inch of soil consistently damp until sprouts appear, which usually takes less than a week.
Basic Care During the First Few Weeks
During those first two weeks, water your seedbed lightly every day. You want to keep things moist without washing those tiny seeds down the drain during a heavy hose spray. Short, mist-like watering sessions twice a day work absolute wonders.
Hold off on walking or letting pets run over the freshly sprouted seedlings until they reach about two inches high. You will notice rapid growth once their little root structures lock into place. After that initial establishment phase, you can cut back your watering drastically to just once or twice a month, depending on rainfall.
Maintenance on an established clover yard is refreshingly simple. You only need to mow two or three times a year if you want to trim back the flowers or keep the overall height super uniform. Many homeowners choose to mow right after the primary summer blossom to remove faded flower heads.
Never apply broadleaf herbicides to a clover lawn, as those weed killers will wipe out clover instantly. The good news? Healthy, dense clover naturally chokes out most common garden weeds anyway, leaving you with virtually zero weeding chores over time.
Switching out high-maintenance grass for a lush green clover lawn gives you back your weekends while doing a huge favor for the environment. It is resilient, budget-friendly, and feels amazing under your feet. Start with a small section of your yard this season, and watch how quickly this simple green cover transforms your outdoor space!