
You know that sinking feeling. You step outside after a night of torrential rain, coffee in hand, ready to admire your morning. Instead, you’re greeted by a muddy mess where your driveway used to be. The gravel has migrated into the lawn, creating weird, bare patches in the grass and a swampy ditch along the edge. It’s frustrating. It looks messy. And frankly, it feels like you’re fighting a losing battle against nature.
But here’s the thing: it doesn’t have to be this way. Proper edging isn’t just about making your home look pretty for the neighbors or boosting that all-important curb appeal. It’s functional armor. As noted by experts at The Spruce, good edging protects your driveway from being displaced by heavy rain or continuous use. In 2026, with weather patterns becoming more unpredictable and intense in many regions, having a border that can take a beating is more important than ever. You don’t need a massive budget or a crew of professionals. You just need the right materials and a bit of elbow grease.
Let’s talk about how to fix this for good. We’re going to look at solutions that are cheap, easy to install, and tough enough to handle the deluge. Whether you have a long gravel drive or a short paved approach, these ideas will help you keep everything in its lane. No more chasing rocks with a shovel every spring. Just a clean, crisp line that stands up to the weather. Ready to get started?
Why Your Current Edge Is Failing (And How to Fix It)
Before we dig into the solutions, let’s understand why your current setup might be failing. Most driveway edges fail because of water pressure and lack of containment. When it rains hard, water flows over the surface. If there’s no barrier, that water carries loose gravel, soil, and debris right off the edge. It’s simple physics. Over time, this creates a gap between your driveway and your lawn. Grass creeps in. Roots lift the edges. And suddenly, you’ve got a maintenance nightmare on your hands.
The key to stopping this is containment and drainage. You need a physical barrier that goes deep enough to anchor the material, but also allows water to pass through or away without building up pressure behind it. Many DIYers make the mistake of just laying bricks or stones on top of the ground. That looks nice for a week. But once the ground freezes and thaws, or gets saturated by a heavy storm, those surface-level borders shift and topple. They aren’t anchored. To stand up to heavy rain, your edging needs a foundation.
So, what’s the fix? Dig a trench. It sounds like extra work, but it’s the single most important step. A trench that is slightly deeper than your edging material provides stability. It locks the border in place. It also creates a channel for water to drain away from the driveway surface rather than pooling against the edge. By combining a solid physical barrier with proper installation depth, you create a system that works with gravity and water flow, not against it. This basic principle applies to almost every material we’ll discuss next.
Recycled Rubber Borders: The Flexible Hero
If you want something that bends without breaking, recycled rubber edging is a fantastic option. Made from old tires, this material is incredibly durable and eco-friendly. It’s flexible, which means it can follow the curves of your driveway easily. No awkward cutting or gaps. Plus, it’s resistant to rot, insects, and extreme temperatures. In 2026, sustainability is a huge focus for homeowners, and using recycled materials ticks that box while solving a practical problem.
Installation is straightforward. You dig your trench, lay the rubber strip, and secure it with metal stakes. The flexibility allows it to absorb the shock of heavy rain and shifting soil without cracking. Unlike rigid materials like concrete or stone, rubber won’t shatter if the ground heaves during a freeze-thaw cycle. It just moves with the earth. This makes it ideal for areas with clay soil or frequent heavy storms. It’s also relatively inexpensive, often costing less per foot than stone or brick.
However, there are a few things to keep in mind. Rubber can look a bit industrial if you’re not careful. To soften the look, you can mulch over the top edge or plant low-growing ground cover right against it. Also, ensure you buy high-quality rubber edging that won’t leach chemicals into your soil. Look for products certified for landscaping use. With proper installation, rubber edging can last for decades, providing a seamless, low-maintenance border that keeps your gravel exactly where it belongs.
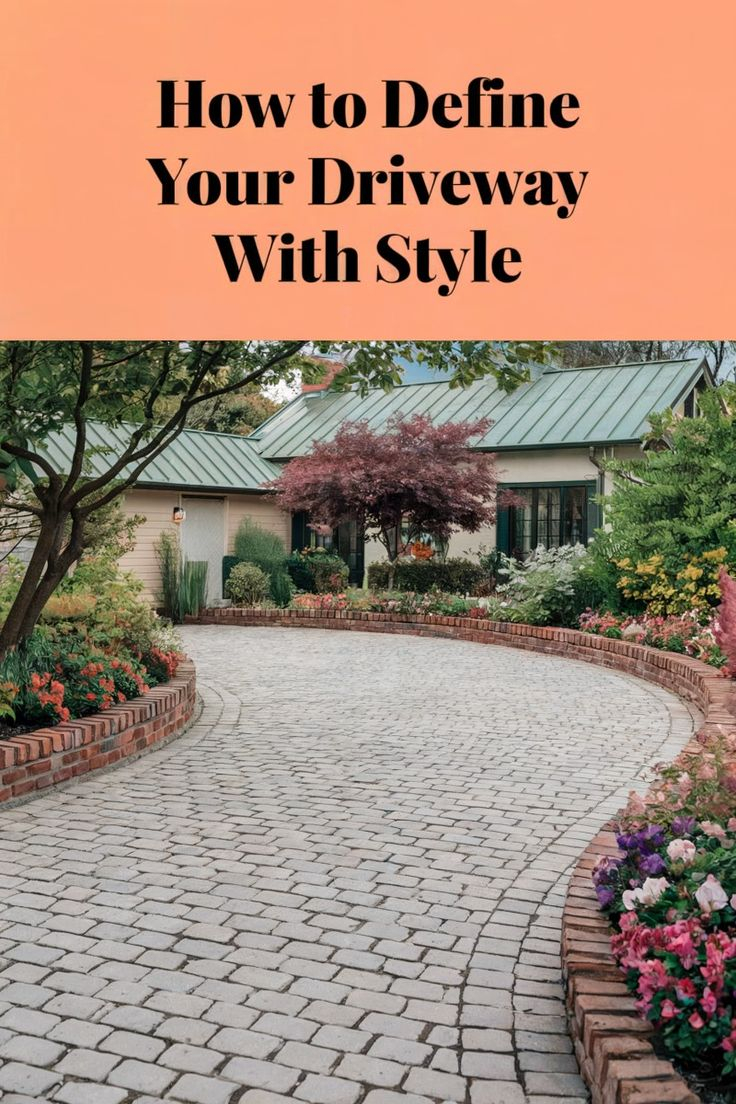
Natural Stone Dry-Stacking: Rustic and Robust
For a more natural, timeless look, nothing beats stone. Dry-stacking—laying stones without mortar—is a classic technique that works beautifully for driveway edging. It’s permeable, meaning water can flow through the gaps between stones rather than pooling behind them. This reduces hydrostatic pressure, which is a major cause of wall failure during heavy rains. Using local fieldstone or limestone not only saves on transportation costs but also helps the driveway blend seamlessly with the surrounding landscape.
The process involves digging a trench and laying a base of compacted gravel for drainage. Then, you carefully select and place each stone, fitting them together like a puzzle. The key is to choose flat-bottomed stones for stability and to angle them slightly back into the driveway for support. This interlocking structure creates a strong, flexible barrier that can withstand significant water flow. It’s labor-intensive, sure, but the result is stunning and incredibly durable. Plus, if a stone shifts, you can just pop it back into place. No cement mixing required.
One tip for success: vary the size of your stones. Larger stones at the base provide stability, while smaller stones can fill gaps higher up. This creates a tighter fit and prevents soil from washing through. Also, consider adding a layer of landscape fabric behind the stones to prevent weeds from growing through while still allowing water to drain. This method takes a weekend, but the payoff is a high-end look that adds significant value to your property. It’s rugged, elegant, and built to last.
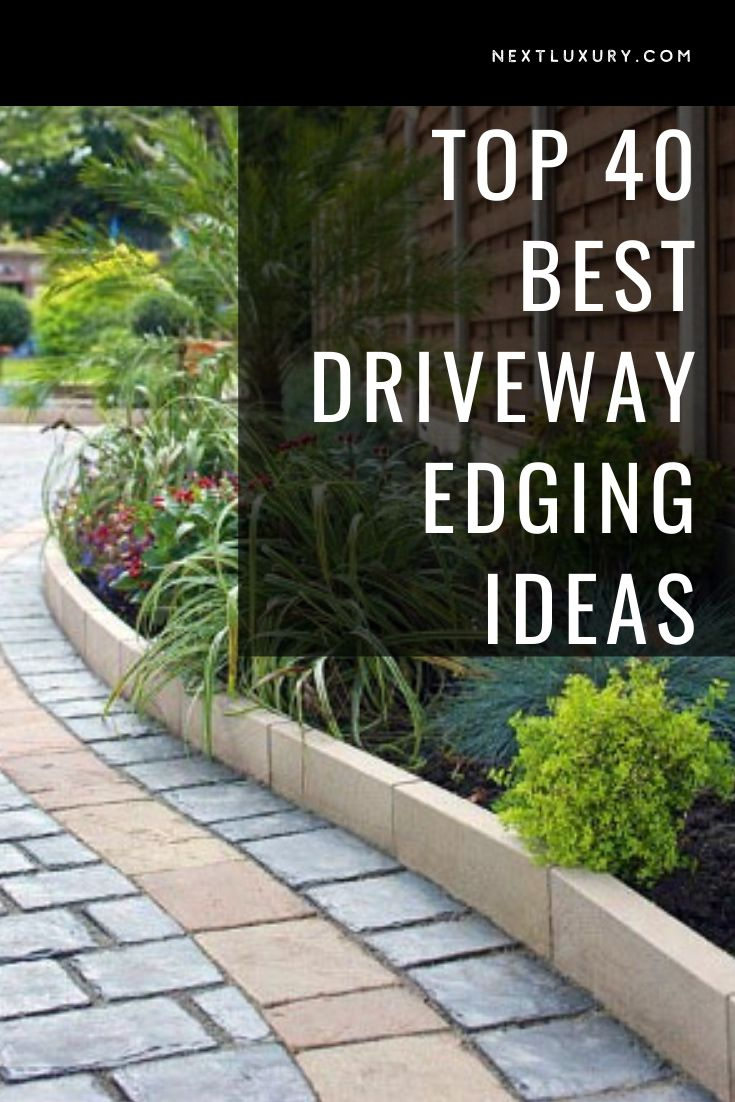
Concrete Pavers with Gravel Backfill: Clean Lines, Strong Hold
If you prefer a more structured, modern aesthetic, concrete pavers are a great choice. They offer clean lines and uniform height, which creates a crisp, professional look. But here’s the trick for heavy rain: don’t just set them in sand. Use a gravel backfill. After digging your trench and placing the pavers, fill the space behind them with crushed stone or gravel instead of soil. This creates a drainage zone that directs water away from the driveway edge and into the ground below.
This method combines the rigidity of concrete with the permeability of gravel. The pavers act as a solid wall, keeping the driveway material in place, while the gravel backfill prevents water buildup. It’s a simple yet effective engineering solution. You can choose from various paver styles, colors, and textures to match your home’s exterior. Some pavers even have built-in channels for added drainage. Installation is quick, especially if you use straight runs. Curves require more cutting, but the result is worth it.
Maintenance is minimal. Occasionally, you might need to relevel a paver if the ground shifts, but that’s rare if the base is properly compacted. You can also seal the pavers to prevent staining from oil or tire marks, though this isn’t strictly necessary for functionality. The combination of solid structure and smart drainage makes this one of the most reliable options for wet climates. It’s practical, attractive, and surprisingly affordable if you shop around for bulk deals on pavers.
Steel Edging Strips: Sleek, Modern, and Invisible Strength
For a minimalist, contemporary look, steel edging strips are hard to beat. They’re thin, strong, and virtually invisible once installed. This creates a seamless transition between your driveway and lawn, letting the materials speak for themselves. Steel is incredibly durable and resistant to weathering. Modern corten steel, for example, develops a protective rust patina that actually enhances its longevity and adds a warm, earthy tone to the landscape. It’s a popular choice in 2026 for modern homes and minimalist gardens.
Installation involves digging a narrow trench and hammering the steel strips into place. They’re typically secured with spikes driven through pre-drilled holes. Because steel is so thin, it doesn’t take up much space, making it ideal for narrower driveways or tight spaces. The key to success here is ensuring the steel is buried deep enough to anchor it firmly. At least half the height of the strip should be below ground. This prevents it from lifting during frost heaves or heavy rain saturation.
While steel is more expensive upfront than plastic or rubber, it lasts indefinitely. It won’t rot, crack, or fade. It’s also recyclable at the end of its life, which is a plus for eco-conscious homeowners. One consideration: steel can get hot in direct sunlight, so avoid touching it on summer days. Also, ensure you use galvanized or weather-resistant steel to prevent unsightly rust stains on your driveway. With proper installation, steel edging provides a sleek, permanent solution that requires zero maintenance.
Living Edges: Plants That Hold the Line
Who says edging has to be hardscape? Living edges use plants to stabilize the soil and create a soft, natural border. This approach is gaining popularity in 2026 as homeowners seek greener, more biodiverse landscapes. Plants like creeping thyme, sedum, or ornamental grasses have dense root systems that hold soil in place, preventing erosion. They also absorb excess water, reducing runoff during heavy rains. It’s a beautiful, functional solution that supports local wildlife and pollinators.
To make this work, you still need a subtle physical barrier. Install a low-profile plastic or metal edging strip just below the soil surface to define the edge. Then, plant your chosen species along the border. The plants will grow over and around the edging, hiding it completely. Choose drought-tolerant, deep-rooted plants that can handle occasional foot traffic or splashing from cars. Native species are often the best choice, as they’re adapted to local weather conditions and require less care.
The benefit of living edges is their adaptability. They soften the harsh lines of a driveway, adding texture and color to your landscape. They also improve soil health and reduce heat island effects. However, they do require some maintenance, such as occasional trimming and weeding. But for many, the trade-off is worth it for the ecological benefits and aesthetic appeal. It’s a gentle, sustainable way to manage your driveway edge while contributing to a healthier environment.
So, which option is right for you? It depends on your budget, style, and how much work you’re willing to put in. If you want something quick and flexible, go with recycled rubber. If you love the look of natural stone and have a weekend to spare, dry-stacking is unbeatable. For a modern, clean aesthetic, steel or concrete pavers with gravel backfill are excellent choices. And if you’re passionate about sustainability and gardening, a living edge might be your perfect match.
Remember, the goal isn’t just to make your driveway look good. It’s to create a system that works with your environment. Heavy rain is a fact of life in many places, and fighting it with inadequate solutions is a waste of time and money. By choosing the right materials and installing them correctly, you can create a driveway edge that stands up to the elements for years to come. It’s an investment in your home’s longevity and curb appeal.
Don’t be afraid to mix and match, either. Maybe use stone for the main stretch and rubber for the curved entrance. Or combine steel edging with a living border for a hybrid approach. The best project is the one that fits your specific needs and brings you joy every time you pull into your driveway. So grab your shovel, pick your material, and get out there. Your future self—and your dry, tidy lawn—will thank you.