
You know that feeling when you step out onto your patio with a cup of coffee, ready to enjoy the morning sun, but instead of feeling relaxed, you feel a little… disappointed? The space that used to look vibrant and inviting now looks tired. Dull. Maybe even a bit embarrassing if neighbors drop by. It’s not just dirt. It’s fading. And it happens to the best of us.
We often think the only solution is to rip everything out and start over. That’s a huge misconception. Replacing an entire patio surface is expensive, messy, and frankly, unnecessary in most cases. In 2026, the technology and techniques for restoring hardscapes have gotten so good that you can make ten-year-old pavers look like they were laid yesterday. You don’t need a construction crew. You just need the right approach.
Let’s talk about how to get that sparkle back. Whether you have concrete pavers that have turned chalky gray or brick pavers that have lost their rich red hue, there is a way forward. It’s about understanding why they faded in the first place, and then applying the right fix. It’s cheaper than replacement, faster than rebuilding, and honestly? It’s pretty satisfying to watch the color come back.
Why Do Pavers Lose Their Color Anyway?
Before we jump into the fixes, it helps to know what we’re fighting. Sun exposure is the biggest culprit. Those UV rays are relentless. Over time, they break down the pigments in the concrete or clay. It’s basically sunburn for your patio. If you live in a sunny climate, this process happens faster. But it’s not just the sun. Rain plays a role too. Constant washing away of surface materials can leave pavers looking washed out.
Then there’s efflorescence. You’ve probably seen it. It’s that white, powdery residue that shows up on concrete pavers. It’s actually salts migrating to the surface from inside the paver. While it’s natural, it makes the color look dull and patchy. Dirt, grime, and organic growth like moss or algae also create a film that hides the true color underneath. Sometimes, the paver isn’t faded at all—it’s just dirty. But often, it’s a mix of both.
Understanding the cause matters because it dictates the cure. If it’s just dirt, a good wash works. If it’s UV damage, you need pigment restoration. If it’s efflorescence, you need a specific cleaner to neutralize the salts. Ignoring this step is like putting a bandage on a wound without cleaning it first. It might look okay for a week, but the problem will come right back. So, take a close look. Is it gray dust? Is it uneven blotching? Or is it just general dullness?
The Power of a Deep Clean
Never underestimate the power of a thorough cleaning. Seriously. Before you buy any stains or sealers, you have to start with a clean slate. This isn’t just hosing them down with a garden hose. You need to remove years of buildup. Start by sweeping away loose debris. Then, apply a dedicated paver cleaner. These aren’t just soaps; they are formulated to break down organic matter and lift stains without damaging the stone.
For tough jobs, a pressure washer is your best friend. But be careful. Using too much pressure can damage the surface of the paver, creating pits where dirt will hide later. Stick to a medium setting, around 2000-3000 PSI, and use a fan tip nozzle. Keep the wand moving. Don’t linger on one spot. The goal is to lift the grime, not blast the concrete apart. If you see white residue (efflorescence) after washing, you might need a second treatment with an efflorescence remover.
This step alone can bring back 50% of the vibrancy. I’ve seen homeowners skip this and go straight to staining, only to trap dirt under the sealer. That’s a nightmare to fix. So, take your time here. Let the pavers dry completely. This is crucial. If they are wet, no stain or sealer will adhere properly. Give it at least 24 to 48 hours of dry weather. Patience pays off.
Fixing the Foundation: Sand and Edges
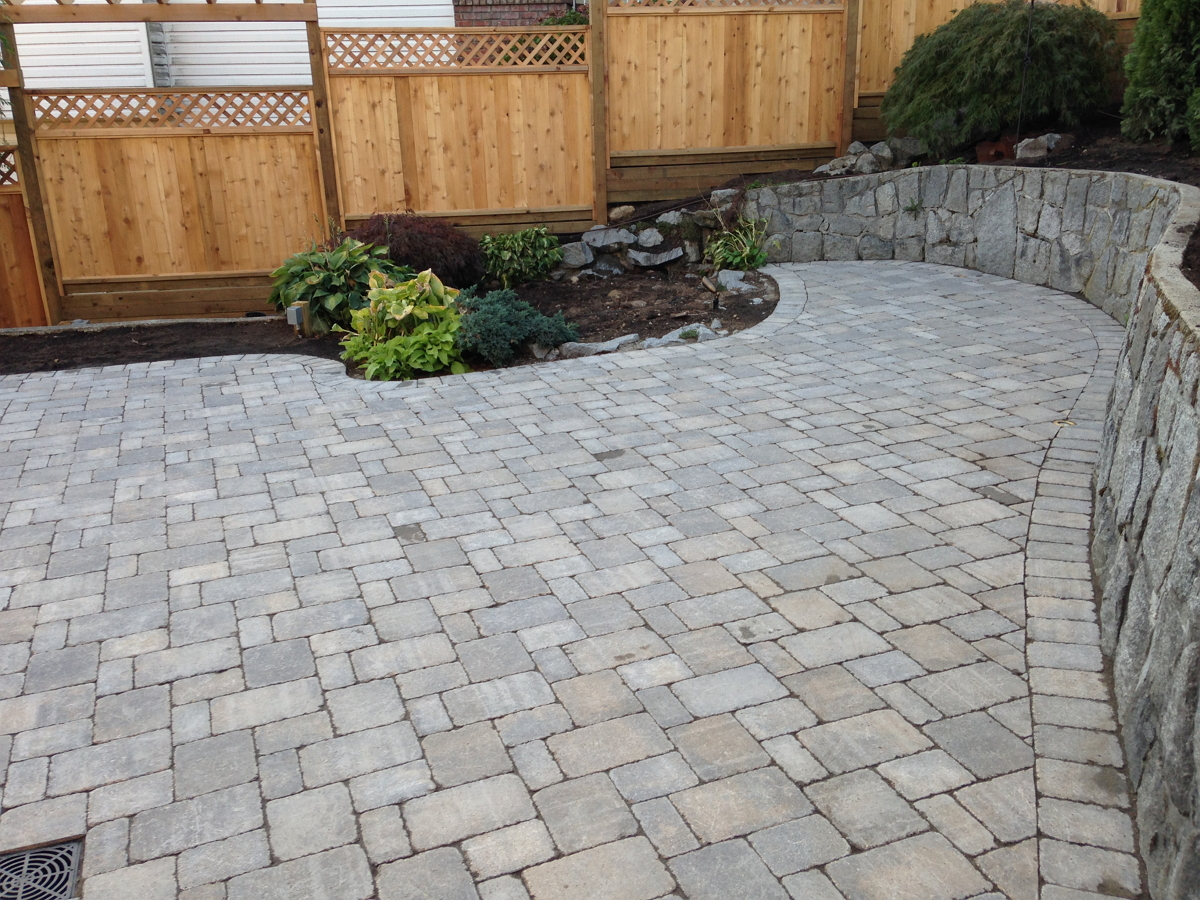
Here is something people often overlook. You can have the most beautiful color in the world, but if your pavers are shifting or the joints are empty, the whole thing looks neglected. Over time, rain and foot traffic wash away the joint sand. This leaves gaps. Weeds love these gaps. Ants love them too. And visually, it makes the patio look old and broken.
Start by checking your edge restraints. Are the borders pulling away? If soil pressure has pushed the edges out, tighten them up. You might need to add fresh edge restraints or reset the border pavers. This creates a crisp, defined look that instantly upgrades the appearance. It frames the space. Think of it like framing a picture. A good frame makes the art pop.
Next, refill the joints. Sweep new polymeric sand into the cracks. Polymeric sand is great because it hardens when wet, locking the pavers in place and preventing weed growth. Make sure you sweep it in thoroughly, then mist it with water to activate the binding agents. This small fix makes a world of difference. It stabilizes the surface and gives that "newly installed" tightness that feels solid underfoot. Plus, it stops weeds from ruining your hard work later.
Staining: Bringing Back the Pigment
If cleaning didn’t do enough, it’s time to talk about staining. This is where the magic happens. Modern concrete stains are not like the paints of the past. They are breathable, penetrating formulas designed specifically for outdoor hardscapes. They don’t sit on top and peel; they soak in and bond with the material. For concrete pavers, an acrylic-based semi-transparent stain is usually the easiest and most effective option.
You have choices here. You can go with a water-based stain, which is easier to clean up and dries faster. Or you can choose an oil-based stain, which often penetrates deeper and lasts longer. The key is to pick a color that matches the original tone of your pavers, or perhaps a shade darker to add depth. Test a small, inconspicuous area first. Always. Colors look different when wet versus dry, and different in sun versus shade.
Application is straightforward. Use a sprayer for large areas and a brush for edges and corners. Work in small sections to avoid lap marks. Keep a wet edge. This means you overlap the previous stroke while it’s still damp so you don’t see lines. It’s like painting a wall, but rougher. Don’t rush. If you miss a spot, you can usually go back over it, but consistency is key. The result? A rich, uniform color that looks intentional and fresh.
Sealing: The Wet Look and Protection
Once the stain is dry (give it the full recommended time, usually 24 hours), you need to seal it. Sealing does two things. First, it locks in the color. Second, it protects the pavers from future fading, oil spills, and water damage. There are different types of sealers, but for color restoration, a "wet look" sealer is popular. It darkens the pavers slightly, giving them that vibrant, just-rained-on appearance that really makes the colors pop.
In 2026, there are also color-enhancing sealers that combine protection with a slight tint. These are great if your pavers are only mildly faded. They deepen the existing tones without adding a heavy layer of pigment. It’s a more subtle approach. If you want a dramatic change, stick with the stain plus a clear gloss or matte sealer. If you want a natural boost, the color enhancer is the way to go.
Apply the sealer with a roller or sprayer. Again, thin coats are better than thick ones. Thick coats can turn cloudy or sticky. Two thin coats are ideal. Let the first coat dry completely before applying the second. This builds a durable barrier. Remember, sealing isn’t forever. You’ll need to reapply every 2-3 years depending on wear and tear. But that’s easy maintenance compared to replacing pavers.
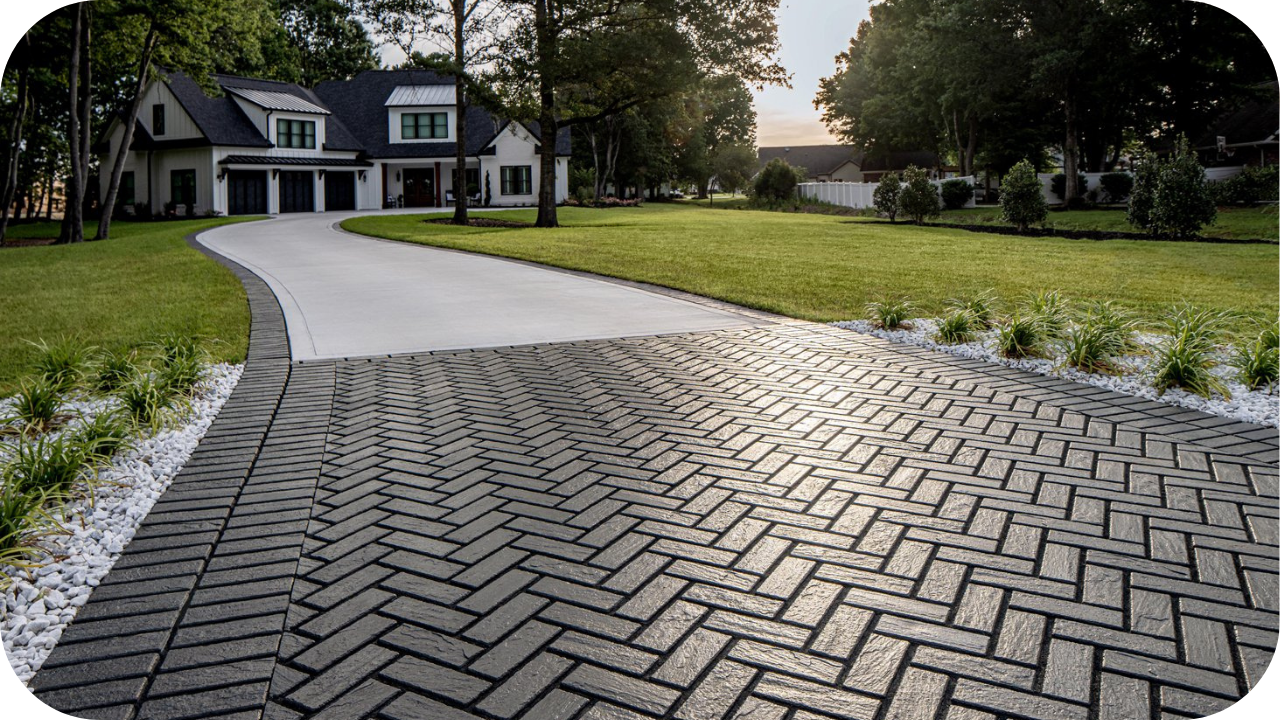
Look, DIY is great. It saves money and gives you pride. But sometimes, the job is too big or too complex. If your patio is massive, like a long driveway or a huge estate courtyard, the logistics of cleaning and staining can be overwhelming. Renting equipment, buying hundreds of gallons of sealer, and managing the timeline is a lot. Professional restoration services charge between $2 to $4 per square foot. For a standard patio, that might be $500 to $2,000.
Consider hiring pros if you have severe structural issues. If pavers are sinking, heaving, or cracked, staining won’t fix it. You need leveling and repair first. Professionals have the tools to lift and reset pavers efficiently. They also have access to commercial-grade products that might last longer than consumer versions. If you’re unsure about the type of paver you have (some natural stones react badly to certain acids or sealers), a pro can identify it correctly.
Also, if you’ve tried DIY before and it went wrong—maybe you got streaks or the color turned orange—call a expert. Fixing a bad stain job is harder than doing it right the first time. They can strip the old product and start fresh. It’s an investment, sure. But compare it to the $10,000+ cost of a new patio. Restoration is always the smarter financial move. Just make sure you get quotes from reputable companies with good reviews.
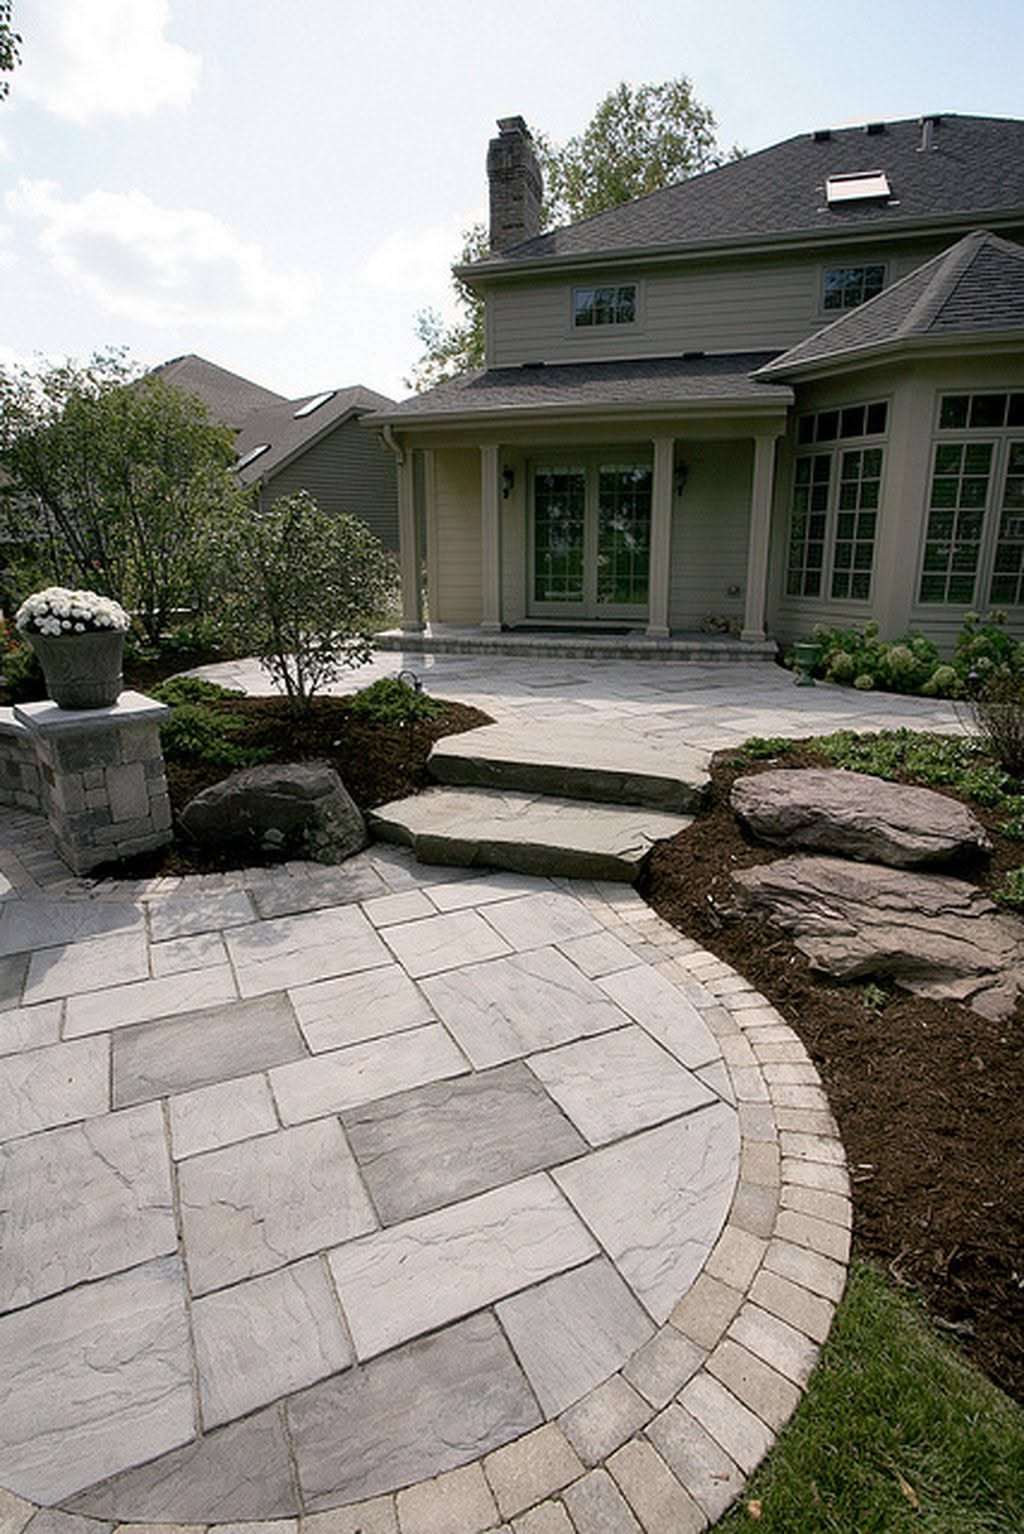
Restoring your pavers doesn’t have to be a headache. It’s a process of cleaning, repairing, and enhancing. By following these steps, you can transform a dull, aged surface into a stunning focal point of your home. You don’t need to tear it out. You just need to bring out the beauty that’s already there, hiding under the dust and fade.
Start with a good clean. Fix the loose sands and edges. Apply a quality stain if needed, and seal it up tight. It’s straightforward work. The results are immediate. You’ll notice the difference the moment the sealer dries. The colors will deepen, the texture will stand out, and your outdoor space will feel new again. It’s amazing how much impact fresh color has on the overall vibe of your yard.
So, don’t let faded pavers drag down your curb appeal or your enjoyment of your backyard. Take a weekend. Gather your supplies. Or call a pro if you prefer. Either way, give your patio the refresh it deserves. It’s one of the highest-return improvements you can make to your home’s exterior. And hey, enjoying a beautiful patio is worth every bit of effort.