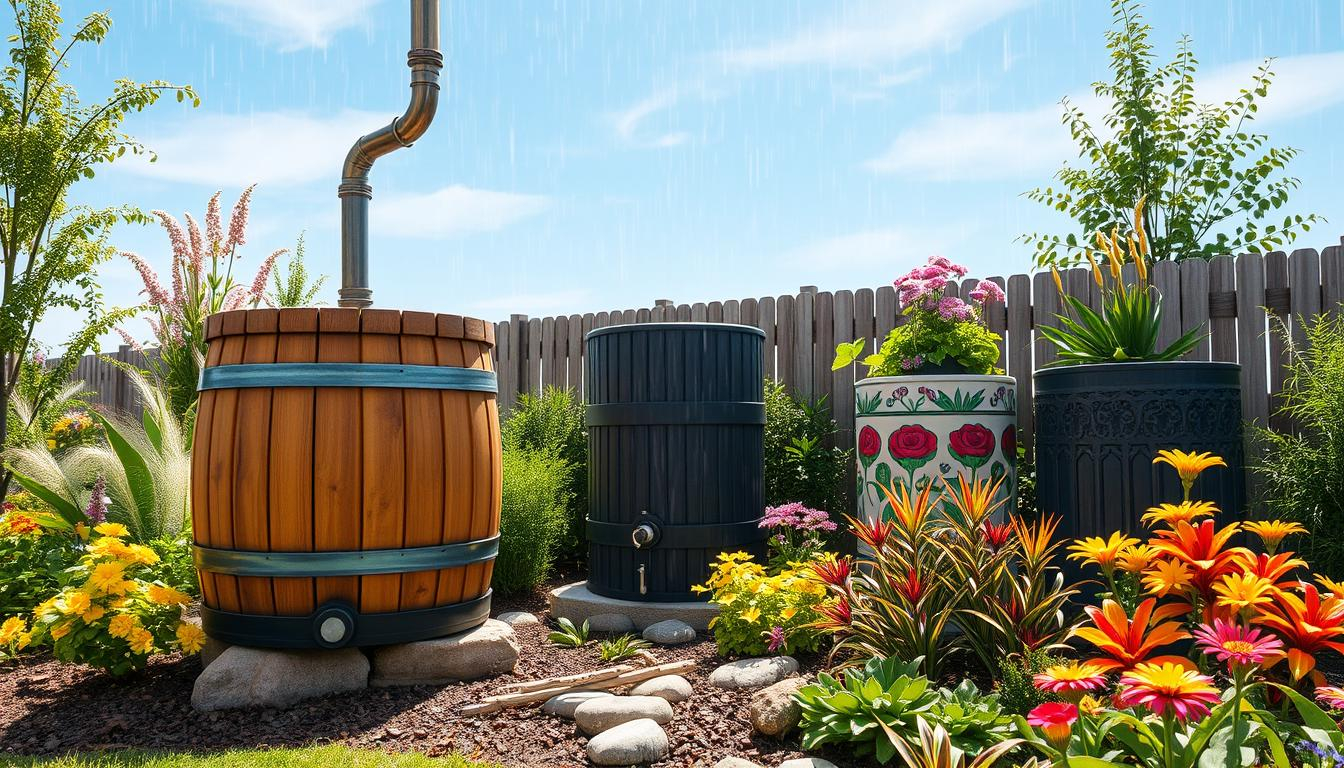

The mid-summer water bill arrives like a minor utility disaster. You peel open the crisp paper envelope, scan the municipal usage tiers, and flinch at the jump caused by three weekly rounds of deep-soaking your raised beds and perennial borders. Municipal water is treated to drinking-water standards, chlorinated, pressurized, and pumped miles through aging subterranean pipes only to be dumped onto soil that couldn’t care less about potable standards.
Standing on the back porch with the sprinkler running, a different kind of math starts to nag at you. Every thunderstorm dumps thousands of gallons of completely free, mineral-soft water directly onto your roof, where it sheet-flows into gutters and disappears down municipal storm drains. Capturing that deluge feels like a common-sense homesteading fix. Yet, behind the romantic appeal of rain barrels and gravity-fed irrigation lies a hard-nosed financial question that few gardening blogs address honestly: does capturing rainwater actually save you money, or is it an expensive eco-hobby that takes decades to break even?
To find out, we have to look past the rustic aesthetic of oak whiskey barrels and crunch the real numbers. Utility pricing structures, local climate variability, equipment amortization schedules, and installation sweat equity all collide to dictate whether a rainwater harvesting setup is a brilliant household investment or a financial money pit. The answer depends heavily on where your garden grows, what you plant, and how smartly you scale your system.
The Financial Reality of Municipal Water Rates and Irrigation Demands
Utility companies rarely charge a flat rate for water. Most municipalities operate on a tiered pricing structure where the cost per thousand gallons climbs steeply the moment household consumption crosses into outdoor irrigation thresholds. During peak summer months, a dedicated gardener can easily push household usage into the highest, most punishing pricing tiers. In drought-prone regions across the American West and Southwest, municipalities have layered drought surcharges and punitive multipliers onto high-volume users, turning routine lawn and garden maintenance into an escalating monthly expense.
When calculating the baseline cost of watering a garden, homeowners often overlook the hidden fees embedded in their utility bills. Beyond the raw volume charge for water consumption, sanitary sewer fees are frequently calculated based on winter water averages or total water usage, assuming that every gallon entering the home leaves through the sewer. Watering your tomatoes means you are often paying a sewer surcharge for water that evaporated into the atmosphere or soaked into the suburban topsoil. These combined rates create a compelling financial target for anyone looking to displace municipal consumption with sky-sourced water.
The sheer volume of water a productive garden demands during a standard growing season surprises many backyard cultivators. A typical vegetable plot spanning four hundred square feet requires roughly one inch of water per week, translating to approximately 250 gallons weekly when accounting for evaporation and soil absorption. Over a standard twenty-week growing season, that plot will consume five thousand gallons of water. Multiply that by escalating utility rates, and the annual expenditure for garden irrigation alone can easily range from one hundred to several hundred dollars, depending on municipal geography and drought surcharges.
Yet, raw volume is only half the equation; the financial viability of rainwater harvesting hinges entirely on capturing a high percentage of that seasonal demand without incurring runaway infrastructure costs. If your roof catches enough runoff to meet half your summer irrigation needs, you are immediately dropping off the highest, most expensive tiers of your municipal water bill. The economic calculus shifts from a generalized eco-statement to a direct offset of utility overhead, transforming atmospheric precipitation into a tangible line-item reduction on your monthly household budget.
Decoding the True Capital Costs of Rainwater Harvesting Equipment
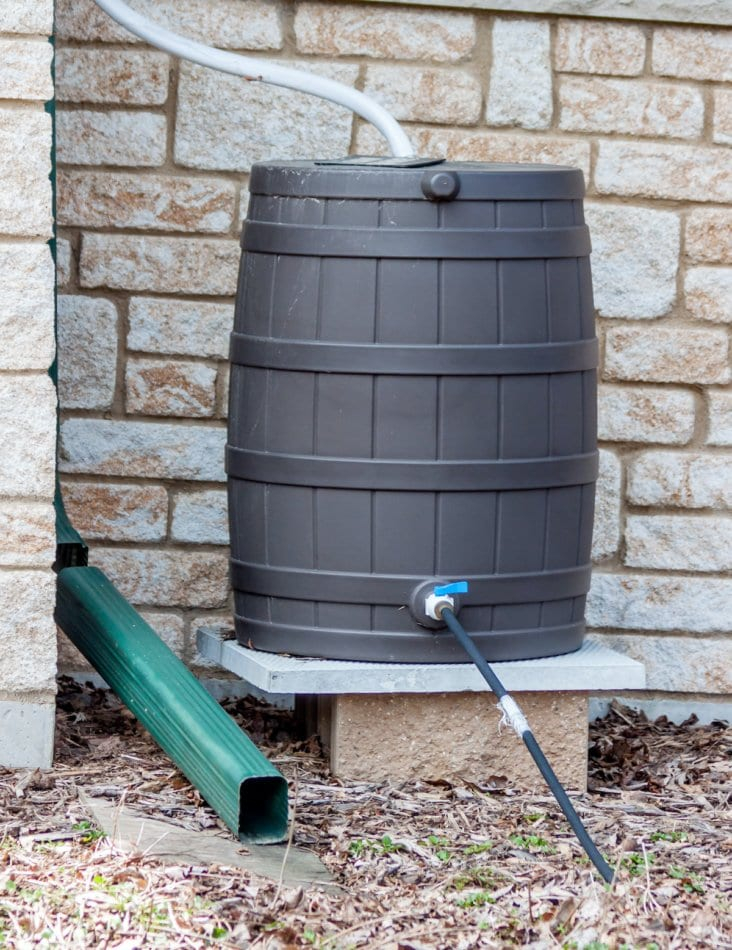
The upfront barrier to entry in rainwater harvesting ranges from virtually free to thousands of dollars, and the chosen path dictates the return on investment timeline. At the budget-friendly end of the spectrum sits the standard plastic forty-five-gallon rain barrel sourced from a hardware store or upcycled from a local food processing plant. These systems require minimal engineering: a hole saw, a bulkhead fitting, a brass spigot, an overflow hose, and a piece of fine mesh screening to keep out mosquitoes. Total out-of-pocket costs for a DIY single-barrel setup hover around forty to seventy dollars.
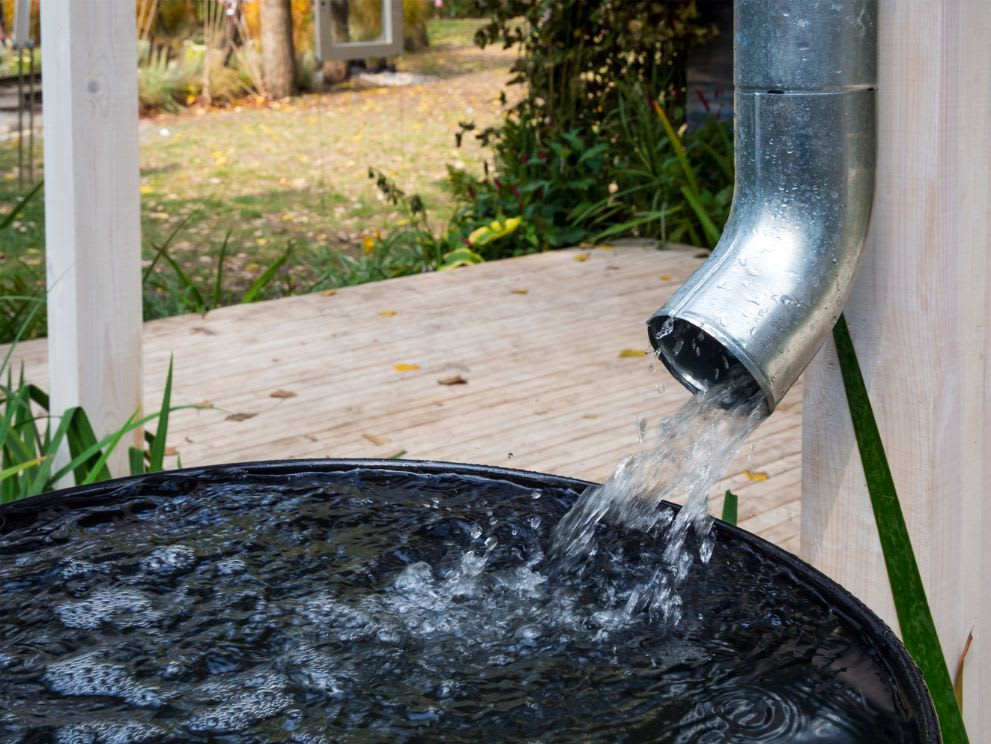
Scaling up reveals a completely different financial landscape. Serious garden production—especially in arid climates where rain falls in infrequent, massive downpours—demands storage capacity measured in thousands of gallons rather than dozens. Food-grade polyethylene storage tanks, often called IBC totes or vertical storage cisterns, require dedicated gravel pads, heavy-duty strapping, downspout diverters, first-flush water diverters to filter roof debris, and often a booster pump to maintain adequate hose pressure. A professionally installed one-thousand-to-two-thousand-gallon above-ground tank system can easily run between fifteen hundred and four thousand dollars when factoring in commercial fittings, earthwork, and plumbing integration.
Maintenance and component lifespan introduce additional variables into the financial model. Plastic tanks degrade under ultraviolet radiation over decades unless stabilized or housed in the shade, and internal pumps require replacement every five to ten years depending on usage cycles and water quality. Leaf debris, bird droppings, and shingle grit accumulate on roofs, meaning filters, baskets, and first-flush diverters demand regular seasonal cleaning and occasional replacement parts. Neglecting these maintenance tasks can turn a sophisticated storage system into a breeding ground for organic sludge and clogged drip emitters, destroying the efficiency of the investment.
Balancing capital expenditure against projected utility savings requires ruthless realism about your garden’s true output and your local rainfall reliability. If you invest three thousand dollars into an elaborate cistern network in a region that receives abundant, cheap municipal water and consistent summer thunderstorms, your payback period might stretch fifty years—effectively rendering the system a decorative garden sculpture rather than a financial asset. Conversely, in regions with expensive municipal water and reliable, heavy seasonal rains, a mid-tier system can recover its initial capital cost within three to five seasons.
Step-by-Step Methodology to Calculate Your Personal Rainwater ROI
Determining whether rainwater harvesting makes financial sense for your specific property requires a structured, step-by-step audit of your local climate, roof dimensions, water rates, and garden needs. Skipping these calculations often leads to either over-investing in unnecessary storage capacity or under-investing in a system that runs dry just when your garden needs moisture the most.
- Step 1 (Calculate Roof Catchment Potential): Multiply the footprint square footage of your roof (or the specific section draining to your target downspout) by your local average annual rainfall in inches, then multiply that product by 0.623 to account for conversion losses like evaporation and splash. This gives your annual total harvestable gallons.
- Step 2 (Audit Your Seasonal Water Costs): Pull your last twelve months of utility bills, isolate the summer months when irrigation is active, and calculate your marginal cost per thousand gallons (including both water consumption charges and sewer surcharges).
- Step 3 (Map Your Garden Water Demand): Estimate your weekly garden irrigation requirement based on square footage, plant types, and local evapotranspiration rates, then multiply by your region’s active growing season length in weeks.
- Step 4 (Size the Storage Infrastructure): Match your storage capacity to the frequency of local rainfall events during the dry season; remember that storage is only as valuable as its ability to bridge dry gaps between storms, not its cumulative annual throughput.
- Step 5 (Calculate the Amortized Payback Period): Divide your total estimated equipment and installation costs by the expected annual dollar savings on your utility bill to find your precise breakeven timeline.
Working through this sequence grounds your project in empirical reality. If your calculations show that your roof can easily yield ten thousand gallons of water annually, but your garden only requires two thousand gallons and your local water is exceptionally cheap, you know immediately to scale down your infrastructure investment to a simple two-barrel setup rather than a massive commercial cistern.
Common Pitfalls and Field-Tested Workarounds in Rainwater Economics
Many aspiring rainwater harvesters watch their financial calculations crumble due to preventable engineering errors and maintenance oversights. The most common trap is underestimating the weight and structural requirements of water storage. A single gallon of water weighs 8.34 pounds; a modest one-thousand-gallon cistern weighs over 8,300 pounds when full. Placing such a heavy container on uncompacted soil or an uneven wooden deck leads to catastrophic shifting, sheared pipes, and fractured fittings that demand expensive emergency repairs.
Another frequent financial leak involves mosquito management and filtration failures. Standing water left open to the elements quickly transforms your expensive storage tank into an incubator for hundreds of thousands of mosquitoes, creating public health hazards and drawing municipal code violations. Furthermore, microscopic shingle grit and organic tannins from roof debris bypass cheap mesh screens, clogging drip irrigation emitters and solenoid valves, forcing premature equipment replacement.
- Pitfall 1 (Inadequate Foundation Preparation): Placing heavy storage tanks on bare earth or unlevel gravel causes settling and pipe shearing. Workaround: Excavate a level pad, tamp the sub-base thoroughly, and pour a reinforced concrete slab or lay compacted crushed stone base restrained by landscape timbers before setting any tank over two hundred gallons.
- Pitfall 2 (Mosquito and Pest Infestation): Unsealed lids and torn screening allow insects and rodents into the water supply. Workaround: Use fine stainless steel mesh (at least 20-mesh or finer) on all inlets and vents, and install tight-fitting, threaded access ports with rubber gaskets.
- Pitfall 3 (Clogged Drip Irrigation Systems): Fine sediment from roof runoff ruins delicate pressure-compensating emitters. Workaround: Install a multi-stage filtration setup featuring a first-flush diverter to discard initial roof wash, a sediment spin-down filter before the pump, and a 100-mesh disc filter post-pump.
- Pitfall 4 (System Freezing and Cracking): Leaving water-filled tanks and exposed pipes uninsulated during hard freezes destroys expensive plumbing. Workaround: Drain and disconnect above-ground systems before the first hard freeze, or bury supply lines below the local frost line and use internal tank heaters where applicable.
- Pitfall 5 (Overestimating Dry-Season Storage): Buying small barrels that run dry during the first two weeks of drought renders the system useless when irrigation is most critical. Workaround: Build or buy storage sized to bridge historical dry spells in your specific climate zone, or design a manual bypass to switch back to municipal water seamlessly.
Navigating these operational hurdles protects your initial capital outlay from turning into a money sink. By addressing foundation weight, filtration, and freeze protection proactively during the design phase, you ensure that your system operates efficiently year after year without incurring surprise repair bills.
The Broader Ecological and Agronomic Value Beyond Raw Dollars
While dollar savings drive the initial spreadsheet analysis, reducing utility bills only tells part of the financial story. Rainwater possesses unique chemical and thermal properties that translate directly into hidden savings and superior garden productivity. Municipal water is chemically treated with chlorine, chloramines, and fluoride to make it safe for human consumption. While these additives prevent bacterial growth in public distribution systems, they disrupt beneficial soil biology, shock sensitive plant roots, and gradually alter soil pH over years of heavy irrigation.
Rainwater, by contrast, is naturally soft and chemically unadulterated. It contains trace amounts of dissolved nitrogen and atmospheric carbon dioxide that plants absorb readily, and it lacks the high mineral concentrations (calcium and magnesium) found in hard well water or heavily treated municipal supplies. Hard municipal water leaves white, crusty mineral deposits on foliage and locks up essential soil nutrients like phosphorus and iron, making them unavailable to plant roots. By switching to rainwater, gardeners frequently notice improved plant vigor, better nutrient uptake, and reduced spending on soil acidifiers, chelates, and synthetic fertilizers.
Temperature is another overlooked agronomic factor. Pumping ice-cold water straight from a deep municipal line or well directly onto warm summer garden soil shocks plant roots, temporarily halting growth and nutrient transport. Rainwater stored in ambient-temperature above-ground barrels or tanks matches the thermal profile of the surrounding garden environment. Watering tomatoes, peppers, and squash with tepid, sun-warmed rainwater prevents thermal shock, keeping metabolic processes running smoothly through the peak of the growing season.
These agronomic advantages compound over time into measurable financial benefits. Healthier plants exhibit greater natural resistance to pests and fungal pathogens, reducing the need for purchased organic sprays, insecticidal soaps, and commercial fungicides. When you factor in the reduced need for soil amendments to correct municipal water-induced pH imbalances, the total economic footprint of rainwater harvesting extends far beyond the simple utility bill offset, touching almost every input category in your backyard garden budget.
Actionable Frameworks for Maximizing Your Rainwater Return on Investment
Maximizing the return on your rainwater harvesting investment requires treating your backyard system like a utility infrastructure project rather than a casual weekend DIY craft. Success depends on strategic placement, smart integration with existing irrigation architecture, and matching your storage capacity to your garden’s highest-value crops. Not all garden beds justify the same water priority; establishing a triage system ensures that your captured supply goes where it delivers the highest economic and nutritional return.
- Framework 1 (High-Value Crop Triage): Route your gravity-fed rainwater lines specifically to high-value, water-sensitive crops like indeterminate heirloom tomatoes, berries, and greenhouse starts, while reserving municipal water for drought-tolerant perennials and established fruit trees that can survive occasional moisture stress.
- Framework 2 (Gravity-Fed Pressure Optimization): Elevate your rain barrels or storage tanks by at least two to three feet on reinforced cinder block platforms to generate usable head pressure (roughly 0.43 pounds per square inch per foot of elevation), eliminating the ongoing electricity cost of running a booster pump for gravity drip systems.
- Framework 3 (Automated Timing Integration): Pair your storage outlet with a battery-operated, low-pressure mechanical irrigation timer. Watering during the pre-dawn hours minimizes evaporative loss and maximizes root absorption, cutting total water waste by up to thirty percent compared to manual evening or midday watering.
- Framework 4 (Catchment Area Expansion): If your garden shed or greenhouse roof sits closer to your beds than your house, tie gutters into a dedicated secondary barrel cluster. Maximizing collection surfaces without long, expensive underground plumbing runs keeps installation costs low while multiplying your total water yield.
- Framework 5 (Rainfall Harvesting Ledger): Keep a simple log tracking rainfall events, tank fill levels, and municipal meter readings during your first two seasons. This data allows you to fine-tune your storage capacity and verify exact utility savings against your initial capital expenditure.
Applying these frameworks shifts your garden management from reactive watering to proactive resource stewardship. By capturing water close to where it is needed, eliminating pumping energy costs, and directing precipitation toward your most demanding crops, you compress your payback timeline and maximize the long-term utility of every dollar invested.
The pursuit of rainwater harvesting is ultimately an exercise in reconnecting household consumption with local ecological realities. Rainwater is not merely a free substitute for utility water; it is a superior horticultural input that honors the natural cycles of the landscape. When you look at a rain barrel not as a quirky lawn ornament, but as a precision asset designed to capture, store, and deploy thousands of gallons of mineral-soft atmospheric moisture, the financial calculus transforms.
The initial hurdle of equipment costs and installation labor can intimidate beginners, but approaching the project through structured planning, realistic climate assessments, and smart scale management turns an expense into an investment. As municipal water rates continue their inevitable climb and regional droughts strain public infrastructure, the value of decentralized, on-site water security will only appreciate.
Taking the first step does not require an immediate multi-thousand-dollar cistern installation. Start with a single, well-fitted rain barrel connected to a prominent downspout, monitor your seasonal savings, observe how your garden responds to the unchlorinated water, and scale your infrastructure outward as your confidence and financial returns compound. In an era of shifting climates and rising utility costs, harvesting the sky is one of the few practical steps a gardener can take that pays dividends in both financial savings and garden vitality.