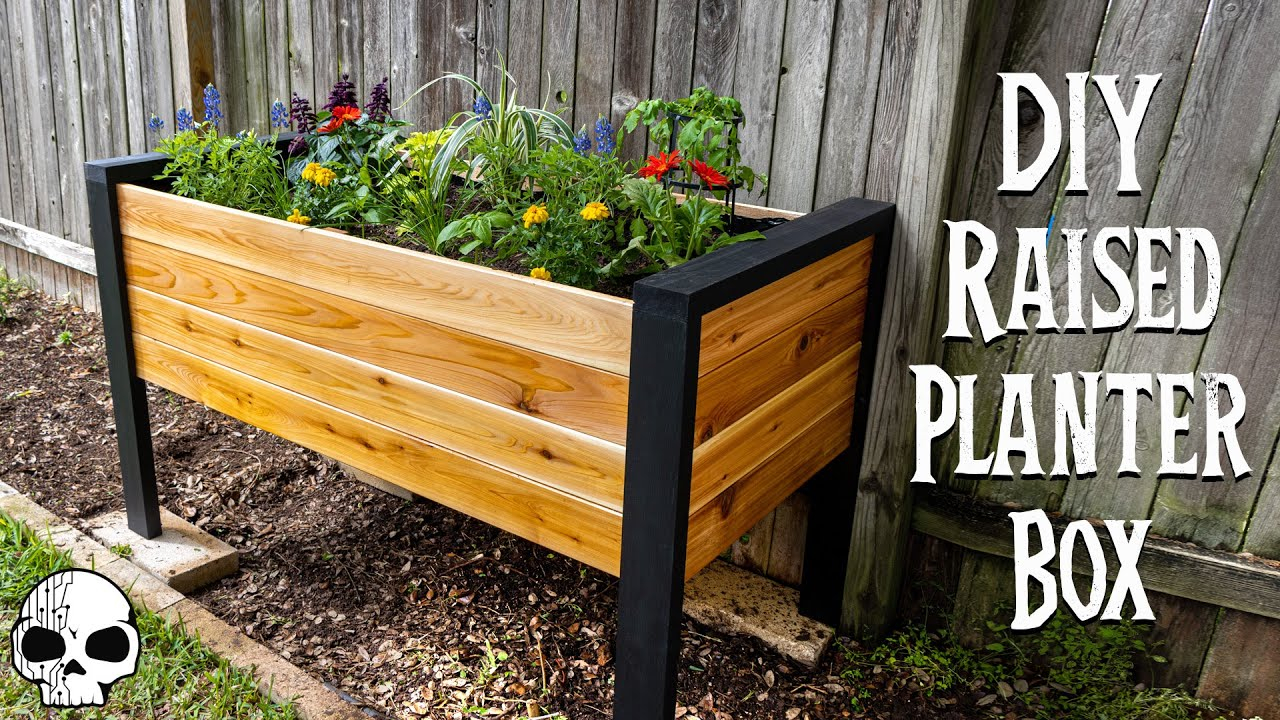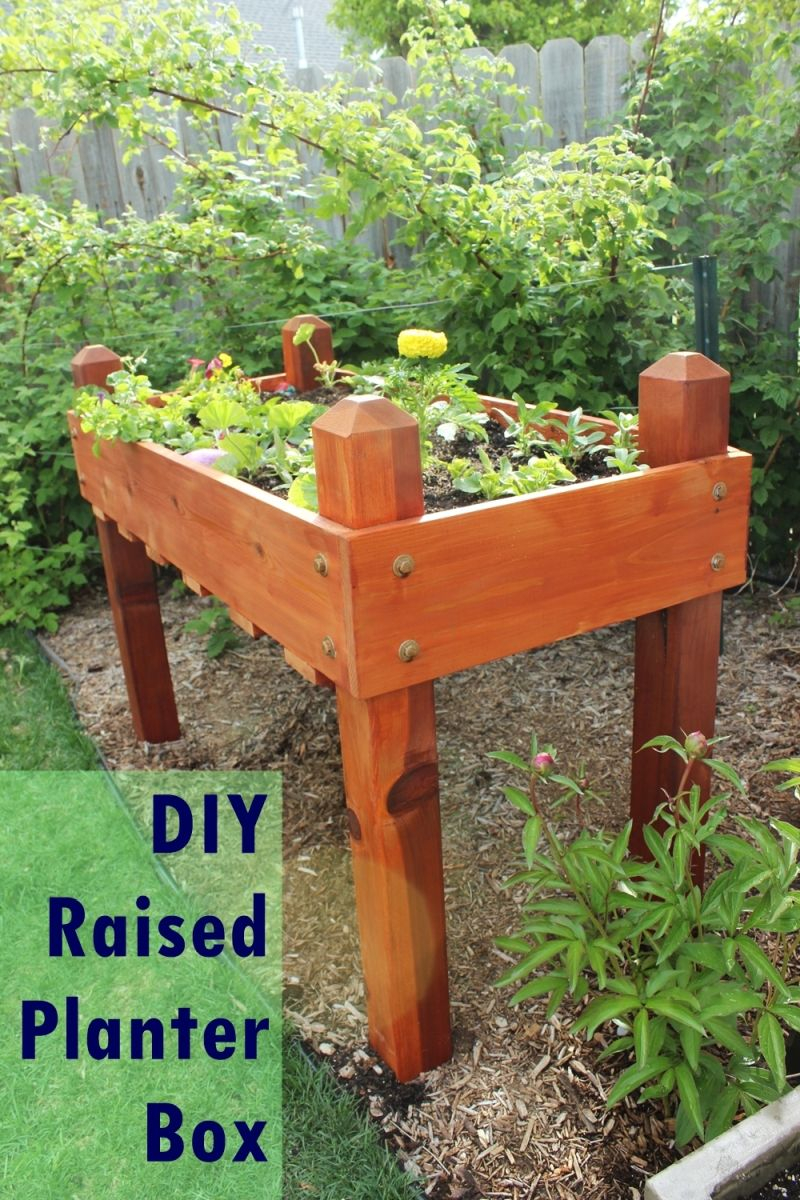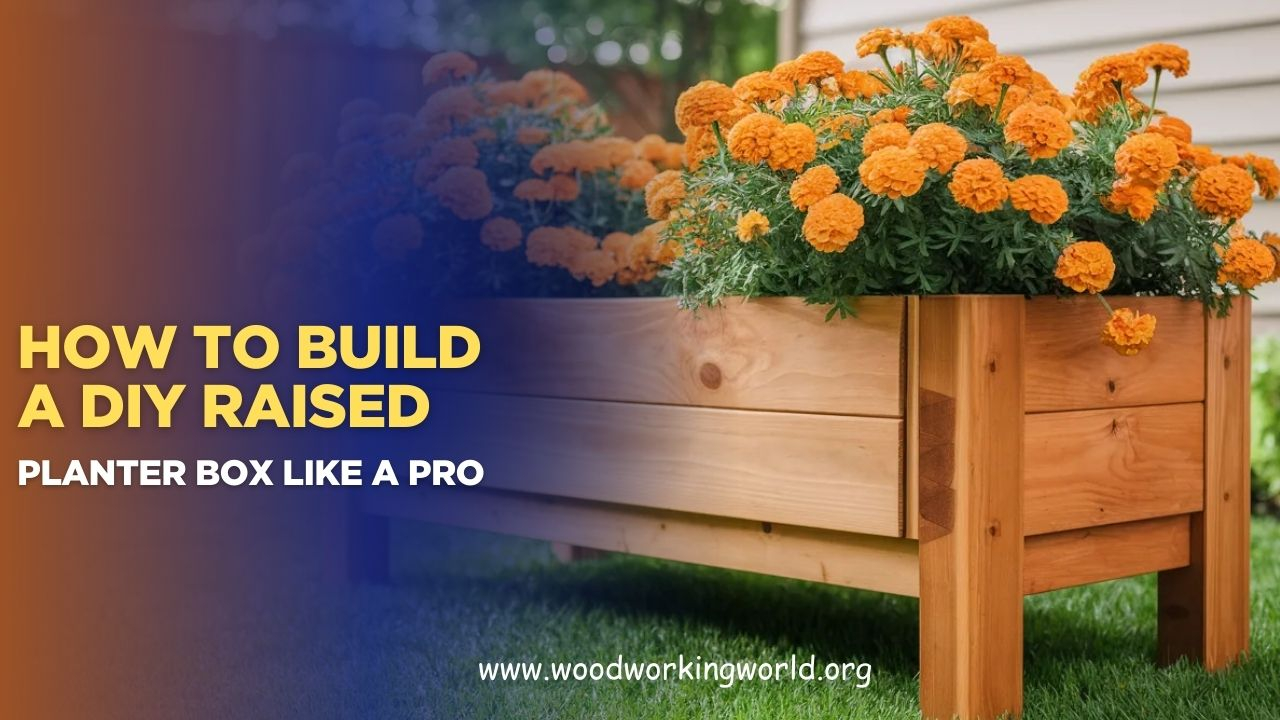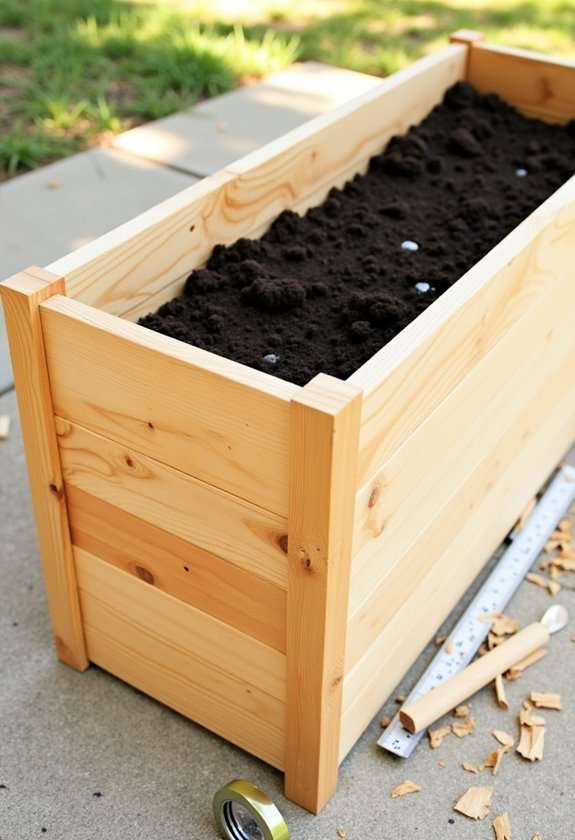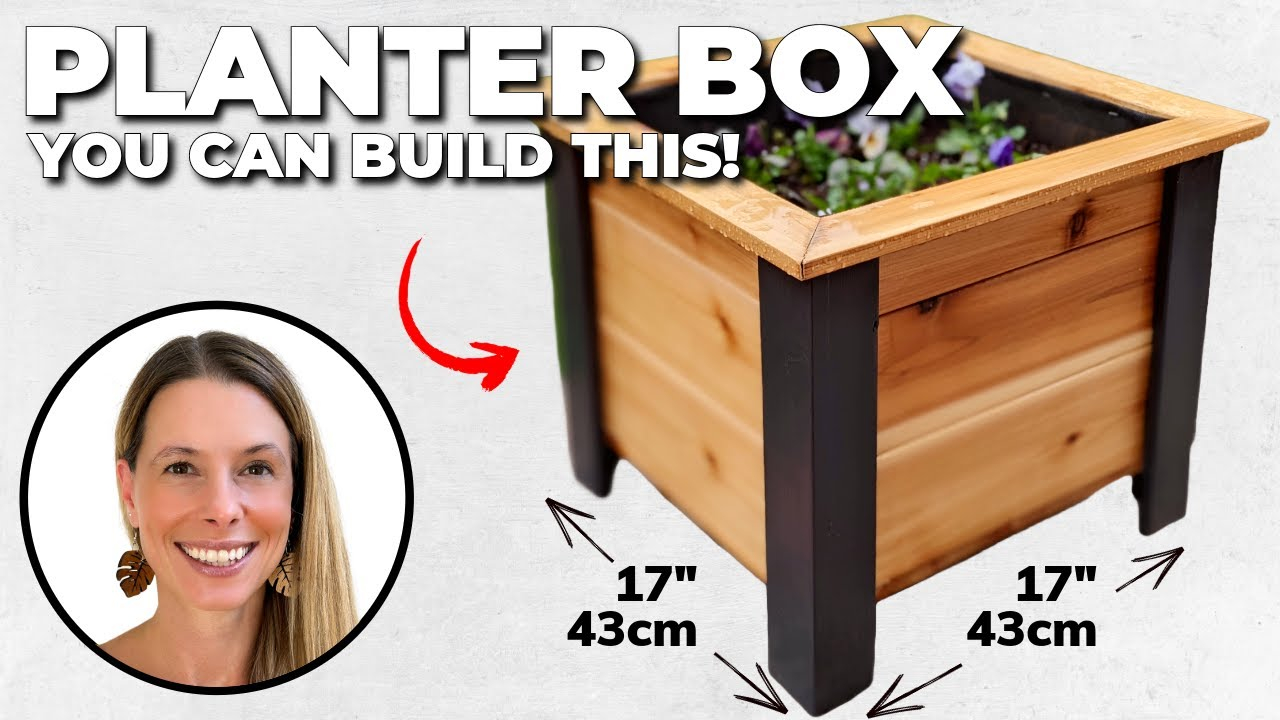

If you are tired of waking up sore the morning after tending to your veggies, you are definitely not alone. Millions of backyard growers are realizing that bending down to the dirt just isn’t working anymore. Thankfully, creating your own elevated planters is the ultimate fix, and it will not empty your bank account.
Let us be real for a moment. Buying pre-made kits from the store can cost a fortune, especially with how prices have been lately. But creating them yourself? It is way simpler than it sounds, and you can easily get it done over a single weekend.
Why Going Elevated is a Total Game Changer
Centuries of traditional gardening had us all working on our knees, but things have shifted. Raising your soil level means you do not have to bend over constantly. It saves your spine and makes pulling weeds almost effortless.
Plus, you get to control the exact dirt mix that goes inside. If your backyard has heavy clay or rocky ground, you can just bypass it entirely. Your plants will end up growing much faster because the soil stays loose and warms up earlier in the spring weather.
Finding the Cheapest Materials Around
You do not need pricey cedar planks to build something beautiful. Standard construction lumber from the local yard works perfectly fine if you protect it well. Lots of folks are even repurposing free shipping pallets or old scrap metal panels to keep costs near zero.
Just make sure to avoid wood that has been treated with nasty old chemicals if you are growing food. If you find some heat-treated pallets marked with an "HT" stamp, those are totally safe to use. Another great option is using simple concrete blocks, which stack together like building blocks without needing a single power tool.
The Simple Step-by-Step Build
First, figure out where the sunlight hits your yard best. You want a spot that gets at least six hours of bright sun daily. A standard four-foot by eight-foot box is usually the perfect size because you can reach the middle easily from either side without stepping inside.
Just cut your boards to length, pre-drill the screw holes so the wood doesn’t split, and attach them at the corners using sturdy exterior screws. If you want it to last even longer, put a wooden stake in each inside corner to reinforce the joints. It is honestly that straightforward.
The Secret Trick to Filling Beds for Pennies
Here is where most beginners make a costly mistake. They go out and buy heaps of expensive bagged soil to fill the entire box. That will drain your wallet instantly. Instead, you should use an old German trick called Hugelkultur to fill the bottom sections.
Start by layering thick logs, branches, and twigs at the very bottom of your box. Toss in some fallen leaves, grass clippings, and even shredded cardboard right on top of the wood. As these materials rot over time, they feed your plants and retain moisture beautifully, leaving you with only the top few inches to fill with premium compost.
Keeping Your New Garden Thriving
Once your structure is built and filled, you want to protect your hard work. Laying down a layer of straw or wood chips over the top soil is super important. This keeps the moisture from evaporating during hot summer afternoons.
Watering becomes much easier too since you can see exactly where the water is going. Since the dirt stays fluffy and never gets stepped on, the roots can spread out deep and wide. You will notice your tomatoes and peppers looking way happier than they ever did in the ground.
Upgrades That Will Not Break the Bank
As time goes by, you can easily add some cheap upgrades to your setup. Screwing simple PVC pipes to the inside walls allows you to slide in mesh nets to keep pesky birds and bugs away from your berries.
You can also attach basic wooden trellises to the north side of the box. This lets climbing plants like cucumbers and peas stretch upward, which saves even more space for smaller herbs down below.
Building these boxes is honestly one of the best investments you can make for your home and health this year. You save heaps of money upfront by doing the manual work yourself, and your body will thank you every single time you go out to harvest.
Gardening should be a fun, relaxing hobby rather than a painful chore. With a few basic tools and some recycled materials, you will have a beautiful, productive garden setup that looks amazing and functions perfectly for years to come. Happy planting.