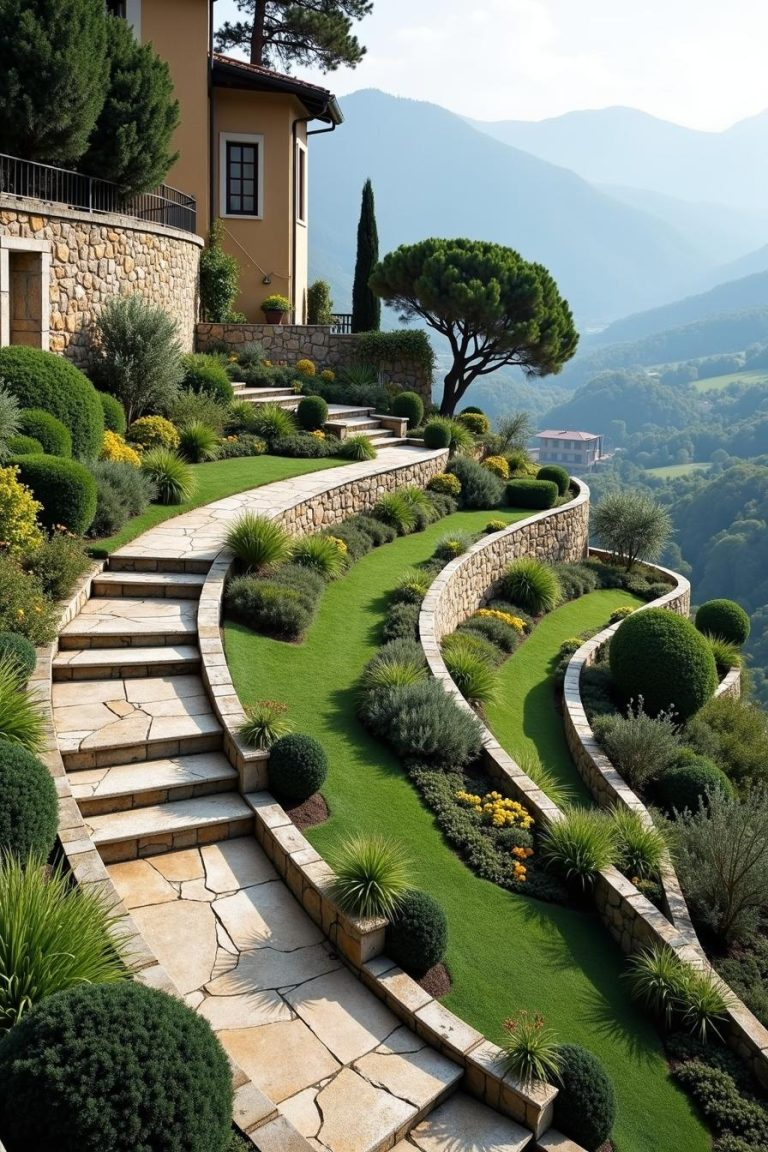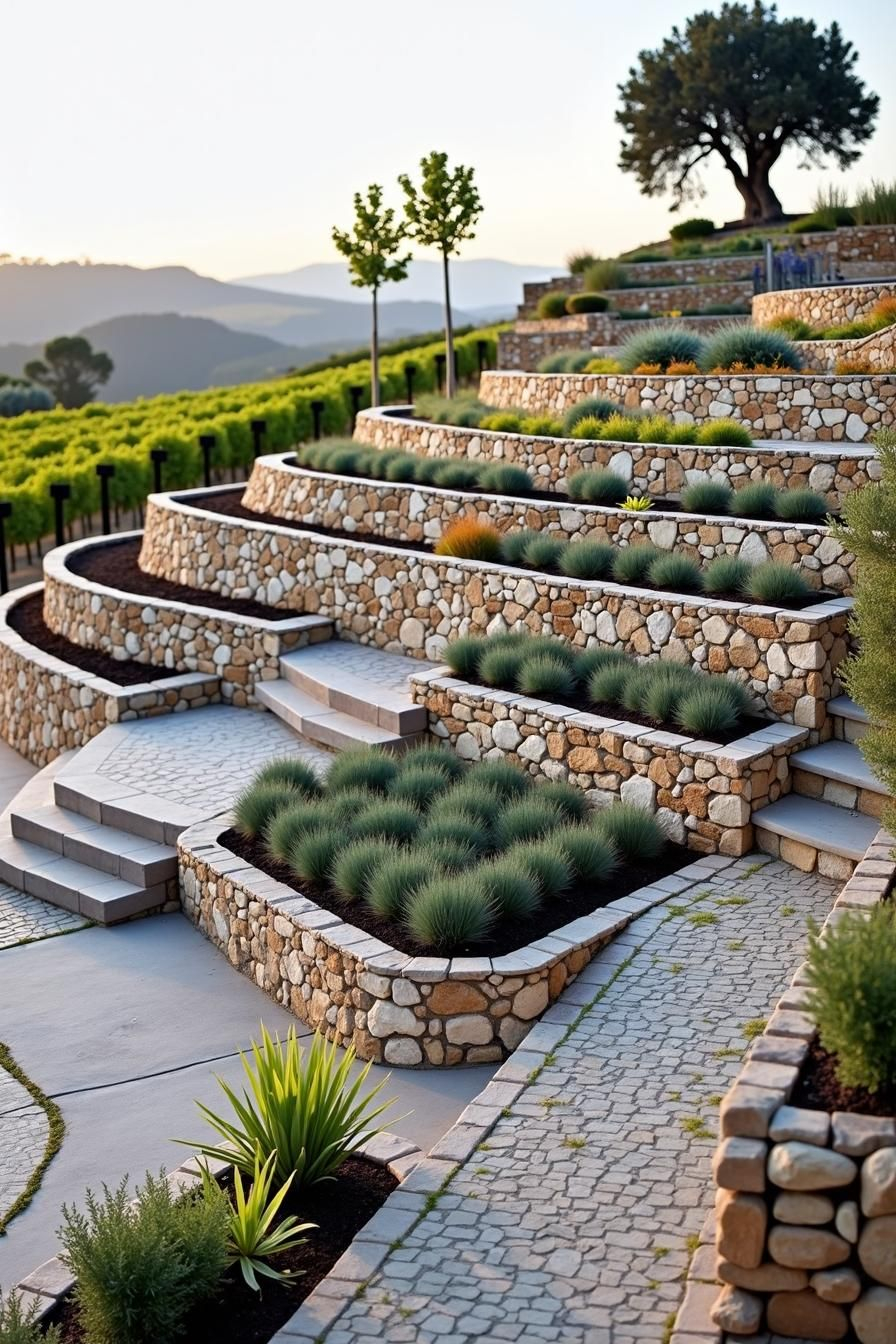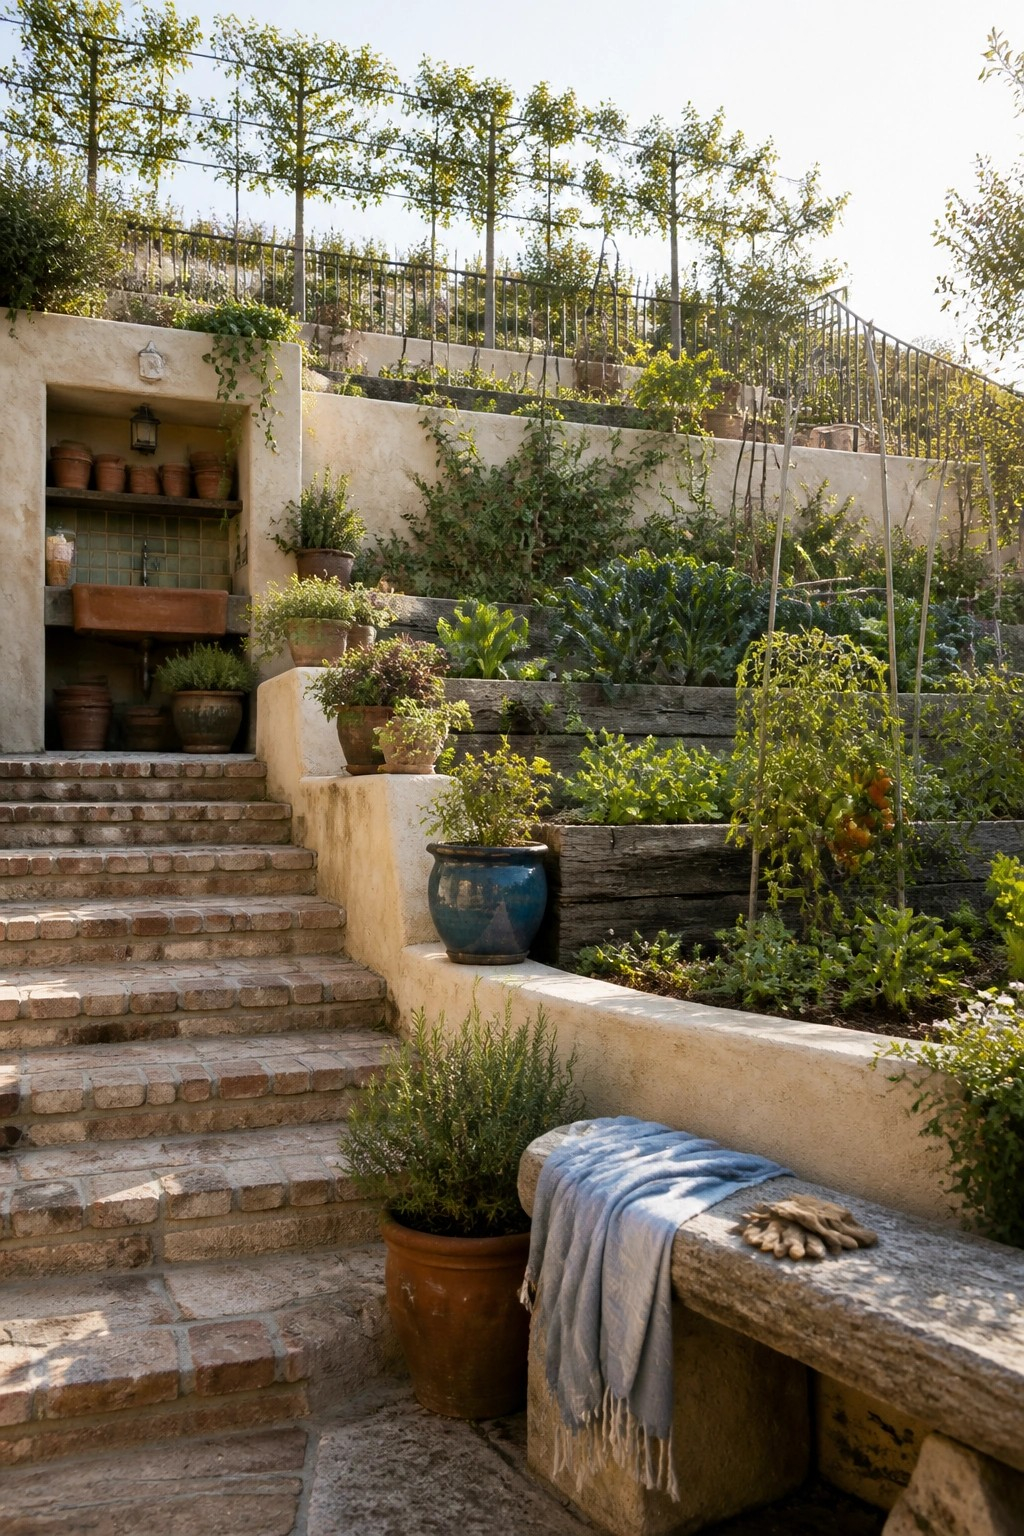

Every spring, millions of homeowners stand at their back doors, peer out at a sloping, unusable backyard, and sigh. That steep incline isn’t just a mowing nightmare; it is a silent, creeping hazard. Every heavy rainstorm washes away precious topsoil, carving tiny canyons down toward the foundation of the house, slowly undermining the landscape you’ve invested time and money to cultivate. The standard industry advice is simple: hire a professional landscape contractor, write a check for five figures, and watch heavy machinery tear up your grass for a fortnight.
Yet, for the resourceful property owner willing to trade a weekend of honest physical labor for enduring landscape security, there is another way. Taming a slope with your own two hands is entirely possible when you understand the foundational rules of earth retention. It requires respect for physics, a methodical approach to excavation, and an appreciation for the structural mechanics that keep tons of damp soil from sliding downhill. When done right, building your own retaining wall isn’t just a weekend project—it is a permanent transformation that turns wasted vertical space into lush, usable garden terraces.
The history of retaining walls stretches back millennia, from the ancient agricultural terraces of the Incan Empire in the Andes to the stone-paved hillsides of Mediterranean olive groves. Human beings have always fought gravity to coax life from steep ground. In contemporary residential landscaping, the underlying engineering principles remain remarkably unchanged, even if our materials have evolved far beyond hand-chiseled fieldstone. Today’s segmental concrete blocks, geogrid reinforcements, and perforated drain pipes make residential earth retention far more predictable and accessible to the DIY builder than ever before.
Understanding why slopes fail is the first step toward building a wall that will outlast the mortgage. Gravity is relentless, and soil, when saturated with water, behaves almost like a dense fluid. This exerts massive lateral pressure against any vertical barrier placed in its path. If you simply stack bricks on a hillside without accounting for water drainage and foundational weight distribution, the wall will inevitably bow, crack, and collapse. Mastering the craft of wall-building means balancing aesthetic ambition with structural integrity, ensuring your weekend project remains standing strong through decades of seasonal freeze-thaw cycles.
The Physics of Slopes and the Engineering of Earth Retention
Before a single shovel breaks the turf, you must understand the invisible forces acting upon your hillside. Soil is heavy—a single cubic foot of damp earth can weigh upwards of 100 to 120 pounds. When piled against a slope, that weight multiplies exponentially, creating lateral earth pressure that pushes outward against the base of your proposed wall. This is known as overturning moment, and it is the primary enemy of every retaining wall builder. If the wall is too thin, improperly anchored, or built on uncompacted subgrade, the sheer weight of the retained soil will tip the entire structure forward like a falling domino.
Equally destructive is hydrostatic pressure, the silent saboteur of residential landscaping. Water follows the path of least resistance, percolating down through the soil profile until it hits a barrier—namely, your newly built wall. If that water has nowhere to go, it accumulates behind the blocks, increasing the weight of the soil while exerting hydraulic pressure against the masonry. Water expands when it freezes, meaning trapped moisture behind a wall will shatter concrete blocks and heave mortar joints apart during the first hard winter freeze. This is why drainage is not merely an optional feature; it is the absolute lifeblood of any successful retaining wall.
Modern segmental retaining wall systems (SRWs) solve many historical engineering challenges through clever design. Unlike old-school poured concrete or dry-stacked natural stone, manufactured concrete blocks feature built-in lips or pin systems that automatically set a slight backward tilt, known as batter. This backward lean shifts the center of gravity back into the hillside, using the weight of the wall itself to resist the forward push of the soil. Additionally, these interlocking systems are modular, allowing for tight curves, crisp 90-degree corners, and seamless integration with synthetic geogrid reinforcement layers for taller installations.
Choosing the right materials dictates both the lifespan of your project and the physical strain of your weekend. Poured concrete offers ultimate strength but requires complex formwork, rebar tying, and professional concrete trucks. Natural stone provides unmatched rustic beauty but demands an artistic eye and hours of sorting, chipping, and shimming irregular shapes. Segmental concrete blocks strike the ideal sweet spot for the weekend DIYer. They are uniform in weight and size, easy to handle, engineered for precise dry-stacking, and manufactured with structural setbacks that virtually eliminate guesswork during assembly.
Sizing Up Your Site, Mapping Layouts, and Navigating Local Codes
Jumping straight into excavation without a comprehensive site plan is the fastest way to turn your dream weekend project into an expensive structural failure. Start by evaluating the height and steepness of your slope. In most residential municipalities, retaining walls under three or four feet in height do not require structural engineering stamps or formal building permits. However, building codes vary wildly by region, and exceeding height thresholds without a permit can result in costly fines or forced teardowns. Always call your local utility marking service—such as 811 in the United States—at least a few days before touching a shovel to ensure you do not sever underground gas, water, or fiber-optic lines.
Once utility clearance is confirmed, grab a line level, wooden stakes, and a measuring tape to map out your wall’s precise location and height. Determine your wall’s total run and maximum height, keeping in mind that for walls approaching three feet, you will need to bury the entire bottom course of blocks below the final grade. This buried base course acts as your structural footing, anchoring the wall against sliding forces. If your slope is particularly steep, a single tall wall may exceed safe DIY limits. In these scenarios, breaking the slope down into a series of shorter, staggered terraced walls is often structurally superior and aesthetically stunning.
Material estimation is where many weekend warriors stumble. Measure the linear footage of your planned wall, multiply it by the height, and calculate the total square footage. Divide this by the dimensions of your chosen block to get your base unit count, but never order the exact mathematical minimum. Factor in a 10% overage to account for cuts, breakages, and uneven grading adjustments. You will also need to calculate your base material—typically crushed angular gravel such as ¾-inch minus or ¾-inch clear stone—along with heavy-duty non-woven geotextile filter fabric and perforated corrugated drain pipe.
Preparation of tools and equipment will dictate your weekend velocity. Renting a plate compactor for the weekend is non-negotiable; hand-tamping clay or loose soil with a manual tamper will result in differential settling and wall failure within a year. Other essential job-site gear includes a heavy-duty mattock or pickax for hard clay and roots, a round-point shovel, a dead-blow mallet, a torpedo level, safety glasses, heavy work gloves, and a masonry chisel or wet saw for cutting corner blocks and end caps. Staging your materials close to the excavation site before Friday evening ensures you can hit the ground running at dawn on Saturday.
Step-by-Step Practical Implementation Guide
Transforming a raw hillside into a plumb, level, and structurally sound retaining wall requires strict adherence to a proven sequence of operations. Skipping a step or rushing the gravel compaction phase will compromise the entire structure. Follow this field-tested methodology to execute your weekend wall with professional-grade precision.
- Step 1 (Excavation and Trench Preparation): Mark your wall line with stakes and mason’s string. Excavate a trench that is at least twice as wide as your blocks and deep enough to accommodate a compacted 6-inch gravel base plus the entire buried first course of blocks (usually 8 to 10 inches total depth). Ensure the bottom of the trench is flat and level from end to end, using a long spirit level.
- Step 2 (Building the Compacted Level Base): Pour your crushed ¾-inch angular gravel into the trench in 3-inch lifts. Wet the gravel slightly to aid compaction and run your plate compactor over the surface multiple times until the base feels completely solid and unyielding. Check repeatedly with your level; a crooked foundation guarantees a crooked wall.
- Step 3 (Setting the Foundation Course): Lay your first course of blocks directly onto the compacted gravel base, starting at the lowest point of the slope. Use your dead-blow mallet and torpedo level to ensure each block is perfectly level front-to-back and side-to-side. This is the most crucial course of the entire build; take your time here, as any errors will compound exponentially in higher rows.
- Step 4 (Drainage Integration and Backfilling): Lay perforated corrugated drain pipe behind the first and second courses, sloping downward toward daylight or a dry well to evacuate subsurface water. Backfill the space immediately behind the wall with clean, free-draining crushed stone (not native clay soil) up to the top of the course, and lay a sheet of non-woven geotextile fabric over the gravel to prevent fine silts from clogging the stone.
- Step 5 (Stacking Upper Courses and Cap Installation): Sweep any debris off the top of the previous course, snap the next row of blocks into place with their built-in alignment lips, and stagger the vertical joints like running bond brickwork. Continue backfilling and compacting behind every single course. Finish the top of the wall by securing split-masonry cap blocks using a high-strength exterior concrete adhesive.
Common Pitfalls and Field-Tested Workarounds
Even enthusiastic DIYers can fall victim to common masonry blunders that jeopardize the integrity of a retaining wall. Recognizing these failure points in advance saves you from heartbreaking tear-outs down the road.
- Pitfall 1 (Skipping the Buried Base Course): Setting the first row of blocks directly on top of surface soil or grass leads to rapid settling and sliding as rain erodes the ground beneath the front lip. Workaround: Always dig a proper trench and bury at least 10% of the wall’s total height (minimum one full block) below the finished lower grade to lock the base in place.
- Pitfall 2 (Backfilling with Native Clay Soil): Using excavated native clay or organic topsoil directly behind the wall creates a sponge that holds water, expands during wet seasons, and exerts massive hydrostatic pressure. Workaround: Always use clean, angular crushed stone or gravel for the first 12 inches directly behind the wall to facilitate rapid water migration down to your drain pipe.
- Pitfall 3 (Neglecting Geogrid Reinforcement on Taller Walls): Assuming interlocking dry-stacked blocks alone can hold back four feet of earth without additional stabilization. Workaround: For walls approaching or exceeding three feet in height, lay sheets of synthetic geogrid fabric between the courses, extending them deep back into the cut hillside to anchor the wall into the stable unexcavated earth.
- Pitfall 4 (Rushing the Base Compaction): Hand-tamping the gravel foundation or laying base material over soft, uncompacted subgrade. Workaround: Rent a motorized plate compactor. Pass over the subgrade and every gravel lift a minimum of four to six times until the surface is rock-hard and refuses to dent under your boots.
- Pitfall 5 (Ignoring Drainage Outlets): Installing a drain pipe behind the wall without routing it to a safe daylight outlet away from your foundation. Workaround: Ensure your corrugated pipe terminates downhill on the surface or drains into a properly sized gravel dry well situated well clear of your home’s perimeter.
Holistic Perspectives and Long-Term Impact
A well-constructed retaining wall does far more than hold back dirt; it fundamentally alters the hydrology, ecology, and usability of your residential ecosystem. When land is left as a steep, unmanaged slope, rainwater acts as a destructive torrent, scouring away nutrients and beneficial soil microbes. By terracing the landscape into stable, level planting beds, you capture rainwater where it falls, allowing it to soak deep into the soil profile rather than rushing off-site as erosive runoff. This hydrological control protects local watersheds while creating microclimates in your yard that can support diverse perennial gardens, vegetable patches, or outdoor living spaces.
Economically, building your own retaining wall represents one of the highest-return DIY investments you can make in your property. Landscaping contractors frequently charge thousands of dollars just in labor and markup for mid-scale retaining wall installations, making professional masonry cost-prohibitive for many households. By purchasing raw materials directly and investing your own sweat equity, you retain thousands of dollars in equity while instantly boosting your home’s curb appeal and functional footprint. Flat, terraced yards command higher real estate valuations than steep, unusable embankments because they offer immediate utility for families, pets, and gardeners.
Furthermore, the materials used in modern retaining walls are exceptionally durable and environmentally inert. Segmental concrete blocks are manufactured from abundant natural aggregates, cement, and water, curing into robust masonry units that require virtually zero maintenance over their multi-decade lifespans. Unlike treated wood timbers, which rot, warp, and leach chemical preservatives into the surrounding soil within ten to fifteen years, quality concrete blocks stand impervious to fungal decay, insect infestations, and UV degradation.
Sustainably managed landscapes also encourage biological diversity. Terraced garden beds created by retaining walls provide sheltered habitats for beneficial pollinators, native bird species, and soil organisms. By transforming a sterile, erosion-prone dirt bank into tiered horticultural zones filled with deep-rooted perennials, ornamental grasses, and flowering shrubs, you turn a landscape liability into an active ecological asset. Your yard transitions from a high-maintenance mowing hazard into a self-sustaining, beautiful sanctuary that requires minimal chemical intervention to thrive.
Actionable Recommendations and Key Takeaways
To ensure your weekend wall-building project proceeds smoothly from the first swing of the pickax to the final sweep of the broom, keep a few guiding operational frameworks in mind. Success in masonry is 90% preparation and 10% execution. Rushing the layout or skimping on base materials guarantees future headaches, while methodical patience yields professional-grade results.
- Prioritize Drainage Above All Else: Never treat drainage as an afterthought. Clean gravel backfill, perforated drain pipe, and proper grading away from the wall structure are the difference between a wall that stands for fifty years and one that collapses after the first heavy winter storm.
- Master the Foundation Course: Spend the majority of your Friday afternoon getting the first course of blocks level and secure. A plumb, level base makes every subsequent course snap into place effortlessly, while a crooked base ruins the entire wall geometry.
- Inspect and Compact Relentlessly: Rent the plate compactor. Use it on the subgrade trench, on every 3-inch layer of base gravel, and behind every single course of stacked blocks as you backfill. Solid compaction prevents settling and shifting.
- Know Your Structural Limits: If your slope exceeds three to four feet in height, or if poor soil conditions and steep surcharges are present, consult a structural engineer or consider breaking the project down into terraced multi-tier walls rather than building one massive, high-risk barrier.
- Incorporate Plants and Landscaping Early: Plan your planting beds and irrigation lines as part of the wall build rather than trying to retrofit them later. Roots from established shrubs and perennials help knit the retained soil matrix together, adding an extra layer of biological erosion control.
Standing back to admire a completed retaining wall at dusk on Sunday evening brings a profound sense of accomplishment that no store-bought item can ever replicate. Your hands are calloused, your muscles ache from lifting heavy masonry units, and your boots are caked in crushed limestone dust. Yet, as you look out across the newly terraced, level expanse of rich black earth where a treacherous dirt chute once stood, you realize something remarkable: you have permanently changed the topography of your own land.
The wall you built is more than an arrangement of stacked concrete and crushed gravel; it is a physical manifestation of patience, physics, and grit. It stands ready to hold back the hillside through torrential spring rains, baking summer droughts, and freezing winter nights. More importantly, it unlocks the hidden potential of your property, turning a frustrating outdoor liability into a safe, beautiful, and highly functional extension of your living space.
As you pack away your levels, shovels, and plate compactor, take a moment to savor the transformation. Next weekend, the real fun begins—choosing your plants, spreading fresh mulch, and watching your newly tamed landscape come vibrantly to life. Your sloped yard is no longer something to fight against; it is your canvas, shaped by your own hands to stand firm for generations to come.