
You’re standing on your front porch, squinting at the overgrown hydrangeas. Or maybe you’re staring at a patch of dirt where a lawn used to be. The question nagging at you isn’t just "How do I fix this?" It’s deeper. It’s financial. Will fixing this actually pay off? We’ve all heard the rumors. Some say planting a tree is like printing money. Others say don’t bother, buyers just want low maintenance. So, who’s right?
In 2026, the answer isn’t a simple yes or no. It’s nuanced. The housing market has shifted. Buyers are smarter, more eco-conscious, and frankly, busier than ever. They aren’t looking for a project; they’re looking for a lifestyle. If you’re trying to guess how much landscaping boosts your home value, you’re probably doing it wrong. You shouldn’t be guessing. You should be strategizing. Let’s cut through the noise and look at what the data—and the real estate pros—are actually saying right now.
The Big Numbers: What the Data Actually Says
Let’s start with the hard facts, because everyone loves a good percentage. According to recent reports from sources like HomeGuide and Angi, professional landscaping can boost your home’s value by anywhere from 10% to 30%. That is a massive range. On a $500,000 home, that’s the difference between $50,000 and $150,000. Why such a big gap? It comes down to quality and context. A few bags of mulch won’t get you to 30%. But a cohesive, mature landscape design might.
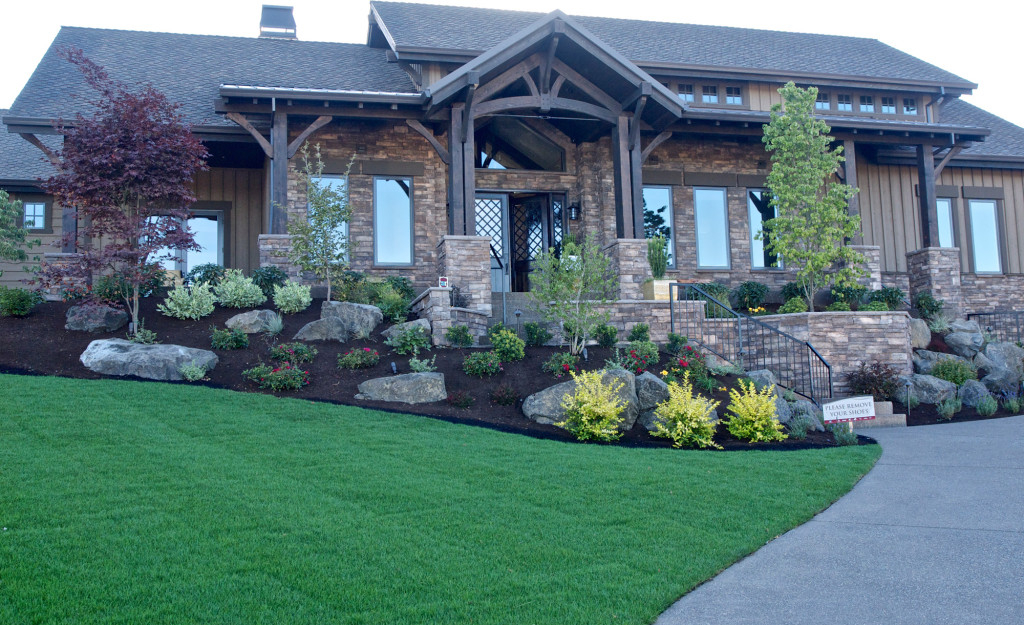
Redfin and other industry leaders point out that it’s not just about the final sale price. It’s about curb appeal. That first impression. When a buyer pulls up, their brain makes a decision in seconds. Is this place loved? Or is it neglected? Good landscaping signals care. It tells them the inside is probably taken care of too. This psychological boost is hard to quantify, but agents swear by it. It gets people in the door. And once they’re in, you’re halfway there.
But here’s the kicker. Not all greenery is created equal. AskDoss notes that ROI can range from 50% to 200% depending on the specific project. Wait, 200%? Yes. Some small, strategic fixes yield huge returns. Others, like installing an elaborate koi pond, might barely break even. The key is knowing which bucket your project falls into. You don’t need to remodel your entire yard to see a gain. Sometimes, the smallest tweaks make the loudest statement.
The 2026 Buyer: Sustainability and Low Maintenance
If you’re still thinking about manicured English lawns that require daily watering, stop. That’s so 2010. In 2026, the top trend is sustainability. AllBetter App highlights that native plantings and drought-resistant landscapes are huge. Buyers are worried about water bills and environmental impact. They want yards that look good without demanding constant attention. A xeriscape garden isn’t just "nice to have" anymore; in many regions, it’s a major selling point.
This shift changes the value proposition. A high-maintenance yard is seen as a liability. A low-maintenance, native garden is an asset. It suggests freedom. Imagine telling a potential buyer, "You barely have to water this." That’s music to their ears. The National Association of Home Builders (NAHB) reports that landscaping focused on sustainability aligns perfectly with long-term property value. It’s not just a trend; it’s a structural change in what people value.
Edible gardens are also making a comeback, but with a twist. They aren’t just vegetable patches. They’re integrated into the design. Berry bushes along the fence line. Herb spirals near the kitchen entrance. It’s functional beauty. It shows the home is productive, not just decorative. This resonates with the post-pandemic mindset that’s still lingering in 2026. People want connection to their food and their land. If your landscaping offers that, you’re tapping into a deep emotional desire.
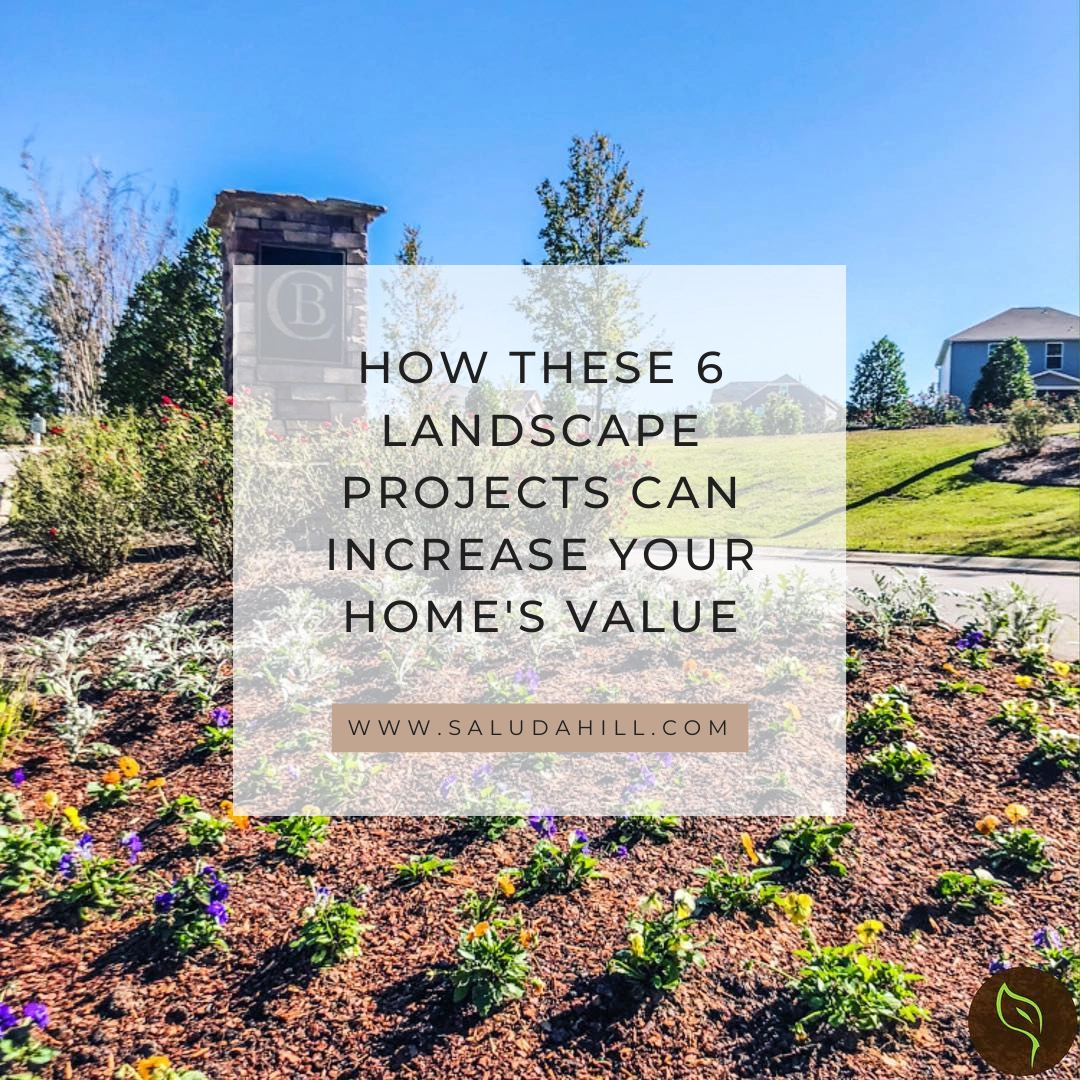
High-ROI Projects: Where to Spend Your Money
So, where should you actually put your cash? LawnLove identifies basic lawn care, fresh mulch, and tree maintenance as top contenders. These sound boring, right? But they’re foundational. A healthy, green lawn is the canvas. If the canvas is torn, the painting doesn’t matter. Reseeding a lawn costs between $400 and $1,600, according to Angi. Compared to the value it adds, that’s a steal. It’s the easiest win you can get.
Outdoor lighting is another unsung hero. It’s not just about security. It’s about drama. Well-placed lights highlight architectural features and make the yard usable at night. This extends the living space. Irrigation systems also rank high. They promise convenience. A smart irrigation system says, "This yard takes care of itself." For the busy professional buyer, that’s priceless. These infrastructure upgrades often get overlooked because they aren’t flashy, but appraisers notice them.
Tree maintenance is crucial too. Mature trees add instant value. They provide shade, privacy, and scale. But dead or dangerous branches subtract value. Trimming and caring for existing trees is far cheaper than planting new ones and waiting ten years. It’s about preserving what’s already there. Don’t underestimate the power of a clean, well-defined edge along your walkways either. Crisp lines make everything look intentional and expensive.
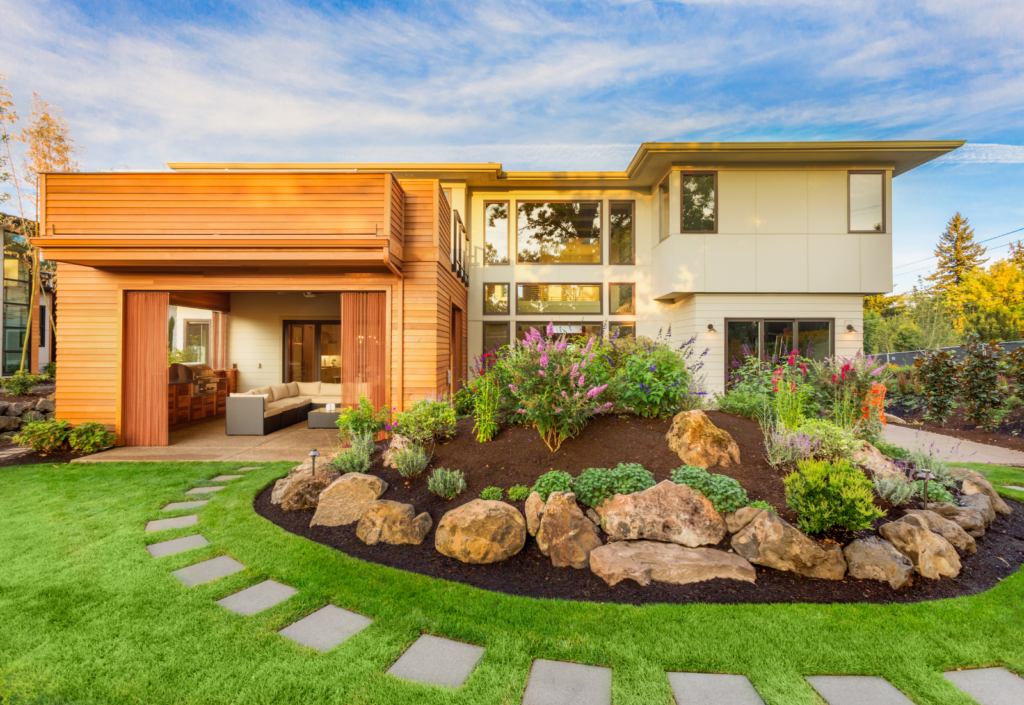
Outdoor Living: The Extension of Home
We aren’t just talking about plants anymore. In 2026, the yard is a room. Outdoor living spaces are where the big money is. Think functional kitchens, fire features, and comfortable seating areas. Styldod suggests that strategic upgrades here can boost value by up to 20%. Why? Because square footage outside counts emotionally, even if it doesn’t count on the appraisal report in the same way. It increases the usable area of the home.
Fire pits are a standout example. Angi notes they range from $300 to $1,400. For that price, you create a gathering spot. It’s cozy. It’s inviting. It creates memories before the buyer even moves in. They can picture themselves sitting there with friends. That emotional connection drives offers. It’s not just a hole in the ground with fire; it’s a social hub. And in a world that’s increasingly digital, physical gathering spots are premium assets.
However, be careful not to over-improve. EpicAppraisal warns against extensive landscaping that doesn’t match the neighborhood. If every other house has a simple patio and you build a three-tiered outdoor resort, you might not recoup your costs. Balance is key. The goal is to fit in while standing out slightly. Your outdoor kitchen should feel like a natural extension of your indoor one, not a disconnected luxury bunker. Keep it cohesive.
Common Pitfalls: What Doesn’t Add Value
It’s easy to get carried away. We see a show on TV and think, "I need a waterfall feature." Stop. Water features are tricky. They can be noisy, high-maintenance, and polarizing. Some buyers love them; others see them as mosquito breeding grounds. Unless you’re in a high-end luxury market where expectations are different, skip the complex water works. They rarely offer a good ROI for the average home.
Another mistake is ignoring the style of the house. Planting tropical palms in front of a Craftsman bungalow in Ohio looks weird. It confuses the buyer. The landscaping should complement the architecture, not fight it. Cohesion creates harmony. Harmony feels valuable. Dissonance feels like work. Buyers are looking for move-in ready, not "fix the aesthetic clash." Keep the design language consistent from the roofline to the root ball.
Also, avoid overly personal choices. Bright pink flamingos might be your jam, but they’re not everyone’s. Neutral, classic designs appeal to the widest audience. You want buyers to project their own dreams onto your yard, not be distracted by your specific quirks. Remove the clutter. Clear the paths. Let the space breathe. Sometimes, subtracting is more powerful than adding. Less is often more when it comes to resale.
Making the Decision: Practical Steps for 2026
So, how do you decide what to do? Start with an audit. Walk around your property. What looks tired? What looks dangerous? Fix the safety issues first. Then, address the eyesores. IBuyer.com suggests focusing on smart upgrades that boost curb appeal. Take photos. Compare them to similar homes in your area that sold recently. What do they have that you don’t? Usually, it’s not a fountain. It’s usually just neatness and maturity.
Consider hiring a pro for a consultation. YouGreenPal interviewed 350 real estate professionals, and their consensus is clear: professional advice pays off. A landscaper can tell you which native plants thrive in your specific soil. A real estate agent can tell you what buyers in your zip code are craving. Don’t guess. Ask. The cost of a consultation is tiny compared to the cost of a mistake. It’s insurance for your investment.
Finally, think about timing. Spring is traditional, but late summer or early fall can be great for planting trees and shrubs. They establish roots before winter. And if you’re selling soon, focus on immediate impact items like mulch, pruning, and annual flowers. If you’re staying put, invest in long-term structures like patios and perennial beds. Align your spending with your timeline. Don’t plant a sapling if you’re moving in six months. Plant a specimen tree instead.
Landscaping isn’t a mystery. It’s a tool. Used correctly, it adds significant value to your home. In 2026, that means embracing sustainability, focusing on low-maintenance beauty, and creating functional outdoor living spaces. The numbers support it. The experts agree. A 10% to 30% boost isn’t a fantasy; it’s a realistic outcome if you play your cards right. But you have to be smart about it.
Don’t throw money at problems. Throw strategy at them. Focus on the basics first. Healthy grass, clean edges, good lighting. Then, layer in the lifestyle elements. A fire pit. A native garden. A place to sit and breathe. These things speak to buyers on a human level. They say, "Welcome home." And that feeling? That’s what sells houses.
So, stop guessing. Look at your yard with fresh eyes. See the potential. Make a plan. Execute it with care. Whether you’re selling next month or in ten years, a thoughtful landscape is an investment that keeps paying dividends. It’s not just about dollars and cents. It’s about pride. And in the end, that’s what makes a house a home. Go get started.