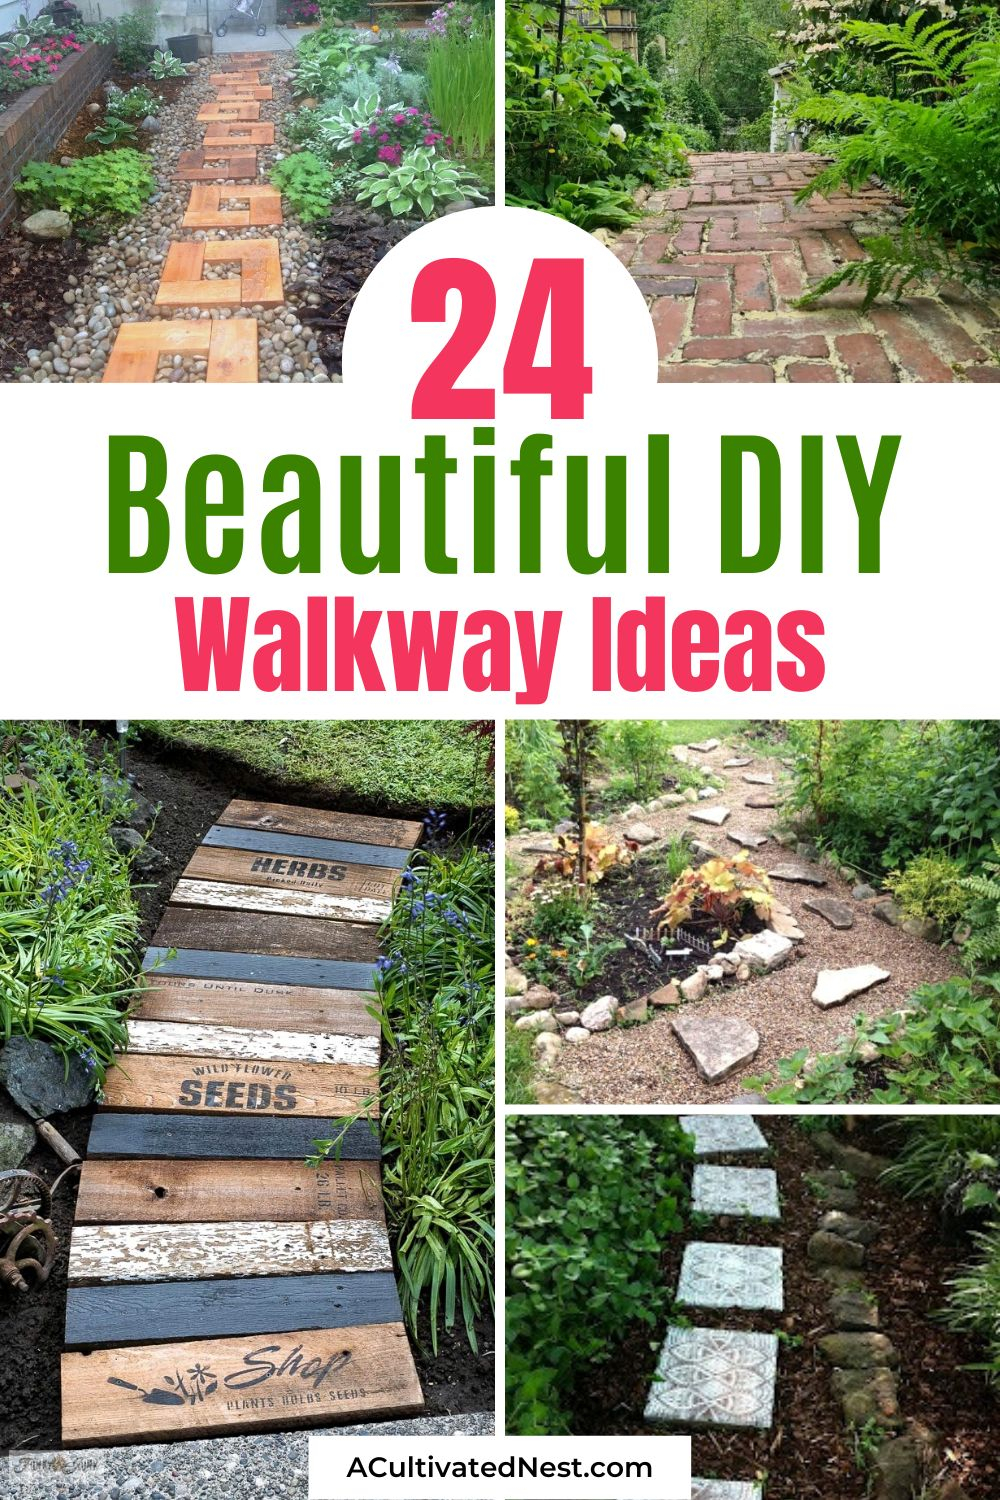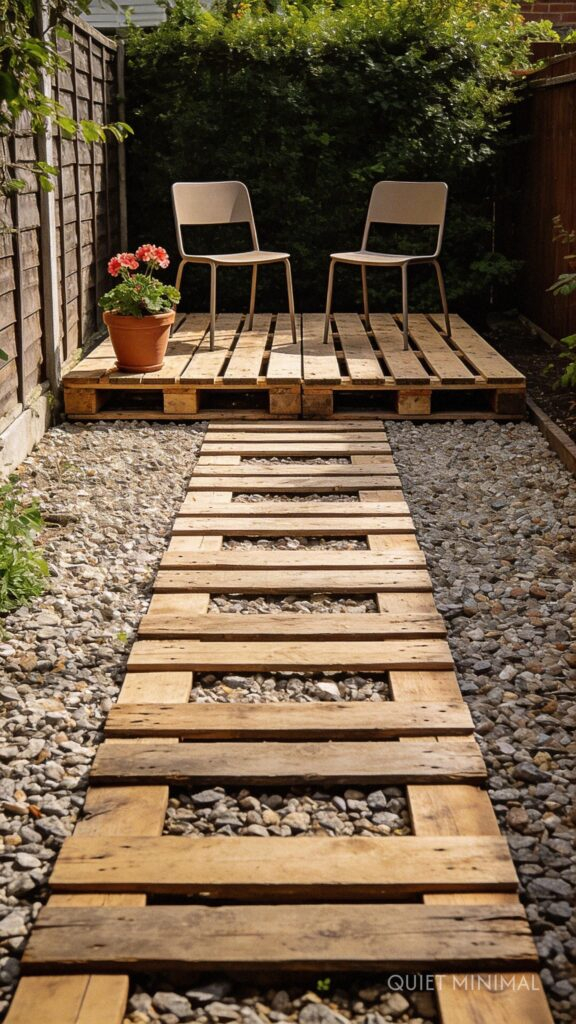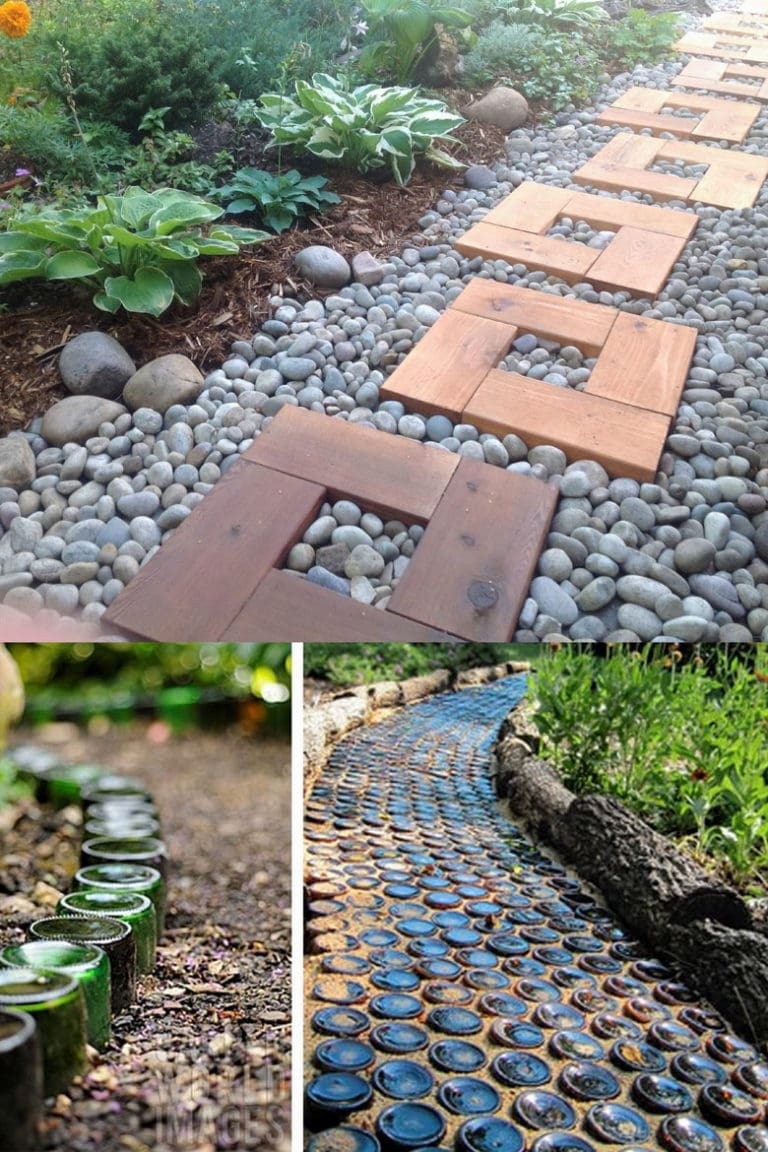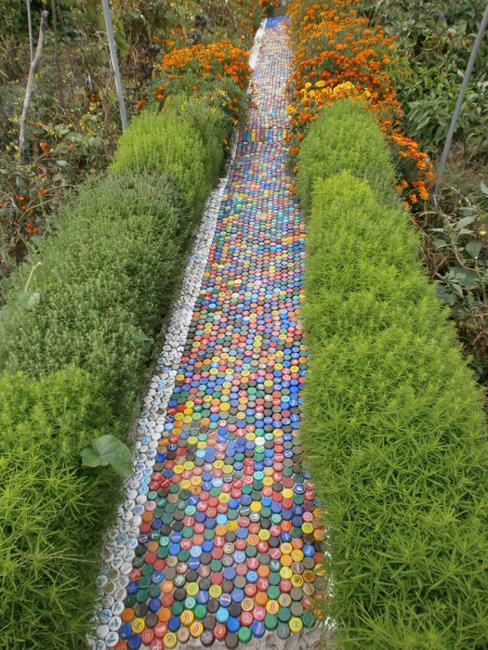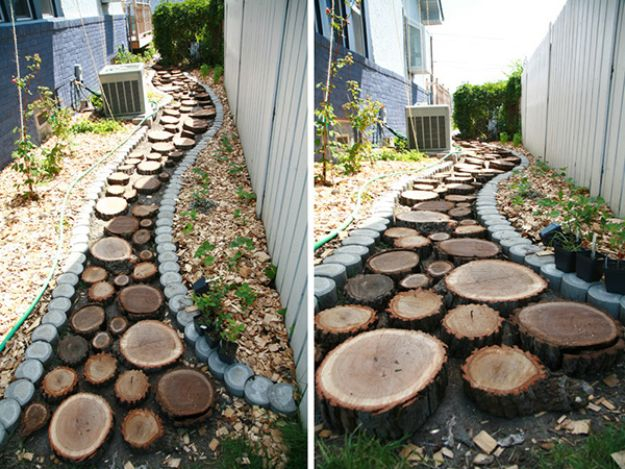

The spade hits the turf with a dull, wet thud, followed by the crunch of severed dandelion roots and centuries of compacted clay. Every gardener eventually faces the same logistical defeat: a muddy sheep-track where lush lawn used to be, worn down by daily foot traffic, wheelbarrows laden with wet compost, and the relentless autumn rains. What started as a charming shortcut across the yard transforms into a treacherous, slipping slide of brown sludge.
Fixing this problem permanently does not require hiring heavy landscaping contractors, nor does it demand an expensive fleet of commercial excavation machinery. The most resilient backyard walkways are born from sweat, patience, and a surprisingly modest collection of everyday garage tools. Building a path that withstands the freezing expansion of winter frost, heavy wheelbarrow loads, and the relentless march of time comes down to understanding the physics of soil, water, and structural layering.
Too many weekend warriors make the fatal mistake of laying flagstones or pavers directly onto naked mud, only to watch them sink, tilt, and disappear within two seasons. Water is the silent destroyer of outdoor structures, and without a deliberate strategy for drainage, sub-base stabilization, and edge containment, any surface material will inevitably shift. This guide bypasses the superficial shortcuts and walks through the exact manual mechanics of engineering a lasting garden route using nothing more than a shovel, a level, a tamper, and common homestead supplies.
Unpacking the Engineering of a Resilient Garden Walkway
A garden path is not merely a decorative line connecting a back patio to a vegetable patch; it is an engineered structural system. When a person steps onto a walkway, their weight—multiplied by momentum—applies dynamic stress to the ground below. If the underlying earth shifts, the surface cracks or settles unevenly. Achieving true durability means respecting the three foundational layers of path construction: the subgrade, the sub-base, and the wearing course.
The subgrade is the native soil at the bottom of your excavation. Clay soils retain moisture and expand wildly when frozen, while sandy soils drain quickly but offer poor structural support. Understanding your local soil composition dictates how deep you must dig. If you skip preparing the subgrade, your path inherits the shifting instability of the earth beneath it. Compacting this native dirt is the absolute baseline requirement for preventing future sinkholes and uneven stepping stones.
Resting directly on top of the subgrade is the sub-base, typically comprised of crushed angular aggregate—often called crusher run or road base. This layer acts as the load-bearing spine of the installation. Angular stones lock together under pressure, creating a rigid plate that distributes foot traffic evenly across the soft native soil below. If the sub-base is too thin, heavy loads will punch right through it. A standard garden path meant to withstand casual foot traffic and occasional wheelbarrow transit requires a compacted sub-base thickness of at least four to six inches.
Edge restraint is the third critical pillar of structural integrity. Without rigid boundaries, lateral forces will push your pavers, bricks, or gravel outward over time. Edging acts as a retaining wall on a micro scale, locking the aggregate or paving units in place. Whether you use pressure-treated timber, steel landscape edging, or buried natural stone, the edging must be anchored securely into the subgrade to prevent migration. When these three elements—compacted subgrade, locked sub-base, and secure edging—work in concert, your path will endure for decades.
Sourcing Materials and Gathering Your Everyday Toolkit
The beauty of a hand-built garden route lies in its accessibility. You do not need professional hydraulic presses or laser transits to achieve a professional-grade finish. Most of the required equipment is already hanging in your garden shed or sitting in the corner of your garage. The primary power source for this project is human muscle, channeled through reliable manual tools designed for leverage, grading, and compacting.
Your core toolkit starts with a sturdy round-point shovel for bulk excavation and a flat-nosed transfer shovel for moving gravel and sand. A heavy-duty pickaxe or mattock is indispensable if your soil is laced with stubborn tree roots or packed sun-baked clay. For grading and leveling, a standard mason’s string line, wooden stakes, a 4-foot spirit level, and a long straight 2×4 board are your best friends. Compaction requires either a manual hand tamper with a heavy steel plate or a rented plate compactor if you are covering a particularly long span.
When it comes to materials, thrift and resourcefulness often yield more character than big-box store uniformity. Sourcing aggregates like 3/4-inch crushed stone with fines, coarse bedding sand, and geotextile fabric from a local quarry or landscape yard is usually far cheaper than buying pre-bagged supplies. For the surface layer, consider reclaimed bricks, flagstones salvaged from demolition sites, or simple pea gravel retained by cedar boards. Sourcing locally available stones or recycled masonry not only cuts costs significantly but also ties the aesthetic of the path directly into the regional landscape.
Geotextile fabric is a non-negotiable material investment that pays massive dividends in longevity. This permeable membrane acts as a barrier between your native soil and your clean sub-base. It allows water to drain freely downward while stopping mud and silt from migrating upward into your gravel. Without this fabric, soil contamination eventually fills the gaps in your crushed stone, destroying its drainage capacity and causing your path to bog down in mud once again.
Step-by-Step Practical Implementation Guide
Executing a durable garden path demands discipline and a willingness to move dirt in the right sequence. Skipping steps or rushing the foundation work guarantees early failure. Follow this field-tested, sequential methodology to build a walkway that stands the test of time.
- Step 1 (Route Planning and Layout): Map out your path using garden hoses or bright marking paint to test natural walking flows. Adjust curves so they feel organic rather than forced. Drive wooden stakes into the ground every six feet along both sides of the proposed route, and tie mason’s string tightly between them to mark the exact perimeter and height boundaries.
- Step 2 (Excavation and Depth Control): Dig out the soil between your string lines to a uniform depth, accounting for the thickness of your sub-base, bedding layer, and surface material combined. A standard gravel path requires excavating roughly 6 to 8 inches deep, while a paver path may require 8 to 10 inches. Check your depth frequently using a tape measure dropped from your string line.
- Step 3 (Subgrade Compaction and Fabric Installation): Rake the freshly exposed bottom soil flat and compact it thoroughly using your hand tamper. If the soil is excessively wet, let it dry slightly before tamping to avoid turning it into slurry. Once compacted, roll out your woven or non-woven geotextile fabric across the entire trench, overlapping the seams by at least 12 inches and cutting it to press snugly up against the trench walls.
- Step 4 (Sub-Base Application and Layering): Dump your crushed angular aggregate onto the fabric in 2-inch lifts. Rake the stone level, then dampen it slightly with a garden hose to help settle the dust and fine particles. Tamp each 2-inch layer vigorously until the hand tamper bounces off the stone without leaving impressions. Repeat this process until you reach your target sub-base height, ensuring total compaction.
- Step 5 (Edging Installation and Surface Finishing): Install your chosen edging materials along the trench perimeters, driving steel stakes or anchoring pins deep into the sub-base to lock them rigidly in place. Pour your final surface layer—whether it is interlocking pavers, flagstones set in sand, or decorative gravel—filling the space completely. Tamp or settle the surface units into their final position, sweep fine jointing sand or stone dust into any gaps, and hose down the entire path to lock everything securely together.
Common Pitfalls and Field-Tested Workarounds
Even experienced DIY builders occasionally run into structural snags when weather, soil anomalies, or calculation errors threaten their handiwork. Anticipating these hurdles allows you to course-correct before minor mistakes turn into major rebuilding jobs.
- Pitfall 1 (Inadequate Drainage and Water Pooling): Water settling on or beneath the path will freeze and heave in winter or soften the sub-grade in summer. Workaround: Always grade your path with a gentle cross-slope of at least 1/4 inch per foot toward surrounding garden beds or a French drain, ensuring water never pools directly on the walkway surface.
- Pitfall 2 (Failing to Compact the Sub-Base Properly): Pouring gravel onto loose dirt guarantees that the path will develop ruts and dips within months. Workaround: Never skip the tamping phase, and always compacting in thin 2-inch lifts rather than dumping 6 inches of stone all at once, which leaves the bottom layer completely uncompressed.
- Pitfall 3 (Omitting Geotextile Fabric): Skipping the fabric barrier invites native clay and silt to migrate upward, ruining drainage and causing weeds to burst through the surface. Workaround: Always invest in a quality commercial-grade non-woven geotextile fabric, making sure to overlap edges generously so soil has zero pathways upward.
- Pitfall 4 (Using Rounded River Rock for the Base): Smooth river stones roll over one another like ball bearings and never lock together under pressure. Workaround: Strictly use angular crushed stone (such as crusher run or 3/4-inch minus) for your sub-base, reserving rounded stones exclusively for decorative top dressing if desired.
- Pitfall 5 (Insecure Edging Migration): Flimsy plastic edging secured with short plastic stakes will bow outward under foot traffic, spilling gravel across the lawn. Workaround: Use heavy-duty steel landscape edging or thick timber secured with rebar stakes driven at least 12 inches into the unexcavated ground below.
The Long-Term Economics and Ecological Value of a Hand-Built Path
Building a garden path by hand shifts your relationship with your landscape from passive maintenance to active stewardship. Commercially installed hardscaping often carries inflated labor costs and relies on carbon-intensive transport of heavy, uniform industrial materials. By sourcing local aggregates, salvaged flagstones, or reclaimed timber, you drastically reduce the embodied carbon of your project while keeping your budget tightly under control. Furthermore, a permeable gravel or stone path actively contributes to local watershed health by allowing rainwater to infiltrate the water table rather than running off into storm sewers, reducing erosion across your property.
From an economic standpoint, a properly engineered walkway constructed with everyday tools outperforms cheap shortcuts every single time. While a superficial path of gravel dumped directly onto mud demands constant weeding, topping up, and regrading every spring, a meticulously layered route requires minimal maintenance. Raking displaced gravel back into place twice a year and occasionally clearing windblown debris is all it takes to keep the structure sound. This longevity translates into tangible financial savings, freeing up your gardening budget for plants, soil amendments, and structural enhancements that truly elevate your outdoor living space.
Actionable Recommendations and Key Framing Principles
To summarize the path-building methodology into an actionable framework, keep these core principles at the forefront of your planning and execution phases:
- Prioritize Depth Over Speed: Never skimp on excavation depth. A shallow trench guarantees a shifting, unstable path regardless of how much surface material you pile on top.
- Respect the Angles: Always insist on angular crushed aggregate for structural sub-bases; rounded stones cannot lock together and provide zero load-bearing stability.
- Anchor Your Edges First: Lock your perimeter boundaries securely before placing any surface materials to prevent lateral spreading and messy aggregate migration.
- Maintain Constant Maintenance Vigilance: Sweep gravel back into traffic ruts seasonally and pull invading weeds early before root systems can compromise your geotextile fabric barrier.
Stepping back onto a freshly finished garden path for the first time carries a quiet, grounding satisfaction. The uneven, muddy trench of yesterday is gone, replaced by a firm, intentional line that guides the eye and the foot through your living landscape. You built this structure not with heavy machinery or specialized contractor crews, but with your own hands, a handful of basic tools, and an understanding of how earth and stone interact under pressure.
As the seasons turn, this path will settle gracefully into its surroundings. Moss will creep between the edges of the stones, perennials will spill over the borders, and the gravel will pack down into an even more resilient, permanent surface. Every time you walk down that route with a loaded wheelbarrow or a steaming mug of morning coffee, you will know exactly what lies beneath your feet—a testament to patient craftsmanship and the enduring power of doing things the right way.